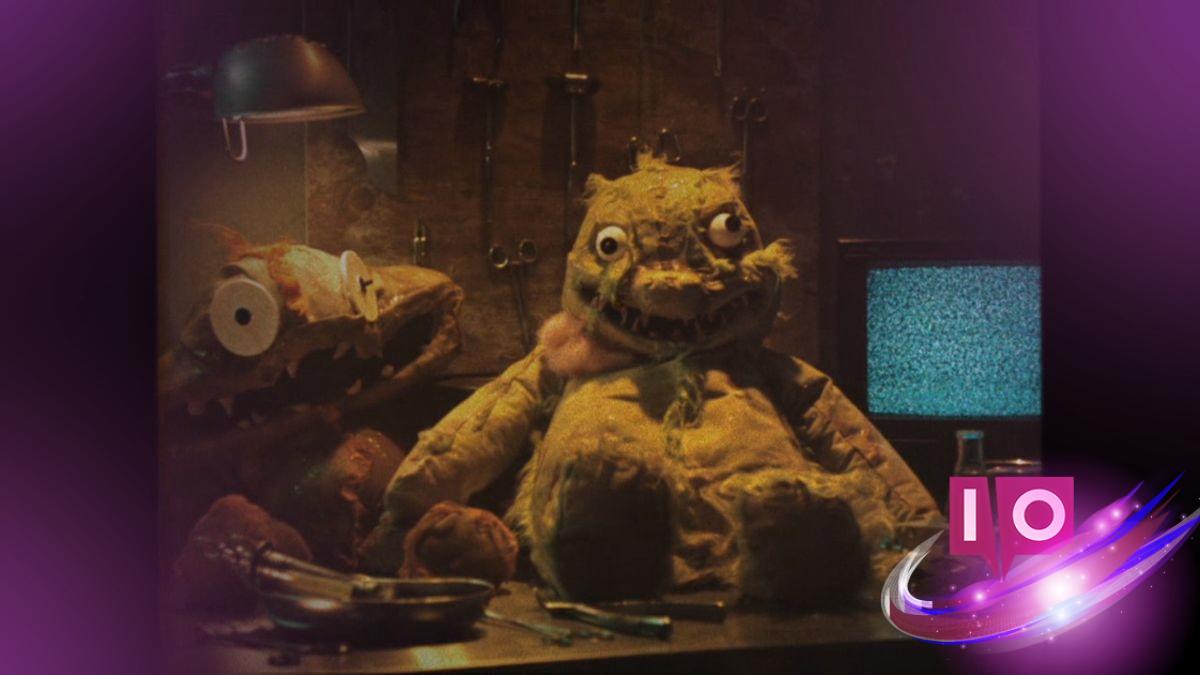
I fell through a vent and landed in a corridor that smelled of ozone and old plastic. In the grit and glow, a single folded note sat like a key under a loose floorboard. I picked it up, and half the chapter rearranged itself in my head.
The hallway before Lovebraids’ house looks ordinary: crooked posters, a low hum from a power bank, and a Playtime box shoved into a corner. From there, the notes in Chapter 5 map the story—little witness statements, lab scraps, and children’s things that change how you read every room.
I’ve logged the collection so you don’t have to fumble. Right now I have 29 of 35 notes. They’re listed in the order you can find them during normal progression, with the objective tied to each one and a short, sharp pointer to the location.
Where are all the notes in Poppy Playtime Chapter 5?
If you want every scrap, follow the objectives. I pair each note to the main or sub objective that makes it visible so you can sweep rooms without backtracking. Think of this as a checklist that keeps you moving forward instead of hunting blind.
Can you get notes after the chapter ends?
Yes. If you miss the final note in the IT room, you can hit Continue from the main menu and pick it up later. I recommend searching the server room before you activate the backup—otherwise you’ll have to resume.
An Intercepted Communique

- Objective: N/A
- Sub Objective: N/A
After the first Huggy Wuggy chase you drop out of the ventilation shaft. Turn around as soon as the autosave clicks and you’ll spot this note within arm’s reach. It’s one of those instant clarifiers—read it right away.
Inventory – September ’95

- Objective: Find a Way Out
- Sub Objective: N/A
Once the objective appears, stack the small, medium, and large Playtime boxes by pulling with both GrabPack hands to reach the top-right cubby. The spot is lit with a yellow glow opposite your path forward; don’t skip it because it’s off the beaten route.
Wrongside Outimal Branding Note

- Objective: Find a Way Out
- Sub Objective: N/A
Flip the Outimals area power so the spotlights silence the creatures and give you a safe walk. Climb over the talking Outimal in the Playtime box, drop down, turn left, and check the floor by the crib; the note rests there.
Giblet’s Checklist

- Objective: Find a GrabPack
- Sub Objective: N/A
Giblet tells you about the Boiler Room—then you can pick this off his bed, marked with the number 21. It’s a small piece but it points to later technologies you’ll handle.
The Better Press, Issue 14

- Objective: Find a GrabPack
- Sub Objective: N/A
This one sits on the workshop table near the Doey the Doughman rug in Giblet’s home. Read it before you leave; it adds color to the residents’ lives.
Lab Report: Medium Growth & Plantlife

- Objective: Explore the Biodiversity Labs
- Sub Objective: N/A
When the Biodiversity Labs objective pops, head to the start of the overgrown section—the Medium Growths that look like tree branches. The note sits near the red floor and roots after the elevator-shaft platforming.
Reminder

- Objective: Explore the Biodiversity Labs
- Sub Objective: N/A
After you drop into the whiteboard room from the vents, scan the boards. The note sits beside a plate of Limons—easy to miss if you rush to the next vent.
Dr. Arkins Personal Letter 1

- Objective: Explore the Biodiversity Labs
- Sub Objective: N/A
Use the Pressure Hand on the Medium Growths and pass the decontamination chamber. In the small office space to the right, check the cubicle desk for this letter.
GrabPack Hands Rejection

- Objective: Find Prototype Data
- Sub Objective: Search the Engineering Workshop
When the Engineering Workshop objective appears, go to the back of the room on the opposite side of your entry. Past two shelving units in the corner you’ll find this note tucked away.
Master Backup? and Negation Compound Presentation

- Objective: Find Prototype Data
- Sub Objective: Search the Engineering Workshop
Input the locker code 5 6 0 to open the locker that contains Master Backup? and the six-page Negation Compound Presentation—seven notes in one go. It’s the fastest way to bulk up your count in this section.
Letter to Leith #1

- Objective: Navigate Through the Engineering Wing
- Sub Objective: N/A
This sits on the far side of the room where you grabbed the Master Backup files. You’ll need to use the magnetic feature to cross the walkway and reach it on the metal before the next decontamination chamber.
To Whomever Finds This

- Objective: Return to Giblet and Chum
- Sub Objective: N/A
Peer into the opposite side of the open elevator shaft to grab the Playtime power bank, then place it in the corridor wall with the red light above the doorframe. That opens a tiny room where this note waits.
in the Conditioning Observations

- Objective: Find a Way to Reanimation
- Sub Objective: N/A
Enter the blue observation door, then the room with the kiddie pool, then the yellow door. The note lies on the ground in front of the teacher’s desk—basic placement, easy to miss if you run past.
Letter to Leith #2

- Objective: Find a Way to Reanimation
- Sub Objective: Collect Memories (3)
After you watch every Ms. Gracie projector and gain the Conductor Hand’s fire, the Memory sits on the desk behind Lovebraids’ bow on the upper floor of the projector rooms. It’s behind the desk—grab it from the floor.
Observation: Lily

- Objective: Find a Way to Reanimation
- Sub Objective: Collect Memories (3)
This note sits directly behind the Memory machine in the simulation area—right in front of the door you need to open after completing the three Huggy Wuggy memory runs.
Dr. Arkins Personal Letter 2

- Objective: Find a Way to Reanimation
- Sub Objective: Charge the Door Panels / Use the Projectors to Distract Huggy
You’ll find this on the shelving at the back of Huggy Wuggy’s arena, near the Playtime power bank you can only reach after making Huggy break the wall with a projector distraction. It’s the kind of note that rewards patience.
Experiment 1468 Proposal

- Objective: Prepare for the Tea Party
- Sub Objective: Retrieve the (3) Friends
On Lovebraids’ ground floor, enter the vent corridor before the garage and follow the ducting. The whiteboard on the other side holds this proposal; write it down mentally if you’re tracking the experiment numbers.
Observation Log: Sweet Street

- Objective: Prepare for the Tea Party
- Sub Objective: Find (3) Friends
Upstairs in Lovebraids’ home, take the corridor to the right of the hair-blocked double doors. The first room on the right has a one-way window into the music room; the note sits on the observation counter.
Nursery Damage

- Objective: Prepare for the Tea Party
- Sub Objective: Find (3) Friends
In the same upstairs corridor, go to the dead-end at the far right and pick up the note on the small table next to the armchair. The floral picture above it makes it easier to spot.
Music Sheet – Novice

- Objective: Prepare for the Tea Party
- Sub Objective: Find (3) Friends
On the bookshelf inside Lily Lovebraids’ music room on the second floor. If you’re collecting the three friends, this is the music-room grab that completes the set.
Dr. Arkins Personal Letter 3

- Objective: Find the Backup
- Sub Objective: N/A
Climb into the debris-strewn upper floor to the left of the Molecular Microscope door, drop into the workshop with chemistry pots and sliding doors, then search the tables—this letter sits near the back with the pots.
Experiment Notes

- Objective: Find the Backup
- Sub Objective: N/A
Same room as Arkins’ letter 3: check the back-left corner of the science room where the Medium Growth has spilled. You’ll find this among the open cupboards and glassware.
L.P. Journal Entry

- Objective: Find the Backup
- Sub Objective: N/A
Check the back of the IT server room before you activate the backup. If you miss this note and power the computer, you’ll need to continue from the main menu to pick it up. Don’t rush the server racks—scan every table.
I write this as someone who’s walked the halls in Steam and console playthroughs and compared notes with streams on Twitch and clips on YouTube. If you’re tracking collectibles on Windows PC, Xbox, or PlayStation, these pointers save time and grief—especially when you only need one or two to complete the chapter’s story thread.
If you want to chase the remaining six notes, treat each room like a slow sweep and follow objectives; the game positions them to reward careful players. This guide pulls the path into tidy steps, but the real prize is the small reveals the notes stack into—scraps that change who you think Lily Lovebraids is and what Prototype’s Kryptonite might mean.
Collecting everything feels a bit like following a breadcrumb trail through a haunted house—every scrap nudges the narrative forward, and every miss costs you a piece of the story. After you finish, which note will change the way you look at the whole experiment?