
I crouched behind a vending machine as the timer hit zero and my team scattered. One wrong pick and the whole match evaporated—no second chances, just regret. I learned fast which characters carry and which feel like liabilities.
I’ve played dozens of matches, sifted through streamer clips on Twitch, and skimmed community threads on Roblox and Discord so you don’t have to. I’ll tell you which killers and survivors actually move the needle, why some free options beat paid ones in practice, and where your scraps are worth spending.
Bite By Night Killers Tier List
On a typical evening you’ll find several matches where the same handful of killers dominate queue after queue.
Choosing the wrong killer turns a match into a slow bleed; choosing the right one forces survivors into mistakes. Below is the current ranking for killers based on pressure, map control, and reliability in coordinated and solo lobbies.
| Tier | Killer |
|---|---|
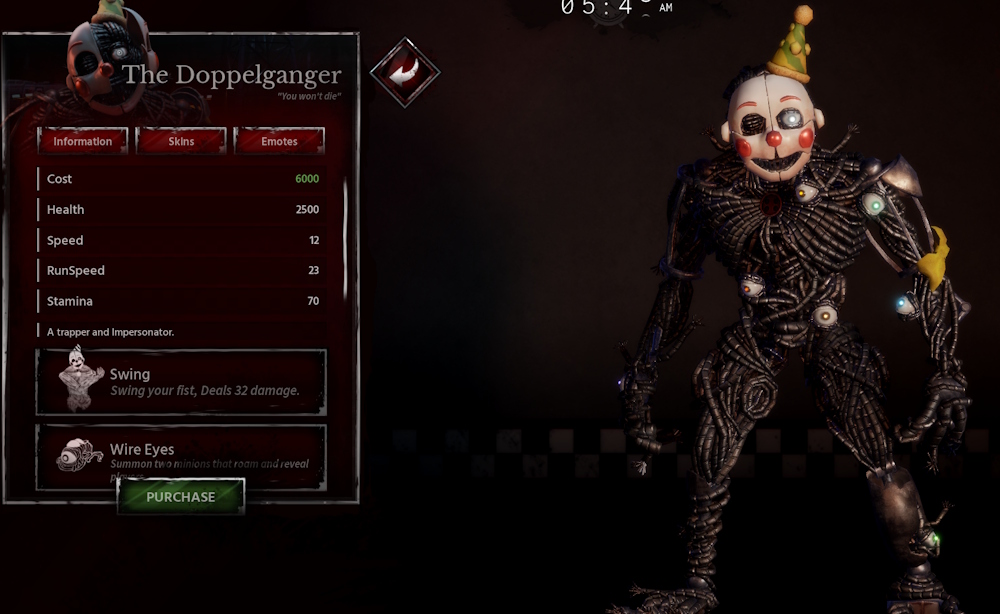
| S | Doppelganger (Ennard) |
| A | The Rotten (Springtrap) |
| B | The Project (Mimic) |
Which is the best killer in the Bite By Night tier list?
Doppelganger (Ennard) takes S tier. Its disguise mechanic creates confusion that cheapens coordinated survivor play and forces poor rotations. The Doppelganger is a wolf in human clothing.
Bite By Night Tier List for Killers Explained
I’ll keep this practical: think pressure, counterplay, and map-working tools. Below I break down why each killer sits where they do and how that plays out on Discord lobbies and Twitch highlights.
- Doppelganger (Ennard) – S Tier: Core strength is deception. Wire Eyes and Grab let you punish greedy rescues and force bad calls from survivors. High consistency across maps makes it the safest ranked pick for players who want predictable results.
- The Rotten (Springtrap) – A Tier: Balanced and forgiving. Traps and ranged pressure let you control choke points while chasing. It doesn’t create the same mental chaos as Ennard, but it wins by denying options rather than scoring flash plays. It’s available to new players for free, which raises its value.
- The Project (Mimic) – B Tier: Versatile but demanding. Multiple modes give you tools for different stages of the match, but you must read the lobby constantly to get full value—otherwise you’re a jack of all trades, master of none.
Bite By Night Survivors Tier List
In low-rank queues survivors often win by working simple synergies instead of flashy plays.
Survivor classes change the pace: some win solo, others shine in coordinated squads. I ranked them by how much they improve a team’s chance to finish the objectives or survive long enough to outplay the killer.
| Tier | Survivor |
|---|---|
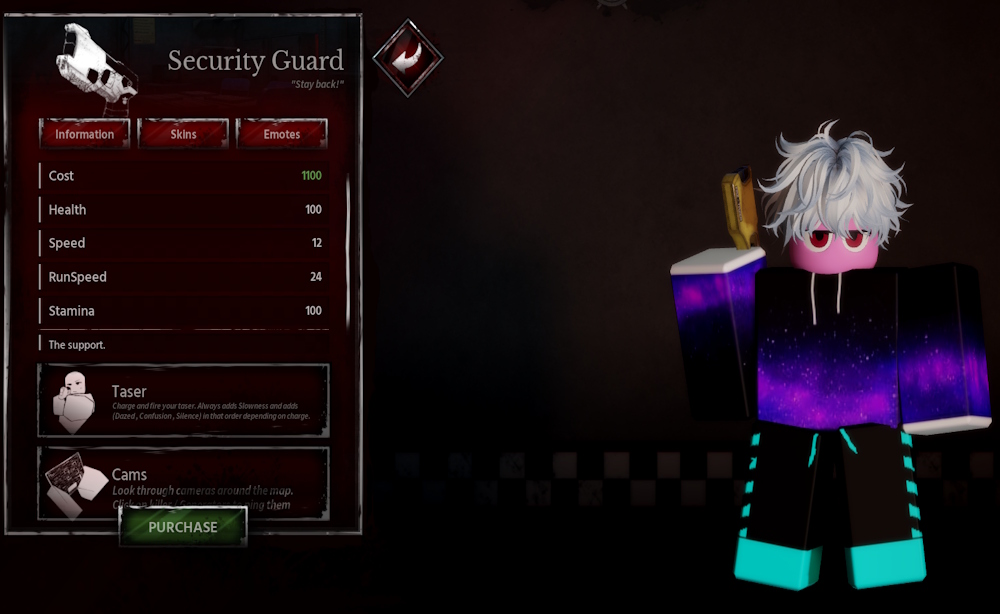
| S | Security Guard |
| A | Customer |
| B | Medic |
| C | Fighter |
Which survivor should I use for solo play in Bite By Night?
Customer is the best solo pick. Self-heal items like Pizza and Drink let you weather mistakes and stall long enough to outlast poor killers in random lobbies.
Bite By Night Tier List for Survivors Explained
Short version: survivability and utility beat flashiness in public matches. Here’s why each class ranks where it does.
- Security Guard – S Tier: The Security Guard is a lighthouse in a storm. Taser and camera control let you spot rotations and break chases early, which is huge against killers that rely on split-second timing.
- Customer – A Tier: Excellent solo carry potential thanks to self-sustain. You’ll trade team heals for independence, and that’s a smart trade in mixed lobbies.
- Medic – B Tier: Strong team support. Heals keep lanes alive during coordinated play, but without teammates the class feels slow and vulnerable.
- Fighter – C Tier: High risk, high reward. Parry timing can flip a fight, but it’s inconsistent in public games where mistakes are frequent.
Are higher-cost characters always better in Bite By Night?
No. Many paid characters add flexibility or one extra tool, but free options such as The Rotten and Customer remain strong. Treat scraps like a micro-investment: buy the character that complements your playstyle and improves win rate, not the one with the flashiest kit.
If you follow streamers on Twitch or check stat trackers and Roblox community guides, you’ll see consensus form quickly around a handful of characters. Use that signal, test for three or four matches, then decide whether to spend scraps or grind for the unlock.
Which pick changed your win rate the most, and why?