
I freeze on the Everoak staircase as Piglet whispers about shapes on the wall. You have yellow paint in your pocket and a memory shard somewhere behind a cracked plank. I know that one wrong move here can stall the whole mission.
A kid tracing honey on a school desk: How to complete Interlude 3: The Shadowy Surprise in Disney Dreamlight Valley
After finishing Chapter 9 you meet Piglet and carry the yellow paint from the finale. The Everoak Tree is the next checkpoint: use that paint to push past the fog and gain access to Nectar Apiary. This guide walks you through the puzzle, the shadow trick, a known wall hitbox bug, and the materials you’ll need to clear the bridge and continue the story.
A child draws three symbols on a napkin: Solve the puzzle to open the door
You descend the Everoak staircase and hit a floor with three question-mark tiles. You need to trigger them with the Royal Shovel and match each number to the correct icon.
How do I solve the Everoak door puzzle?
Scan the room for icon clues and step on a tile to cycle its symbol. The exact sequence that worked for me is:
- Flower
- Honey pot
- Honey pot

The puzzle is a Rubik’s Cube of icons: read the wall clues, step carefully, and don’t rush your sequence.
An attic where shadows look larger than they are: Collect honeypots from around the room to block the shadows
Inside the next chamber, water the Honeyglow Lantern and speak to Piglet. He’s terrified of the three silhouette-shadows on the wall. Take photos of each shadow from far back so they fit your camera’s vertical angle, then return and follow Piglet’s lead.
Where are the honeypots in Interlude 3?
Piglet needs four honeypots to block the projections. Here’s where to find them quickly:
- From the room entrance, turn left and clear the Twistroots to dig a small red pot from the ground.
- Fish at the orange ripples in the honey falls for a pot.
- Clear the empty circle of Honey Swirls by the falls to reveal another honeypot.
- Clear the Honey Swirls on the opposite side of the room to find a large yellow honeypot.
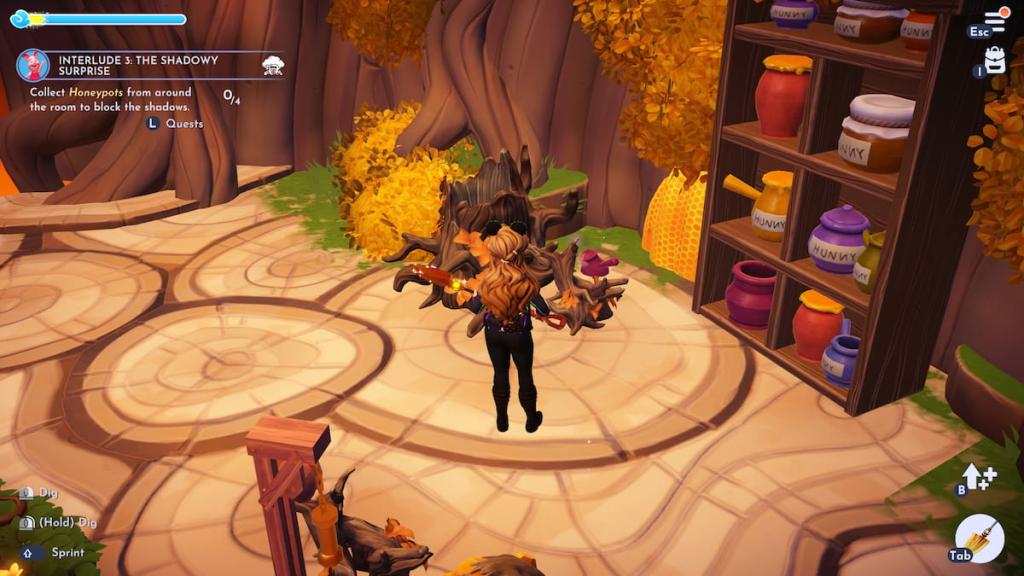
Place a pot on each of the four rings, then flip the left handle three times and the right handle twice. Return to Piglet and he’ll react—this stage clears the threatening silhouettes so you can proceed.
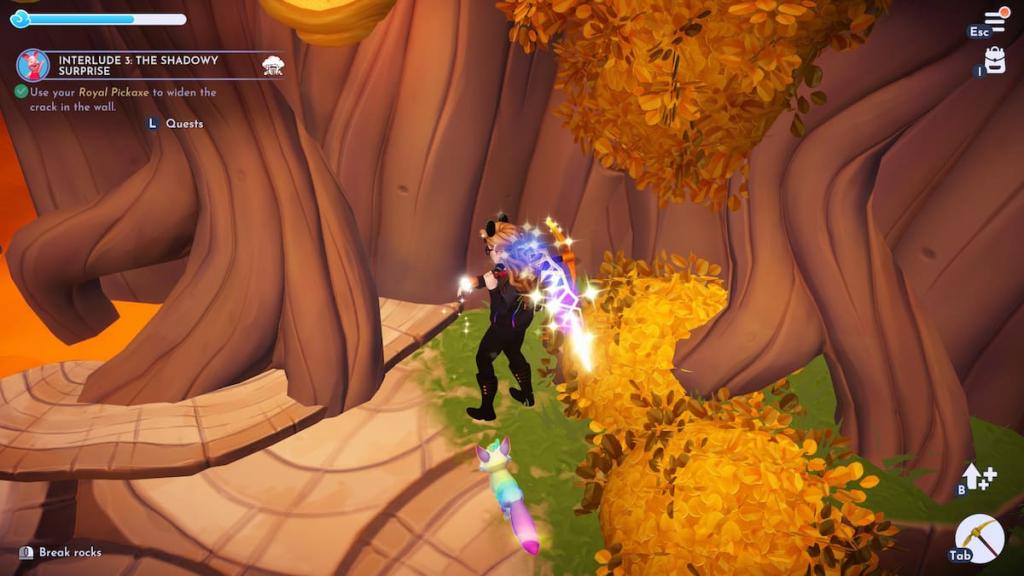
A neighbor tapping a cracked fence with a hammer: Use your Royal Pickaxe to widen the crack in the wall
After the shadows, Piglet hints the wall hides the Sun-Glow Honeypot. You must widen a crack with the Royal Pickaxe to reach it.
How do I fix the wall bug in Everoak?
There’s a known hitbox bug that can stop progress: the angle is very precise. Stand close to the bush beside the crack, face the wall, and swing the pickaxe from that spot. The fog clings like damp wool, so patience and tiny angle adjustments pay off. If you still fail, reload the area or try on another platform—players on Steam and console platforms (PlayStation, Xbox, Epic Games Store) report the same workaround helps.
A porch with loose boards and a pile of supplies: Restore the Bridge to reach the Nectar Apiary
Widening the crack yields the Sun-Glow Honeypot. Place it in the alcove, speak with Piglet, and you’ll receive a Memory Shard—but the fog still blocks the Nectar Apiary entrance. Repair the bridge to open the path to Honeyglow Woods’ final biome.
You can do three optional tasks while here: repair the Busy Bees’ House in Braveheart Grove, complete Piglet’s friendship quest The Most Unexpected Friend, and add 10 decor pieces to Braveheart Grove. These are optional if you’re pushing for a fast run.
Materials required to repair the Nectar Apiary bridge:
- Honey Trifle
- Honey-Glazed Plush Fish
- Golden Honey (9)
- White & Pink Foxglove (6)
- Yellow & Orange Foxglove (6)
Food recipes you must cook while gathering materials:
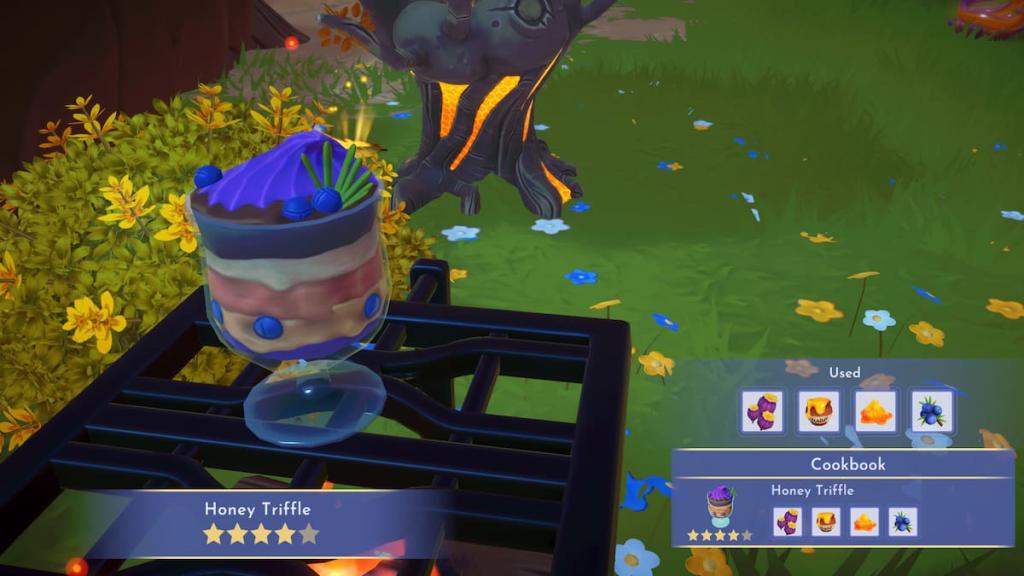
Honey Trifle — Pufflebud Pods, Golden Honey, Tree Resin, Juniper Berries.
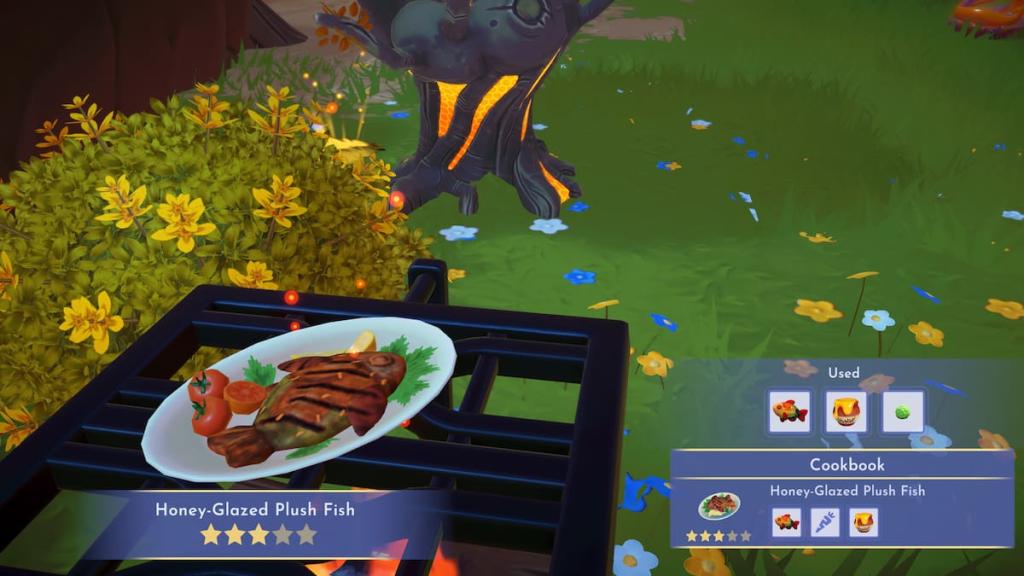
Honey-Glazed Plush Fish — Plush Fish, Golden Honey, Any Vegetable. If you don’t have Plush Fish, target the orange water ripples around Honeyglow Woods.
Gather flowers across your three unlocked biomes, check beehives for Golden Honey, and prepare the two dishes above. Once everything is in place and the bridge materials are assembled, repair the bridge to open the path to Nectar Apiary and trigger Chapter 10: Most Grand Adventure.
This quest has a mix of puzzle logic, a small stealth of nerves with Piglet, and a fiddly wall hitbox that rewards patience; you can finish cleanly on Steam, Epic, PlayStation, or Xbox if you know where to angle your hit—what will you do the next time the shadows move? ?