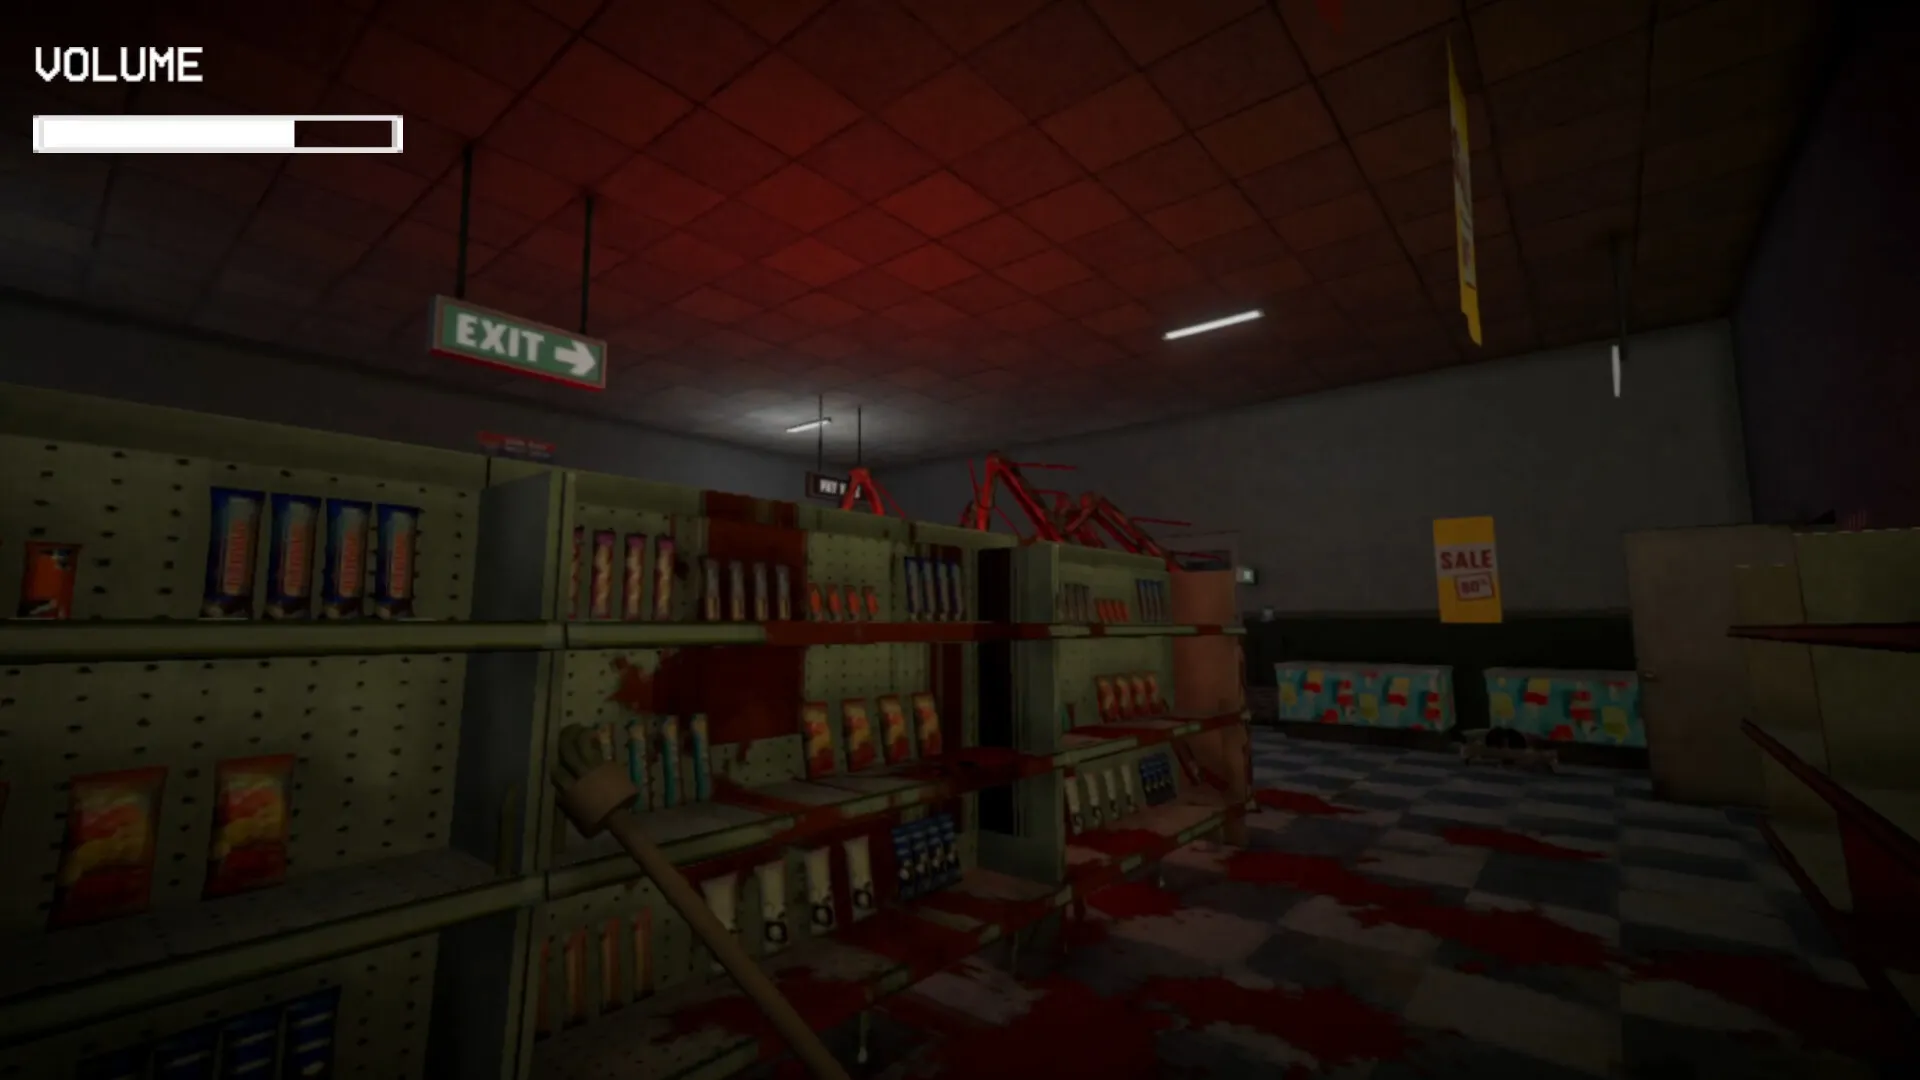
The midnight bell tolls. You kneel behind the register as a shadow tests your wiring and your patience. One wrong placement, and the store will tell the story for you.
I’ve spent enough nights on Shift at Midnight to stop guessing and start engineering outcomes. I’ll tell you which trap to buy, where to plant it, and when you’re wasting money — in plain terms, with examples you can replicate on Steam or mobile builds. You’ll read less tips and get more usable decisions.
A quiet aisle full of spilled cans is where most fights begin. All traps in Shift at Midnight
Shift at Midnight currently gives you three practical tools to convert panic into control: Bear Trap, Stun Mine, and Flame Trap. Kwalee’s visuals and Moyens I/O coverage make the threats obvious, but the difference between surviving and panicking is knowing what each trap actually does.

- Bear Trap: A one-shot trigger placed on a tile; it snags any doppelgänger that steps on it. Cheap, reliable, and great for baiting.
- Stun Mine: An area effect that freezes enemies and animals caught in its radius. It doesn’t kill, but it steals momentum and gives you breathing room.
- Flame Trap: A high-damage area trap that burns anything inside its blaze. It’s the most expensive option — expect to pay roughly $40 (€37) per unit in practical economy comparisons — but it can finish the heaviest foes.
What traps are in Shift at Midnight?
If you’re skimming the Steam forums or comparing notes on Reddit, remember the catalog is simple: crowd control (Stun), single-target snare (Bear), and burst damage (Flame). The question isn’t what exists — it’s which one you need that night.
Most fights in this game happen where sightlines choke down to a corner. How to use traps in Shift at Midnight
A stacked endcap or a broken checkout creates a natural funnel; that’s your stage. Place traps where enemies turn, not where they march in a straight line, and you’ll squeeze more value from every purchase.

- Bear Traps for Hunters and Brutes: Use them as bait behind a shelf or near a turned corner. A triggered bear trap converts a chase into a stop-gap; place a second trap a step away and the chase becomes a trapline. Bear traps are like a mousetrap under a rug—quiet until something tries to run over it.
- Stun Mines for crowd control: Place near choke points and intersections. Don’t waste them early; they’re most valuable when enemies start moving faster and grouping on you. Save them past night seven unless you’re experimenting with aggressive setups.
- Flame Traps for endgame threats: Reserve for named or armored enemies that shrug off bear traps. The flame area can shred HP quickly and leave a burning zone that deters pursuers. Think of the Flame Trap as a flare in the fog—expensive, bright, and unmistakable.
How do I use traps effectively?
You want placement, timing, and economy to work together. Rotate purchases between bear traps and stun mines until you can afford one Flame Trap for late-night bosses. If you’re playing on Steam or comparing mobile patches on Google Play, patch notes from Kwalee can shift which enemies appear early or late.
Which trap should I buy first?
Start with bear traps. They cost the least in most runs and pay back through saved health and fewer frantic sprints. When your store layout creates predictable lanes, double down on cheap snares and only add a stun mine when enemies begin to bunch up.
I won’t stop you from experimenting — that’s part of the fun — but you should always buy with intent. Each trap is a story beat: a bear trap writes delay, a stun mine writes confusion, and a Flame Trap writes an ending. Which ending are you trying to write tonight?