
I was standing on the lighthouse deck when the Spider Crab dropped from the cliffs and my boat keys slid from its claws. I remember swearing, loading shells, and thinking I’d wasted my last healing item. You don’t notice how small choices stack until a boss eats your mistakes for breakfast.
I write this as someone who’s died, learned, and reloaded more times than I’d like to admit. You and I will strip each encounter down to what matters: the lure, the weapon, the moment to push. These are practical tactics, told in plain language, with screenshots from Moyens I/O and notes for Steam players who want a clean run.
On real fishing trips you read the water; in How to Fish you read the boss patterns. Here’s the quick map: beat the Lighthouse boss to get boat keys, complete NPC quests to open islands, and defeat island bosses to progress the story. Below I break down every boss and miniboss you’ll face, what summons them, and the reliable moves that saved my run.
Spider Crab
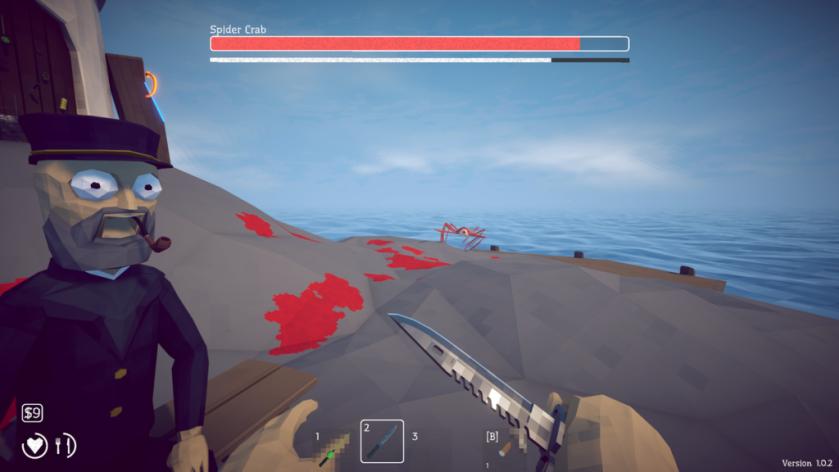
You summon it with an empty beer can. The Spider Crab is a ticking time bomb: it charges, gets stunned, and leaves you a narrow window to punish it. Stay close enough to bait the rush, sidestep when it commits, and land three to four hits while it’s stunned. If it hops, don’t chase—give it room or it will vanish, costing you time and momentum.
How do I summon bosses in How to Fish?
Bosses appear when you use specific lures or leave certain bait out. The game telegraphs requirements—Beginner Boss lure, Standard Boss lure, Professional Boss lure, and bespoke baits such as the customized Carrot or customized leech. Think of lures as keys: the right key opens the right boss door.
The Old Pike
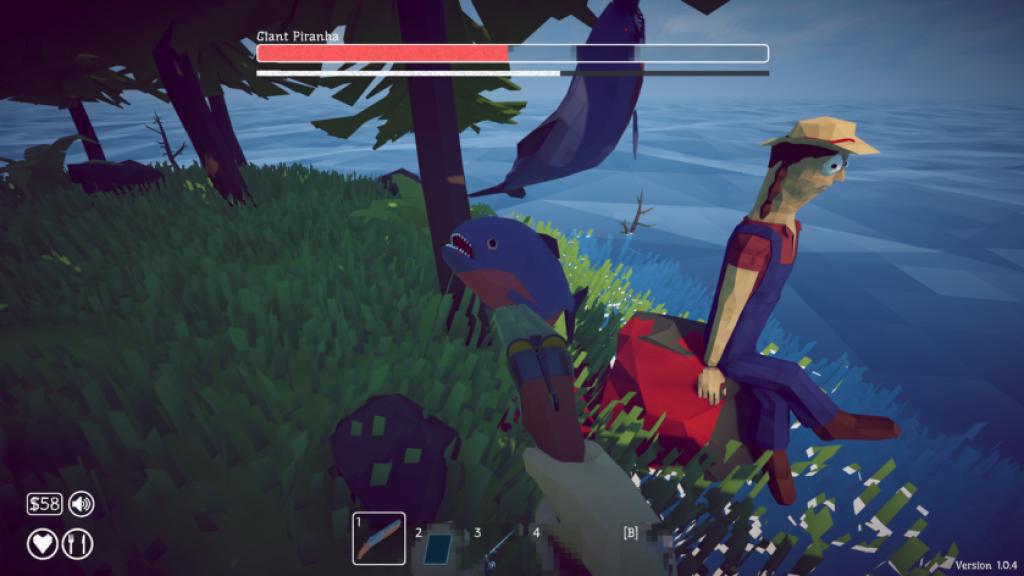
Observation: small, flopping threats often teach you patience. Summoned with the Beginner Boss lure, the Pike is forgiving—its tail flops are annoying but not crippling. Equip the shotgun you can buy on Steam or from the in-game shop and keep spacing; its attacks are telegraphed. This fight is more about economy than flair—conserve heals and chip away.
Giant Piranha
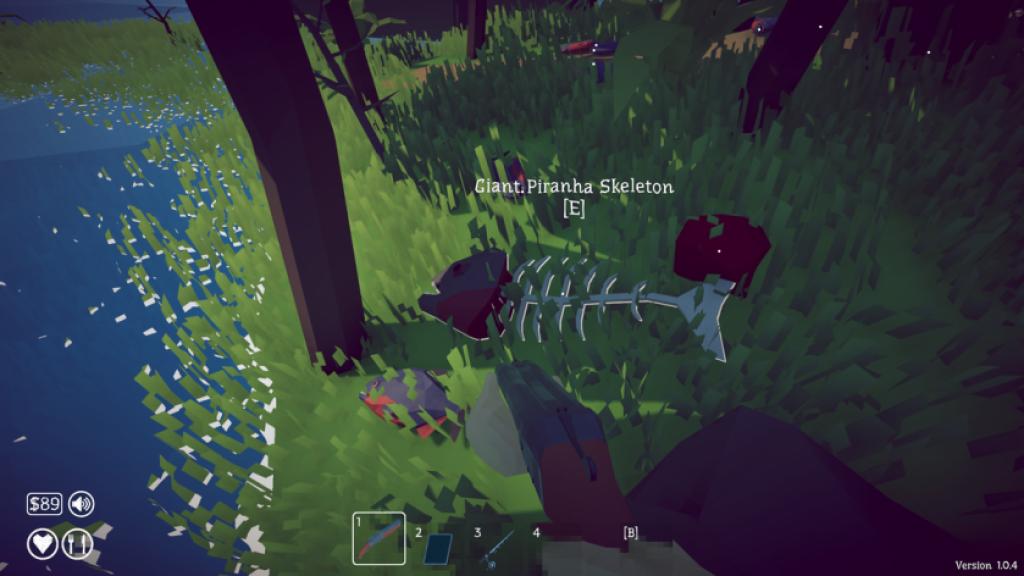
Observation: small enemies in packs are more dangerous than a single heavy hitter. The Giant Piranha, brought in with a customized leech lure, comes with a swarm. Your priority is thinning the minions first—use ranged fire to reduce numbers, then bait the boss’s jump and sidestep. Keep healing items ready; the piranha’s bite combo will punish sloppy movement.
Blue Shark
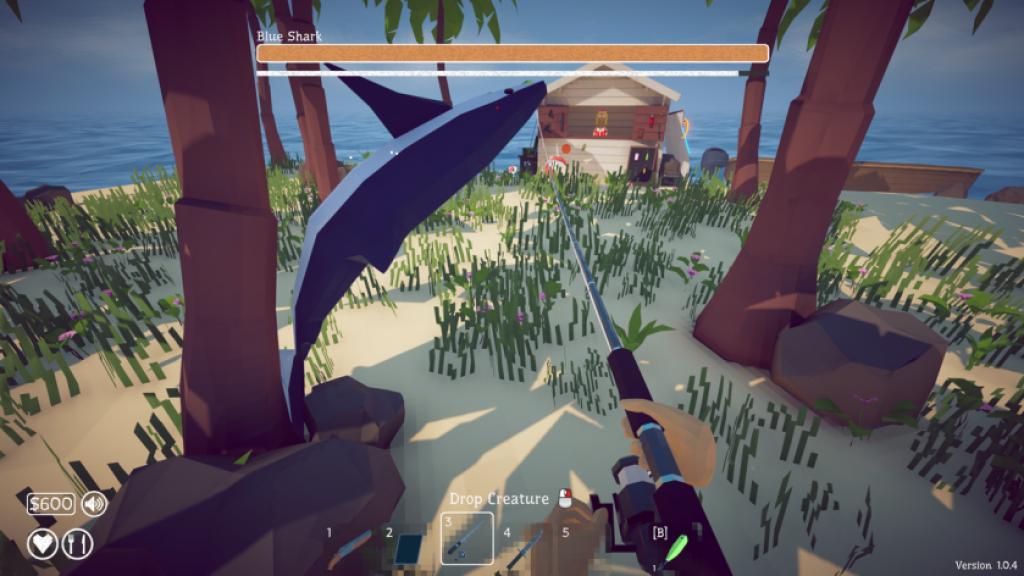
Observation: spinning chargers are less about brute force and more about control of space. Use the Standard Boss lure to call the Blue Shark. It attacks in a spinning charge, so keep your distance and use the shotgun—upgrades help a lot. If you play on a Steam Deck or a console like Nintendo Switch, make sure input lag is minimal; poor responsiveness turns the shark’s pattern into an unfair surprise.
Pufferfish
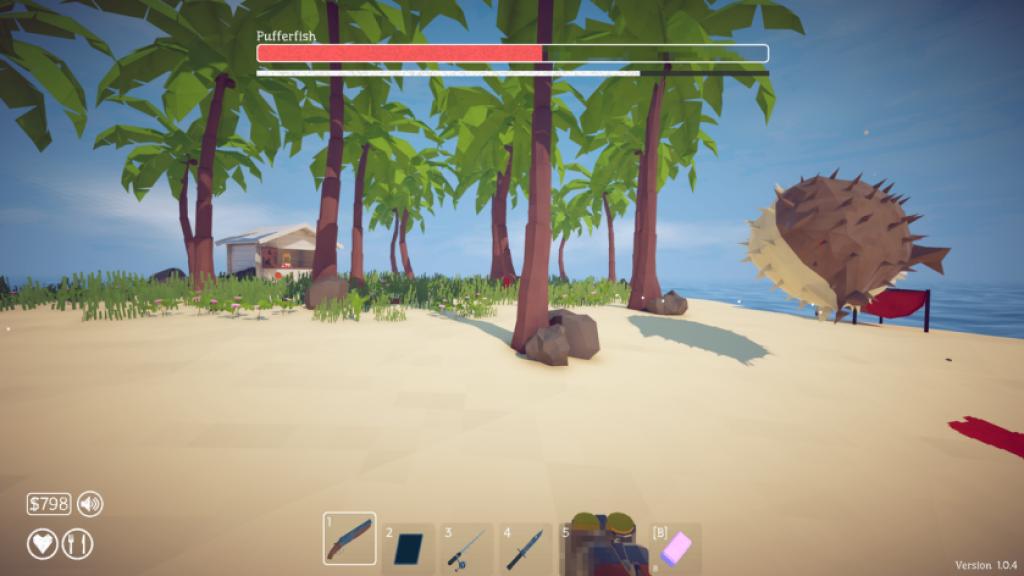
Observation: slow, predictable enemies let you pattern-recognize and punish. To spawn the Pufferfish you need the customized Carrot bait (talk to the tourist under the tree after you catch a Needlefish). It rolls slowly toward you—two shotgun shells and a retreat usually do the trick. Keep clear space; cornering is what turns this predictable fight into a messy one.
What bait summons the Pufferfish?
The customized Carrot bait is the ticket. You get it from the tourist after catching a Needlefish—so that Needlefish hunt is not optional if you want a clean run on this island.
Tuna
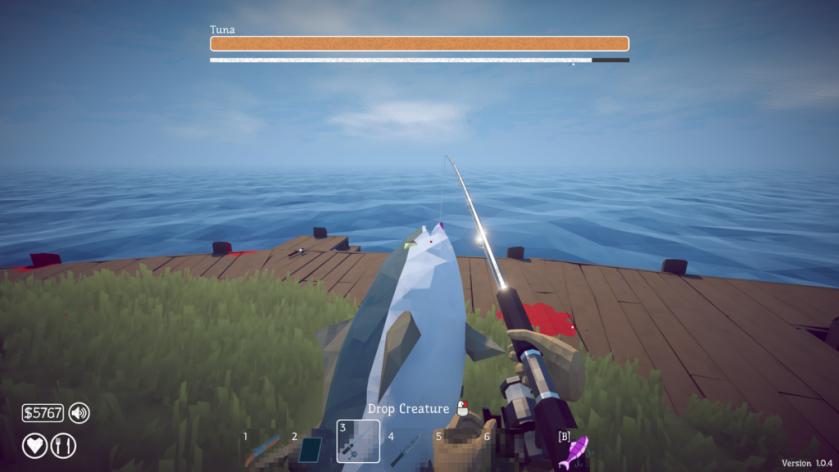
Observation: small arenas change what weapons are viable. Tuna needs the Professional Boss Lure and fights you in cramped space on Island 4. There’s no elegant dodge—this is shotgun territory. If you’ve upgraded bullets (I had three upgrades on my run), it’s straightforward; without damage investment you’ll be trading too many heals for progress.
Albatross
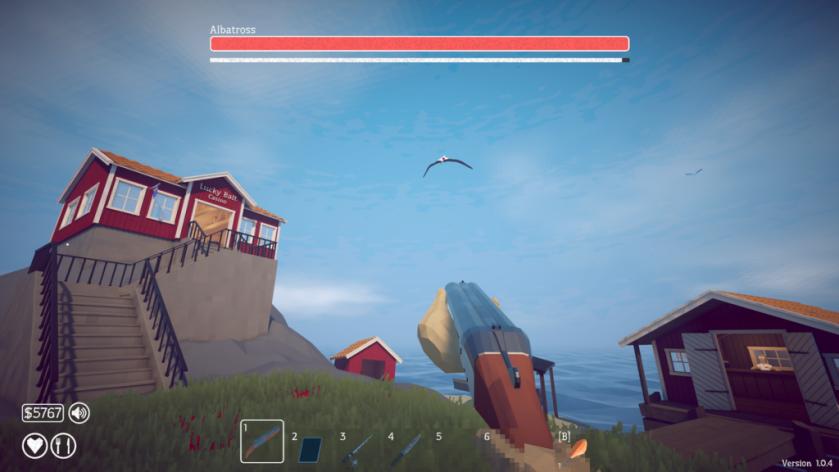
Observation: aerial threats force a change from close-quarters thinking to patient marksmanship. Lay the caught Tuna on the ground to call the Albatross. It is a flying artillery battery that buys distance and rains damage with its “poop” attack. Hide under cover when it reaches maximum range; your best shots come just after its bombardment or when it commits to a swoop. If you have a sniper rifle, this is where it repays every upgrade.
Bowhead Whale (normal and mutated)
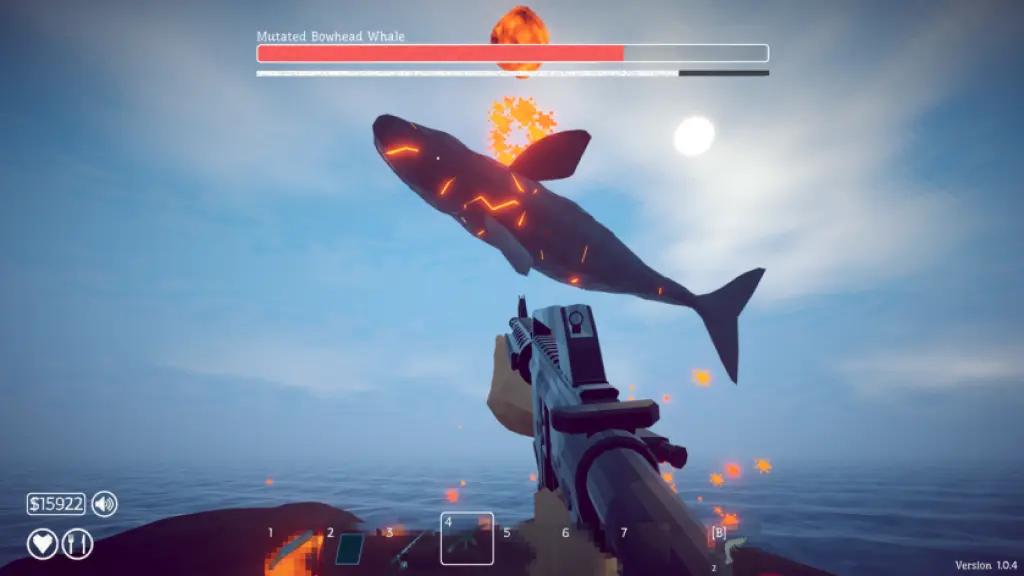
Observation: the biggest threats are also the simplest to mishandle. There’s no exotic trick for the Bowhead Whale. Run when it rises into the air—its body slam kills if you’re caught—and stock healing items. Buy the Assault Rifle and push every upgrade available; the whale is a damage contest that favors sustained fire. The mutated version adds falling lava from its body, so one-shot deaths are possible without respect for positioning.
Which weapon is best for the Bowhead Whale?
The Assault Rifle with all upgrades is your best bet; sustained DPS and range management beat burst-only builds. If you’re playing on Steam and have mods or quality-of-life tools, prioritize bullet damage and magazine size first.
Play the encounters slowly at first—learn the charge, learn the tell, upgrade the gun that matches the space. Use Moyens I/O screenshots to compare how attacks telegraph on each island, and if you want fewer surprises, run on PC with a wired controller for consistent input.
Which boss felt like the cheapest fight in your run and why do you think it deserved a rematch?