
I dropped into the Gap with one Hiss wave between me and a hard save. The Aberrant thrummed in my hands as the corridor tightened and choices blinked red. You feel that pulse—either you spend resources now, or you leave a thread of power on the table.
I’ve spent hours mapping the Aberrant’s trees so you don’t have to. I’ll show you where to spend Living Shards, which nodes pay off first, and how to tailor forms to your playstyle on PlayStation, Xbox, or Steam—straight, practical, no fluff. Think of the Aberrant like a Swiss Army knife: one tool, many solves.
How to Unlock Aberrant Forms in Control Resonant
Observation: Most players treat the hub like a pit stop—fast, random, then back to combat.
When you treat the Gap as its own mission, you get better choices. The Aberrant doesn’t open by talent points; it wakes when you feed it Living Shards and visit the right station. Here’s the short path I use every run:
- Collect Living Shards across Manhattan by clearing activities, investigating Resonant sites, and opening caches.
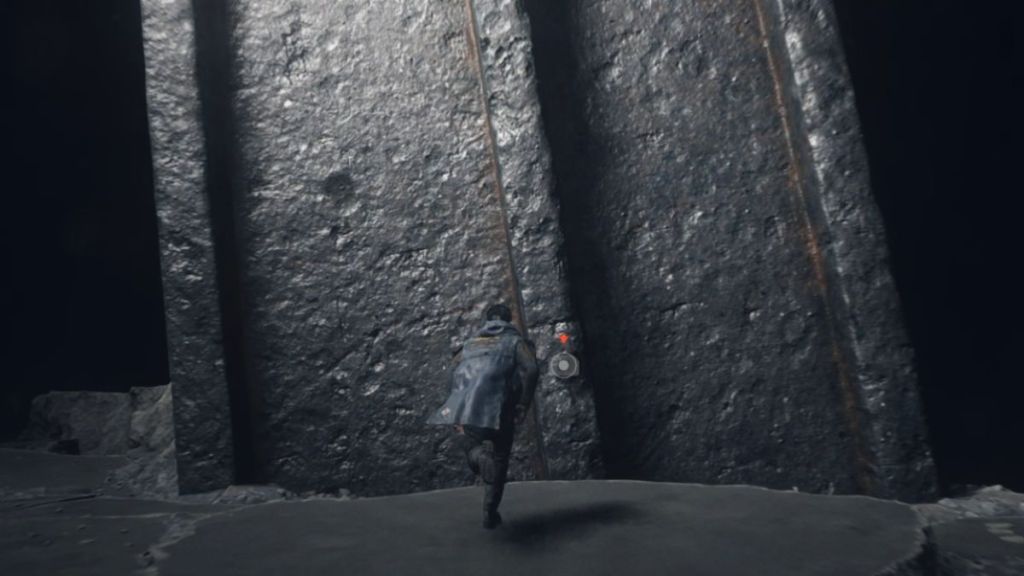
- Enter the Gap by holding the down button on your D-pad.
- Head down to the underground area and approach the tower-like progression terminal.
- Hold L1/LB at the tower to open the Aberrant interface, browse forms, and spend Living Shards to obtain a starting node for the form you want.
How do I unlock Aberrant forms?
Short answer: you spend Living Shards at the Aberrant terminal in the Gap. If a form isn’t available, keep exploring Manhattan—activities drop the materials you need.
How to Upgrade Aberrant in Control Resonant
Observation: Players often grab a single form and never return, leaving useful nodes unused.
Return visits change a run. Upgrading is done at the same tower in the Gap; nodes require Living Shards plus secondary ingredients like Corrupted Elements and Source. I prefer unlocking a weapon’s core node first, then expanding outward into damage, charge, or crowd-control nodes depending on the fight type.
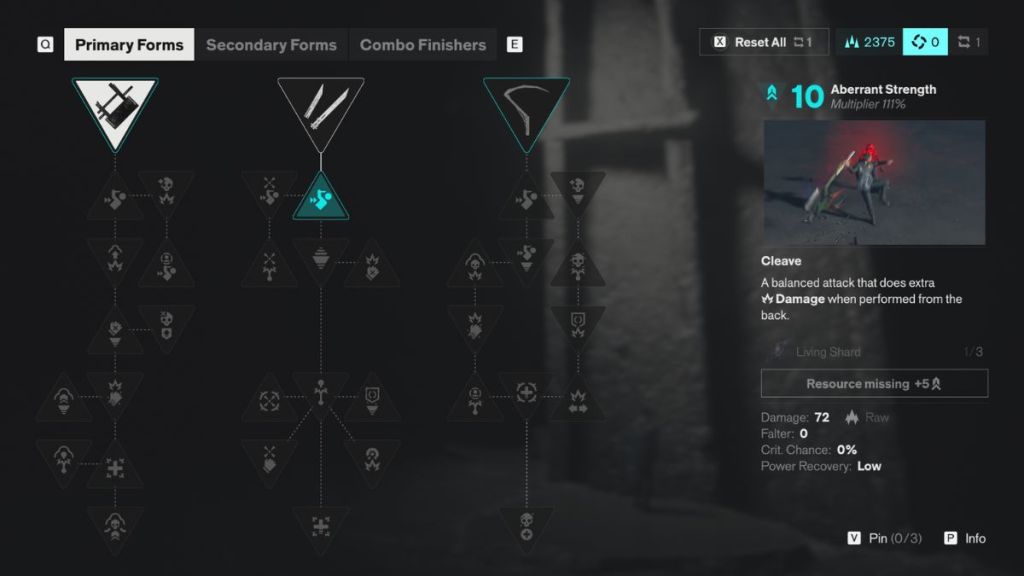
- Open the Aberrant progression screen at the tower and select the form you want to upgrade (Cleave, Strike, Glaive, etc.).
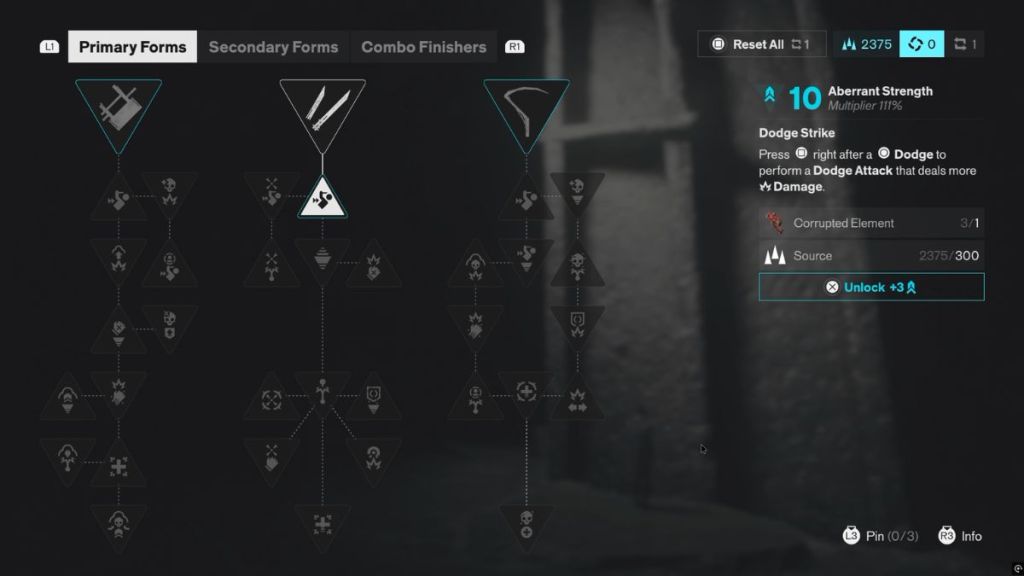
- Inspect each node on the right-hand side to see required materials—Living Shards, Corrupted Elements, Source, and occasional rare drops.
- Select Unlock for a node you want to activate and confirm the spend. Repeat until the form matches your build.
- If you regret a path, use a Reset Point in the Gap to refund nodes and reallocate materials.
How do I upgrade Aberrant?
Upgrade flow: collect the resource set, return to the Gap, open the tower, and spend. The platform (PlayStation, Xbox, Steam) doesn’t change the interface—only your grind pattern and comfort with the inputs.
All Aberrant Forms in Control Resonant
Observation: Weapon forms often tell you what fights to pick—fast forms shred small mobs; heavy ones punish bosses.
The Aberrant shifts between Primary, Secondary, and Combo Finisher roles. Choose forms that work as a pair: a fast Primary for DPS and a Secondary for control or stagger. The Combo Finishers add flourish and often scale with your invested nodes.
What are the Aberrant forms?
Primary Forms
- Cleave: A balanced blade with solid reach and reliable back attack bonuses—versatile for most encounters.
- Strike: Twin blades for fury and speed; high critical potential against smaller or staggered targets.
- Glaive: Scythe-like arc coverage for crowd-control and staying out of melee clumps.
Secondary Forms
- Crush: Heavy hammer for knockdown and charged impact damage—useful when you need to end a threat quickly.
- Extend: Whip-like reach to hit multiple targets at a distance; charge attacks add flexibility.
- Drill: Motorized spear that charges into a Falter effect—high single-target payoff when landed.
Combo Finishers add a signature kick to a chain and scale with your node choices—pick one that amplifies either stagger or burst damage depending on how you play.
Quick tips from my runs: prioritize one Primary node that boosts raw damage or speed, then mirror it with a Secondary node that fills a hole—reach, stumble, or burst. If you use GeForce NOW or cloud PC on Steam, you can test forms faster across sessions.
Reset Points exist so you can experiment without burning your run—use them like saves in a laboratory, not a safety blanket. Which Aberrant pairing will you double down on next run?