
I hit the frozen platform with my breath clouding the lamp light, hearing the distant thump of a frigate engine. I had thirty seconds before Flash Freeze began to bite through my armor, and I told myself you move fast or you lose it all. That small, sharp decision—go for the key room or hole up and farm lockers—defines every run on Pendola Pass.
Arc Raiders Pendola Pass Map Key Details
The train station roof is coated in rime and the wind pushes sleds past the ticket booth.
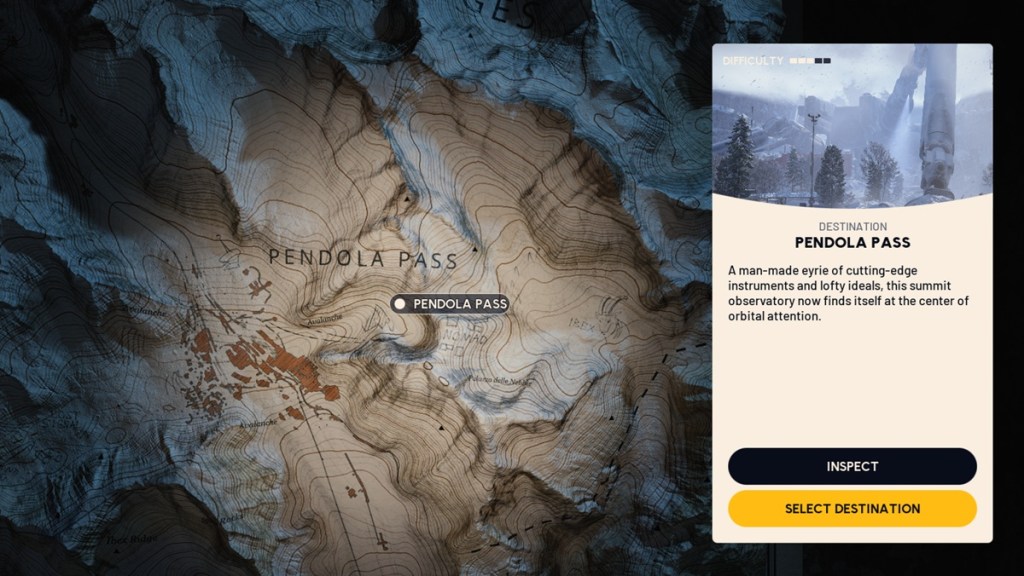
Here’s the short version I want you to carry into your first drop: the map runs a Flash Freeze condition—an ice storm that constantly ticks damage to anyone outside. Doors and passageways freeze shut; only flame-based tools will thaw them. And because loot value is randomized on Pendola Pass, you cannot rely on a single room for consistent high-tier spawns—planning beats rote routes.
Other map behaviors to note:
- Frigate: A flying ship arrives and must be sabotaged and boarded for large, risky rewards.
- Redirection: Damage emperor beacons must be looted and then redeployed to route loot to a chosen extraction point.
If you use tools like the Arc Raiders Discord community or check the Steam discussions and YouTube clips, you’ll notice players coordinate Frigate timings and transceiver points—tactics that tilt risk into reward.
All Arc Raiders Pendola Pass Locations
The map stretches from telescopes down to a frozen river, a rail complex sitting like a wound in the snow.
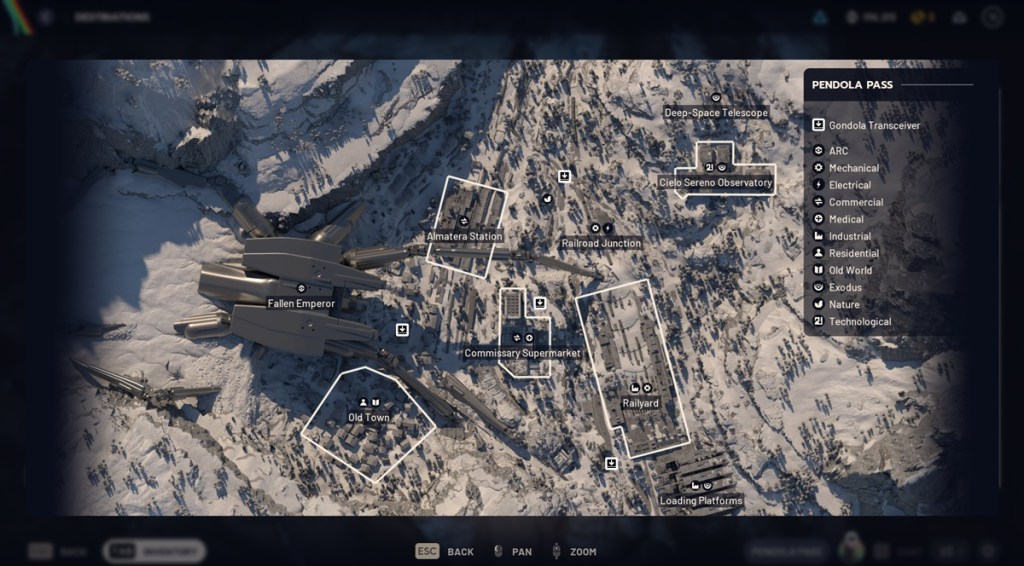
Memorize these zones; they influence which transceivers and keys appear.
- Northern Tracks
- Researcher Lodgings
- Dispatch Tower
- Frozen River
- Deep Space Telescope
- Cielo Sereno Observatory
- Almatera Village
- Fallen Emperor
- Old Town
- Piazza della Rupe
- Almatera Station
- Porta Benvenuti
- Freight Terminal
- Railyard
- Commissary Supermarket
- Railroad Junction
- Weather Station
- Loading Platforms
- Southern Pass
- Old Hamlet
- Truck Stop
- Electrical Substation
- Frozen River
Where are the best loot spots in Pendola Pass?
If you ask Steam threads or watch early Twitch streams, the consensus is simple: Railyard and Commissary are loot-dense but hot. Railyard has tens of containers and lockers; Commissary is a maze of shelves that yields medical and consumable spawns. Because the map randomizes value, prioritize volume and quick exits over a single “rich” chest.
How do you access the Fallen Emperor?
The Fallen Emperor uses an Emperor Gateway Conduit key. That key shows up from Frigate runs, redirection events, or high-tier container pools—so you either gamble on Frigate boarding or funnel resources to the beacon route. If you get inside, expect arc-related rewards and potentially weapon blueprints.
Almatera Station Pendola Pass Location Guide
The ticket hall has an overturned cart and a half-broken clock that still ticks at one beat every few seconds.
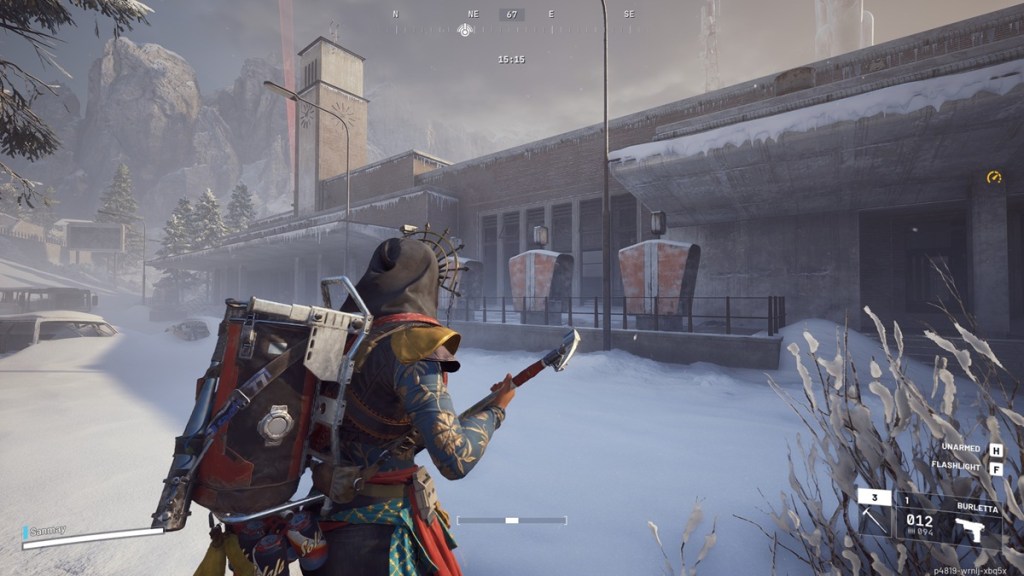
Almatera Station is a commercial hub with a high container density; you’ll often find trinkets and the occasional rare model.
| Attributes | Value |
|---|---|
| Loot Type | Industrial and Mechanical |
| Key Room | Pendola Pass Train Station Room |
| Priority Loot | Leviathan’s Crown Ship Model, TBD |
| Arcs | TBD |
| Other key things | Reckless Transceiver nearby |
How I play it: sweep ticket booths fast, clear wall lockers, then move toward the transceiver. If the Frigate timer is active, treat the station as a staging area for a board-and-grab.
Railyard Pendola Pass Location Guide
The Railyard smells of oil and old coal; cranes lean like statues above rusted cars.
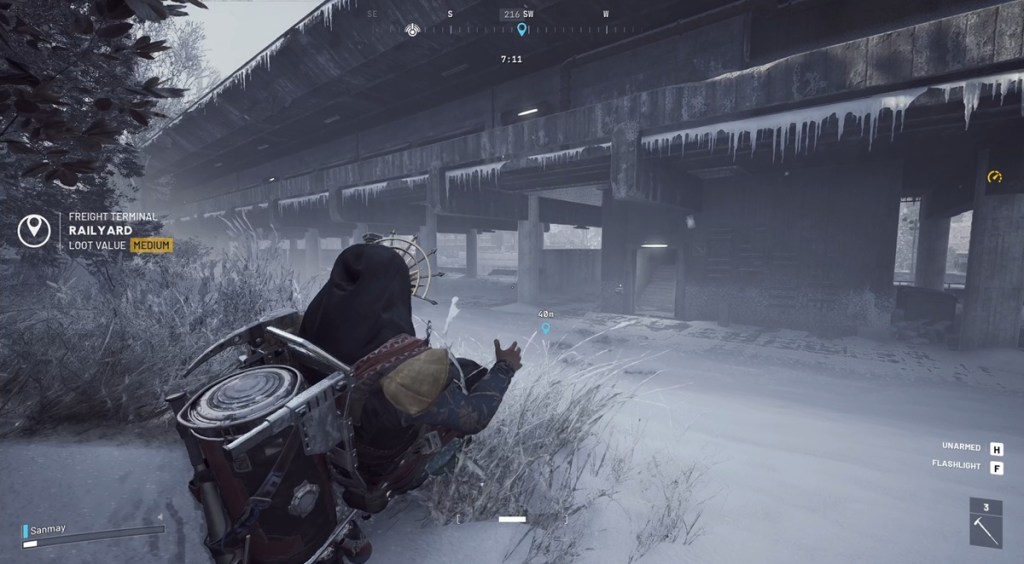
Railyard is a loot factory—tens of containers and wall lockers make it ideal for quick farming runs.
| Attributes | Value |
|---|---|
| Loot Type | Industrial and Mechanical |
| Key Room | TBD |
| Priority Loot | Augment Boxes, Weapon Crate, TBD |
| Arcs | TBD |
| Other key things | Great Mullein, Glacial Transceiver |
My tip: run the outer loop first—containers along the perimeter are fastest to clear and give you options to rotate to Commissary or the Freight Loading Platforms if heat rises.
Fallen Emperor Pendola Pass Location Guide
The Fallen Emperor sits with a collapsed dome and cables spilling like braided ropes into the snow.
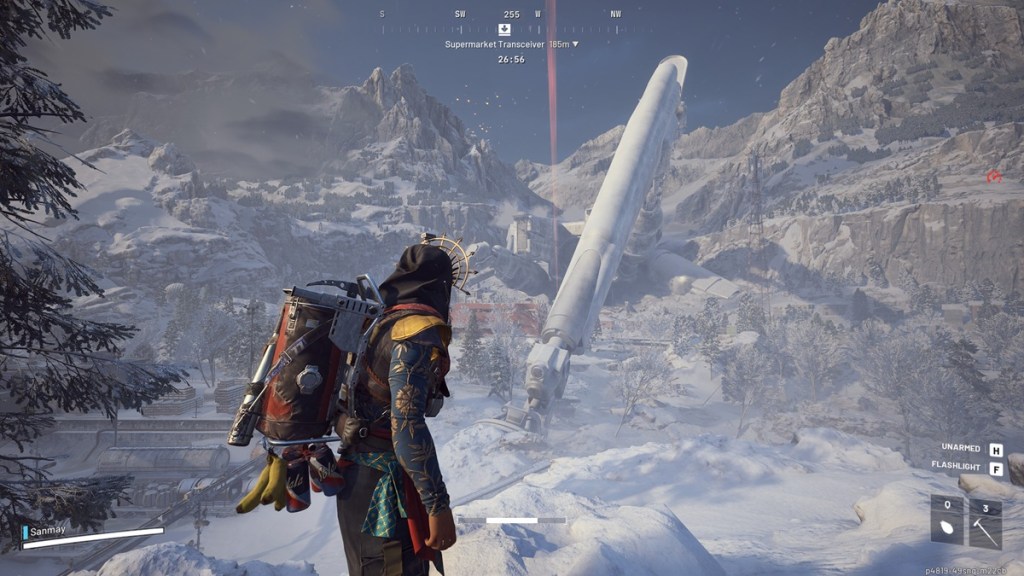
Fallen Emperor is the high-stakes vault: you need an Emperor Gateway Conduit key to get in.
| Attributes | Value |
|---|---|
| Loot Type | Arc |
| Key Room | TBD |
| Priority Loot | TBD |
| Arcs | TBD |
| Other key things | Reckless Transceiver nearby |
Playstyle note: if you’re carrying an Emperor key, move with at least one teammate covering the approach; the place attracts boarders and ambushes. If you don’t have a key, place yourself to intercept players exiting with loot.
Old Town Pendola Pass Location Guide
Old Town’s alleys are a patchwork of snow-dusted roofs and narrow doorways—perfect for close encounters.
Old Town is your go-to for Research spawns. Small houses mean many containers and natural cover; it’s excellent for stealthy pickups but easy to get ganked in tight rooms.
| Attributes | Value |
|---|---|
| Loot Type | Residential and Old World |
| Key Room | TBD |
| Priority Loot | TBD |
| Arcs | TBD |
| Other key things | Reckless Transceiver nearby |
Short run plan: sweep one street, clear houses, then use the narrow lanes to fade to the Freight Terminal or a transceiver point when heat spikes.
Commissary Supermarket Pendola Pass Location Guide
The supermarket aisles are a claustrophobic grid of shelving and checkout counters, with candles in broken display cases.
Commissary is excellent for medical and consumable items. It’s a sprawling interior that rewards methodical clearing—wall lockers, fridges, and storerooms all hide lootable containers.
| Attributes | Value |
|---|---|
| Loot Type | Commercial and Medical |
| Key Room | TBD |
| Priority Loot | TBD |
| Arcs | TBD |
| Other key things | Supermarket Transceiver |
Pro tip: hold the back storeroom doorway while your buddy bursts the front; the map’s interior creates predictable choke points.
Ceilo Sereno Observatory Pendola Pass Location Guide
The observatory dome tilts toward the sky, its broken scope pointing at a pale sun.
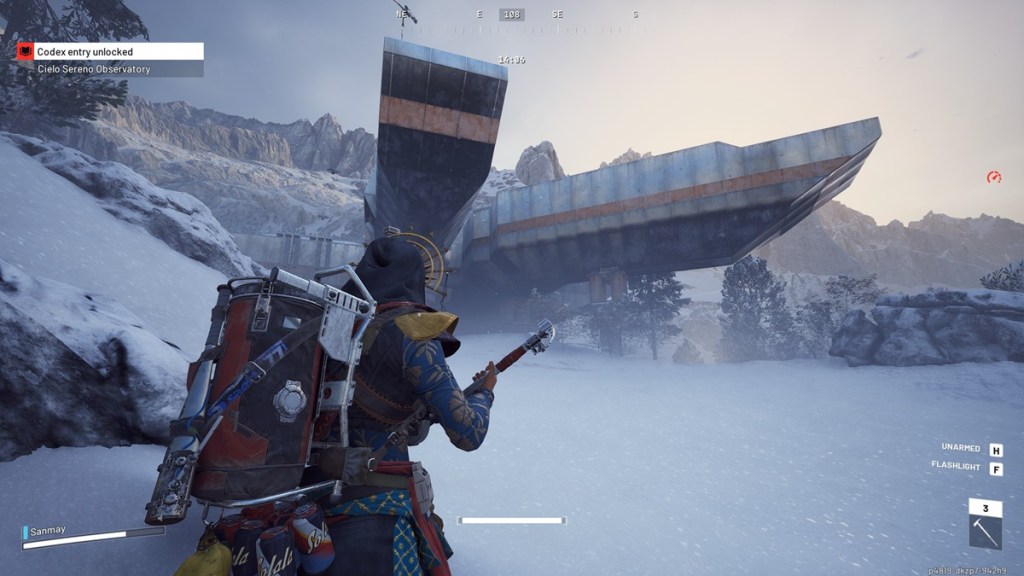
The observatory is heavy on breachable containers and industrial components—batteries, mechanical parts, and the like.
| Attributes | Value |
|---|---|
| Loot Type | Industrial and Mechanical |
| Key Room | Pendola Pass Observatory Room |
| Priority Loot | Augment Crates |
| Arcs | TBD |
| Other key things | TBD |
If you want Arc material, the Observatory is worth the cold walk—hold angles on the approach and watch for players rotating from Northern Tracks.
That’s the map in a practical, run-by-run form—Railyard and Commissary for volume, Fallen Emperor for the highest risk/reward. If you want to swap strategies or share spawn quirks, you’ll find the best debate on the Arc Raiders Discord and on Steam discussion threads—so which spot makes you take more risks?