
I fell into black water as a tentacle closed around my ankle. You felt how instantly the map shrank to that single cold breath. My options at that moment were as thin as a threadbare sail.
I’m going to walk you through Part 1 of the DREADMOOR campaign in plain steps: what to grab, where to go, and the small choices that stop you wasting hours. I play-tested the opening, bought parts on Steam, and cross-checked notes with Moyens I/O screenshots so you won’t miss the bits that actually matter.
At the waterline, the generator sits like a rusted fridge — getting it running matters more than flair
The campaign starts with a tentacle and a hard lesson: you need a boat. Your first mission is brutally simple and satisfying — power the generator, get the boat, leave the shallows.
Head straight to the generator and check the hut to the right. The fuel you need is inside that hut; pick it up and carry it to the generator. Once the generator receives fuel you can fire it and the game moves from survival to exploration.
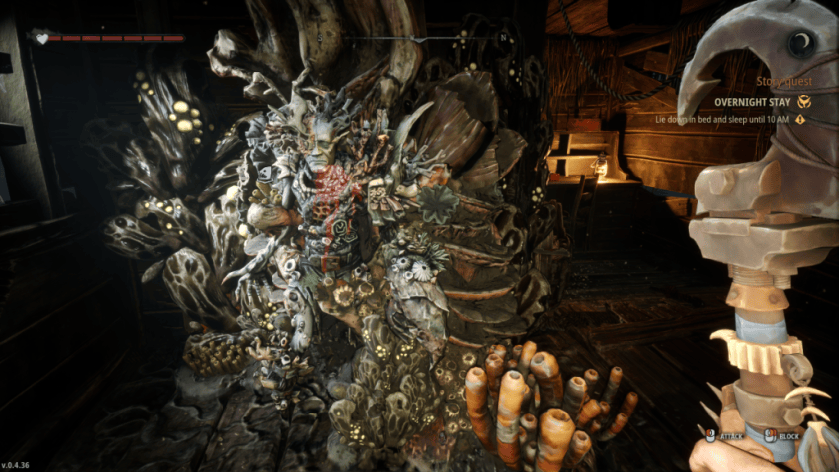
How do I get my boat in DREADMOOR?
Fuel the generator at the starting island, then claim the unlocked boat. Pick up the Hook Gun while you’re nearby — it makes travel and combat less tedious. Treat the generator as your first checkpoint; without it you’re stuck revisiting the same shallow bays.
On the village lane, the Church Settlement looks ordinary — but it hands you progress tools
You’ll find your first real weapon here. It clears small blockages onshore and opens routes you otherwise can’t pass. The settlement also contains the first bed: use it before nightfall to avoid the harsh survival penalties.
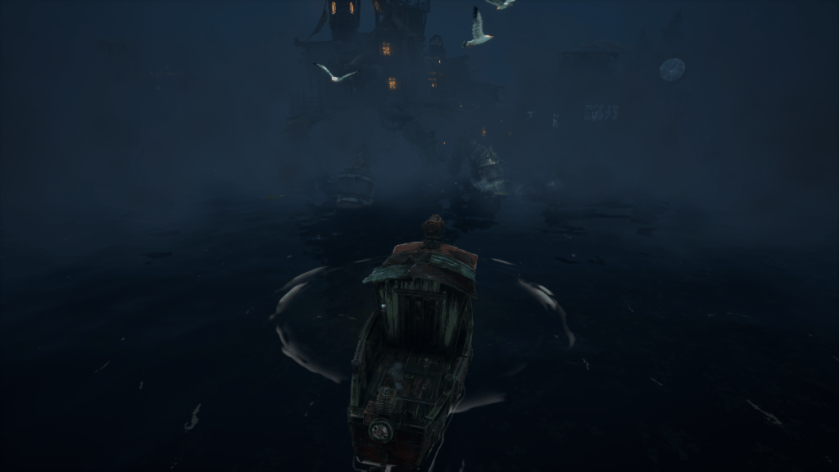
Where do I find the Fishing Rod in DREADMOOR?
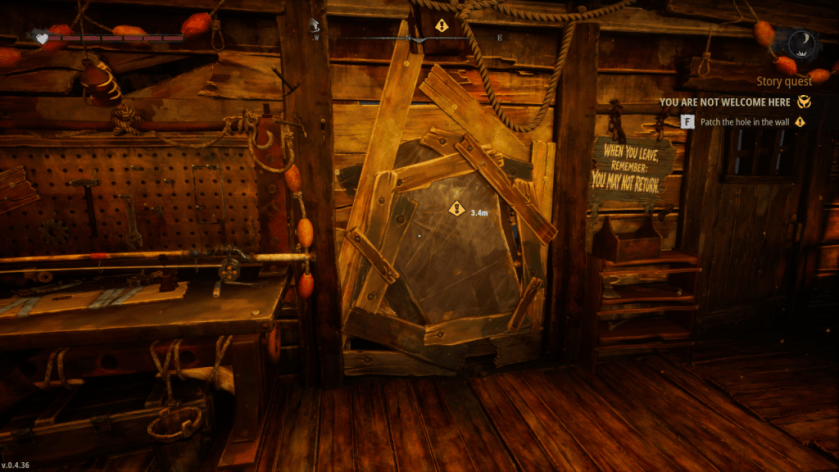
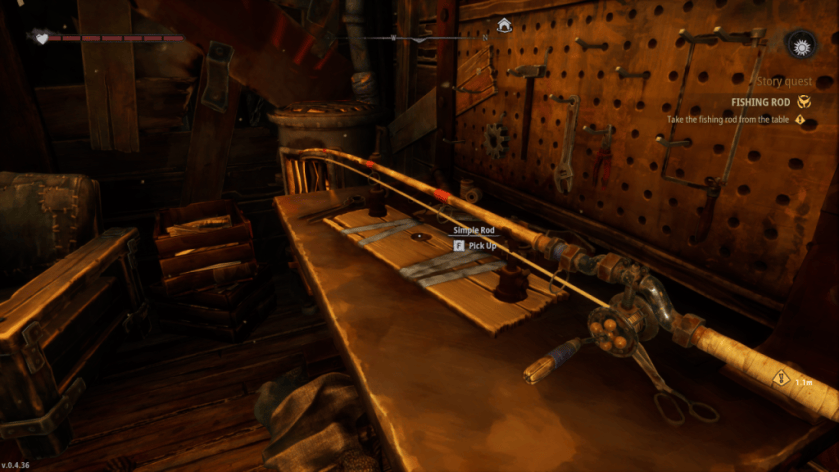
After you meet the trader at the Trading Post, return to your shelter and patch the hole in the wall. Inside you’ll find the Simple Rod. Get some sleep first — the bed resets your risk for night encounters and gives you a clean window to fish.
By the quay, the Trading Post feels like a small market — its NPCs sell options, not miracles
The trader gives quests and blueprints; you can buy recipes if you want a faster route to upgrades, but they’re optional for Part 1. Follow the trader’s quest to warm up your map and reveal nearby points of interest.
After the Trading Post work, repair the hole in your shelter, find the Simple Rod, and start fishing to stock resources you’ll need for the Dry Dock door.
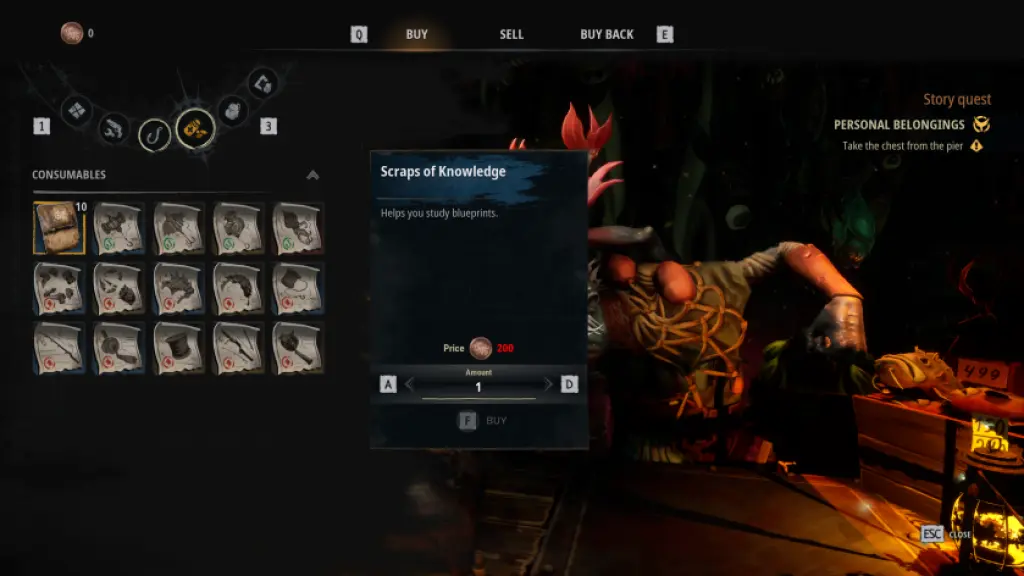
At the Dry Dock gate, the Engineer waits — you trade parts for workspace
Get the resources the Engineer asks for and speak to him to open the Dry Dock. This gives you a spot to clean and upgrade your ship away from hostile waters.
How do I upgrade my ship in DREADMOOR?
First, gather the required materials and unlock the blueprints you want to craft. Use the Dry Dock to clean polyps off the hull with the water pipe, then install upgrades crafted from the blueprints. The Engineer’s shop is the short path to a safer boat and more inventory slots.
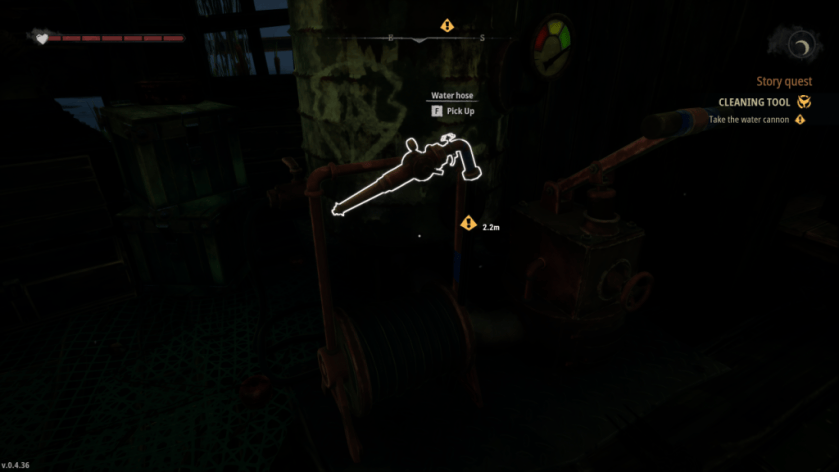
At the shipyard, the hull is a mess — cleaning is tedious but non-negotiable
Use the water pipe to wash polyps off the hull before you try to install anything. If you skip this step upgrades won’t fit and resources are wasted. After cleaning, craft the upgrades from blueprints and fit them in the Dry Dock.
This completes Part 1: you should now have a working boat, a Basic Rod, a Hook Gun, and access to the Dry Dock. Your next play session will be less guesswork and more decisions.
I referenced Steam for platform notes, tested on PC, and used Moyens I/O images to verify location markers — that saves you experimental hours. Are you going to keep playing the cautious route or throw your boat at every unknown island and see what breaks?