The generator hiccuped, the lights flickered, and the puzzle box on the Chairman’s desk suddenly felt personal. I had twenty minutes of shotgun shells and a head full of wrong guesses. You can keep guessing—or you can follow what I learnt the hard way.
I played through every corridor in Resident Evil Requiem, pulled apart the clues, and tested each solution so you don’t waste ammo or time. The clues are like crumbs: small, easily missed, and maddening once you realise how close you were.
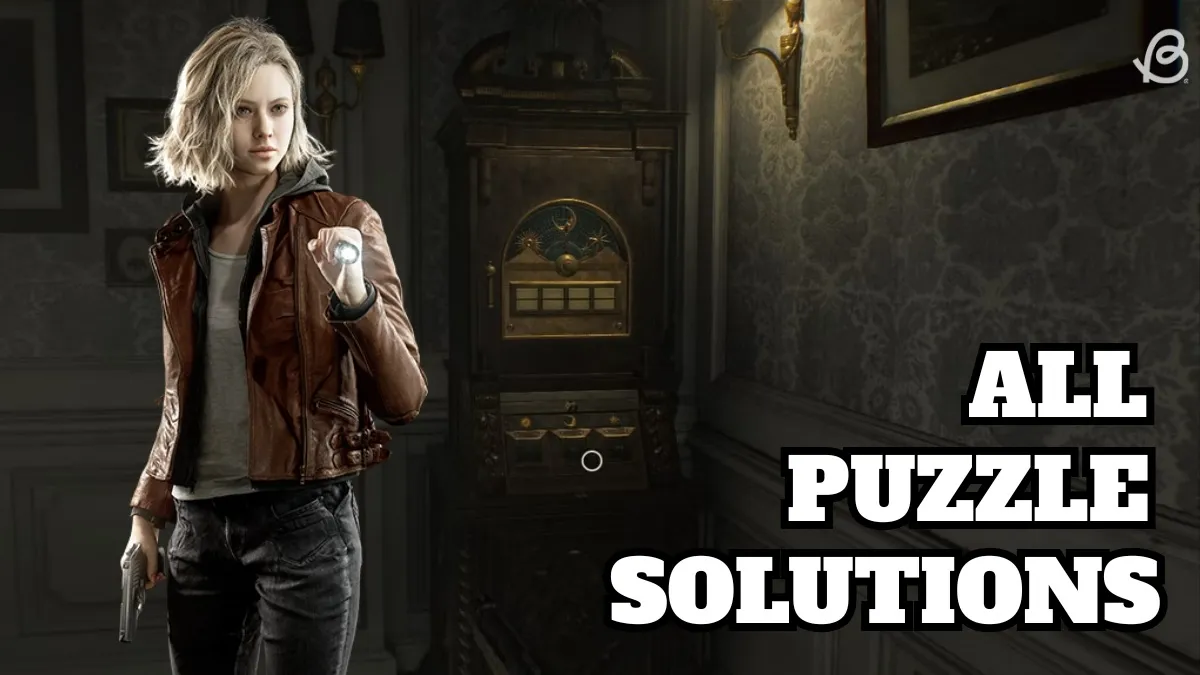
Resident Evil 9 Puzzle Solutions
There are coffee rings stamped into the map on the researcher’s table — a tiny sign of where people actually used the room.
Below is a compact reference of every puzzle, the exact button-presses or clicks you need, and what each one gives you. Use this as your quick checklist when backtracking through labs, offices, and suites.
| Puzzle Name | Solution | Rewards |
|---|---|---|
| Chairman’s Office Puzzle Box | Moon, Sun, Star, Moon | Moon Quartz |
| Lead Researcher’s Office Puzzle Box | Star, Sun, Moon, Sun | Leatherbound Notebook (Organ Transport box unlock clue) and Sun Quartz |
| Organ Transport Box | 1. Put the slider in the middle 2. Press Button 5 3. Press Button 2 4. Turn the knob to AUTO |
Artificial Lungs |
| Analyzer Blood Specimen (Denatured) | Click on the second square from the left | Crafting Recipes for Handgun Ammo and Hemolytic Injector |
| Analyzer Blood Specimen (Converged) | 1. Click on the top square that joins the two above it 2. Click on the second bottom square |
Crafting Recipes for Med Injector and 12.7x55mm Ammo |
| Analyzer Blood Specimen (Reversible) | 1. Click on the left-most square 2. Click on the bottom central square on the left 3. Select the extreme right square 4. Click on the bottom central square on the right |
Crafting Recipes for Steroid and Stabilizer |
| Analyzer Blood Specimen (Polymerized) (Insanity difficulty) |
1. Click on the middle square in the left-most line. 2. Click on the middle square in the right-most line, directly opposite the first one. 3. Click on the middle square in the bottom line. |
30 Handgun ammo and Crafting Recipe for R.I.P. Knife |
| Security Manager’s Office Puzzle Box (Braille) | 1. Interact with the notebook on the table while having the Puzzle Box to get the Level 3 Wristband 2. Use it on Emily’s cell and bring her to the Puzzle Box 3. She solves it automatically |
Star Quartz |
| VIP Suite Double Helix Puzzle | 1. Interact with the wine bottle 2. Rotate it to reveal the hidden Double Helix Model inside 3. Insert it on the lectern. |
– |
| Safe Codes | Check our Resident Evil Requiem Safe codes guide. | 6 Antique coins, Raccoon Roundup Map, 25 Handgun Ammo, 1 Molotov, 2 Med injector, 1 Empty Bottle, and 1 Bottle of Acid |
Resident Evil Requiem Chairman’s Office Puzzle Box Solution
There is a faint pencil sketch on the Chairman’s desk — the kind of scribble you only notice when you’re crouched over a lamp.
Answer: Moon, Sun, Star, Moon
You can replicate the sketch with a pencil on the notebook near the desk to make the symbols clear. If you miss the clue, the sequence above is guaranteed: set the dial to Moon, then Sun, then Star, then Moon and take the Moon Quartz reward.


Resident Evil Requiem Lead Researcher’s Office Puzzle Box Solution
A pair of framed photos lean against the shelf, their backs dustier where someone handled them for clues.
Answer: Star, Sun, Moon, Sun
Both pictures in the Lead Researcher’s office display the sequence subtly behind the researchers. Match the visible symbols and set the box to Star → Sun → Moon → Sun to collect the Leatherbound Notebook and Sun Quartz. That notebook points to the Organ Transport box steps below.


Resident Evil 9 Organ Transport Box Puzzle Solution
The transport locker bears a fingerprint where someone paused mid-procedure — a small human pause in a mechanical room.
Complete the Lead Researcher’s box to get the Notebook hint, or follow these exact steps if you already have the box:
- Put the slider in the middle.
- Press Button 5.
- Press Button 2.
- Turn the knob to AUTO.


Resident Evil Requiem Analyzer Blood Specimen Puzzle Solution
The analyzer bay smells faintly of antiseptic and old coffee — the sign of anyone who spent long hours experimenting there.
There are four distinct specimen puzzles. Each one is a tiny pattern puzzle inside the Analyzer that rewards crafting recipes or ammo. Take the sample to the Analyzer and follow the clicks below.
How do I solve the Denatured Analyzer specimen?
Click the second square from the left. That gives you recipes for handgun ammo and the Hemolytic Injector.

How do I solve the Converged Analyzer specimen?
Click the top square that joins the two above it, then click the second bottom square. That reveals the Med Injector recipe and 12.7x55mm ammo.

How do I solve the Reversible Analyzer specimen?
Sequence: left-most square → bottom central square on the left → extreme right square → bottom central square on the right. That nets Steroid and Stabilizer recipes.

The Insanity-only Polymerized specimen forms a small triangle on the grid — the final click pattern is compact and deliberate, much like a lock picked with a practiced hand.
- Click the middle square in the left-most line.
- Click the middle square in the right-most line, directly opposite the first one.
- Click the middle square in the bottom line.


Resident Evil 9 Security Manager’s Office Puzzle Box Solution
You’ll notice the cell door lock bears scuff marks from repeated attempts — a visible record of past patience and mistakes.
This puzzle is part of the campaign flow. Grab the Level 3 Wristband from the notebook while carrying the Puzzle Box, use it to free Emily from her cell, then bring her back to the Security Manager’s Office. If you survive the encounter while she’s present, Emily will open the box for you automatically and drop Star Quartz.


Resident Evil 9 VIP Suite Double Helix Puzzle Solution
The wine rack contains a dusty bottle that’s been nudged more than the rest — a hint that you should press it and examine the label up close.
Interact with that wine bottle, rotate it until the label aligns, open it, and break it apart to retrieve the double helix. Place the helix on the lectern to clear a blocked doorway. Small gesture, big result.

Safe Codes and Extra Rewards
Someone left a coin roll on the shelf — a lead for the antique coin safe locations.
Safe codes are catalogued separately in our dedicated safe codes guide, but the payoff is worth the time: antique coins, maps, ammo, Molotovs, med injectors, bottles, and acid. If you’re on PC, check Steam Community guides and YouTube channels like SpawnWave or Arekkz for route videos; Capcom’s official patch notes also sometimes tweak rewards.
Final Notes From Someone Who Grinded the Rooms
Your inventory management affects how aggressively you pursue puzzles: missed recipes mean more backtracking and wasted bullets. Treat the game like a scavenger hunt — small confirmations (a sketch, a dusty photo, a nudged bottle) mean you’re on the right trail.
If you want a fast reference, use the table above, pin this guide in a second monitor or split-screen on Steam, or queue the relevant YouTube clip before you re-enter a room. The community on Reddit and the Steam forums often posts alternate approaches for speedruns and challenge runs.
Which puzzle stalled your run the longest?