Exciting news, Enshrouded fans! The latest update, Wake of the Water, brings a delightful new addition to your survival-crafting adventure: capybaras. These lovable giant rodents don’t just look cute; they also produce essential resources for your crafting needs. But hold on—taming one isn’t as simple as just putting on a leash. You’ll first need to complete a quest to bring a capybara home.
As a passionate gamer and seasoned strategist in Enshrouded, I’m here to guide you through the process, ensuring you can start enjoying life with your new furry friend. Let’s dive into how you can locate and tame these fascinating creatures.
1. Where to Find Capybaras in Enshrouded
Capybaras are nestled within the new Veilwater Basin biome, located between the Albaneve Summits and Blackmire. To reach this lush area, head west from the Albaneve Summits’ Ancient Spire fast travel point. Scale the mountain, and then glide down to the picturesque basin below.
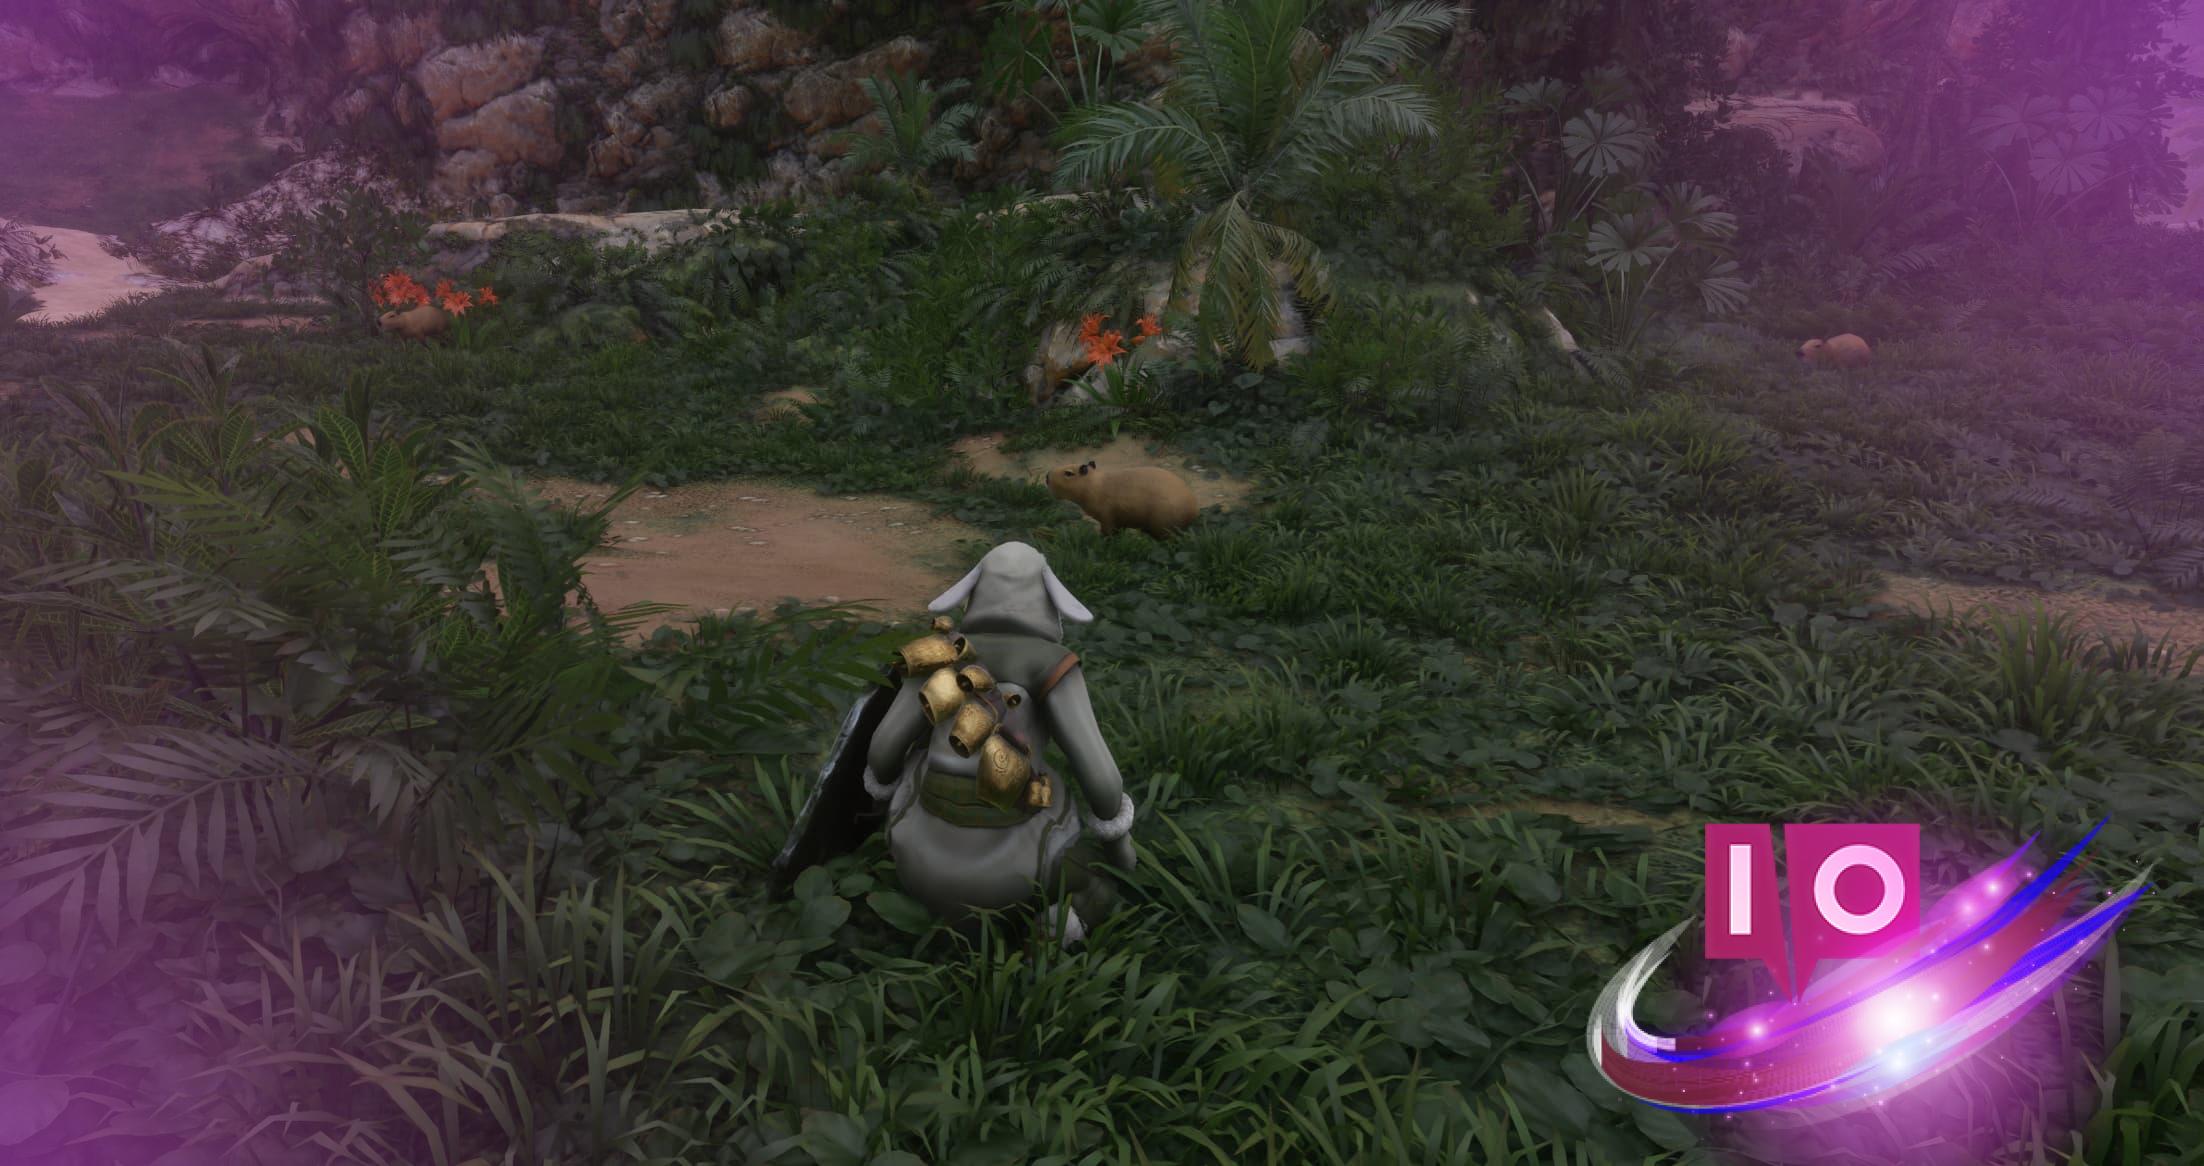
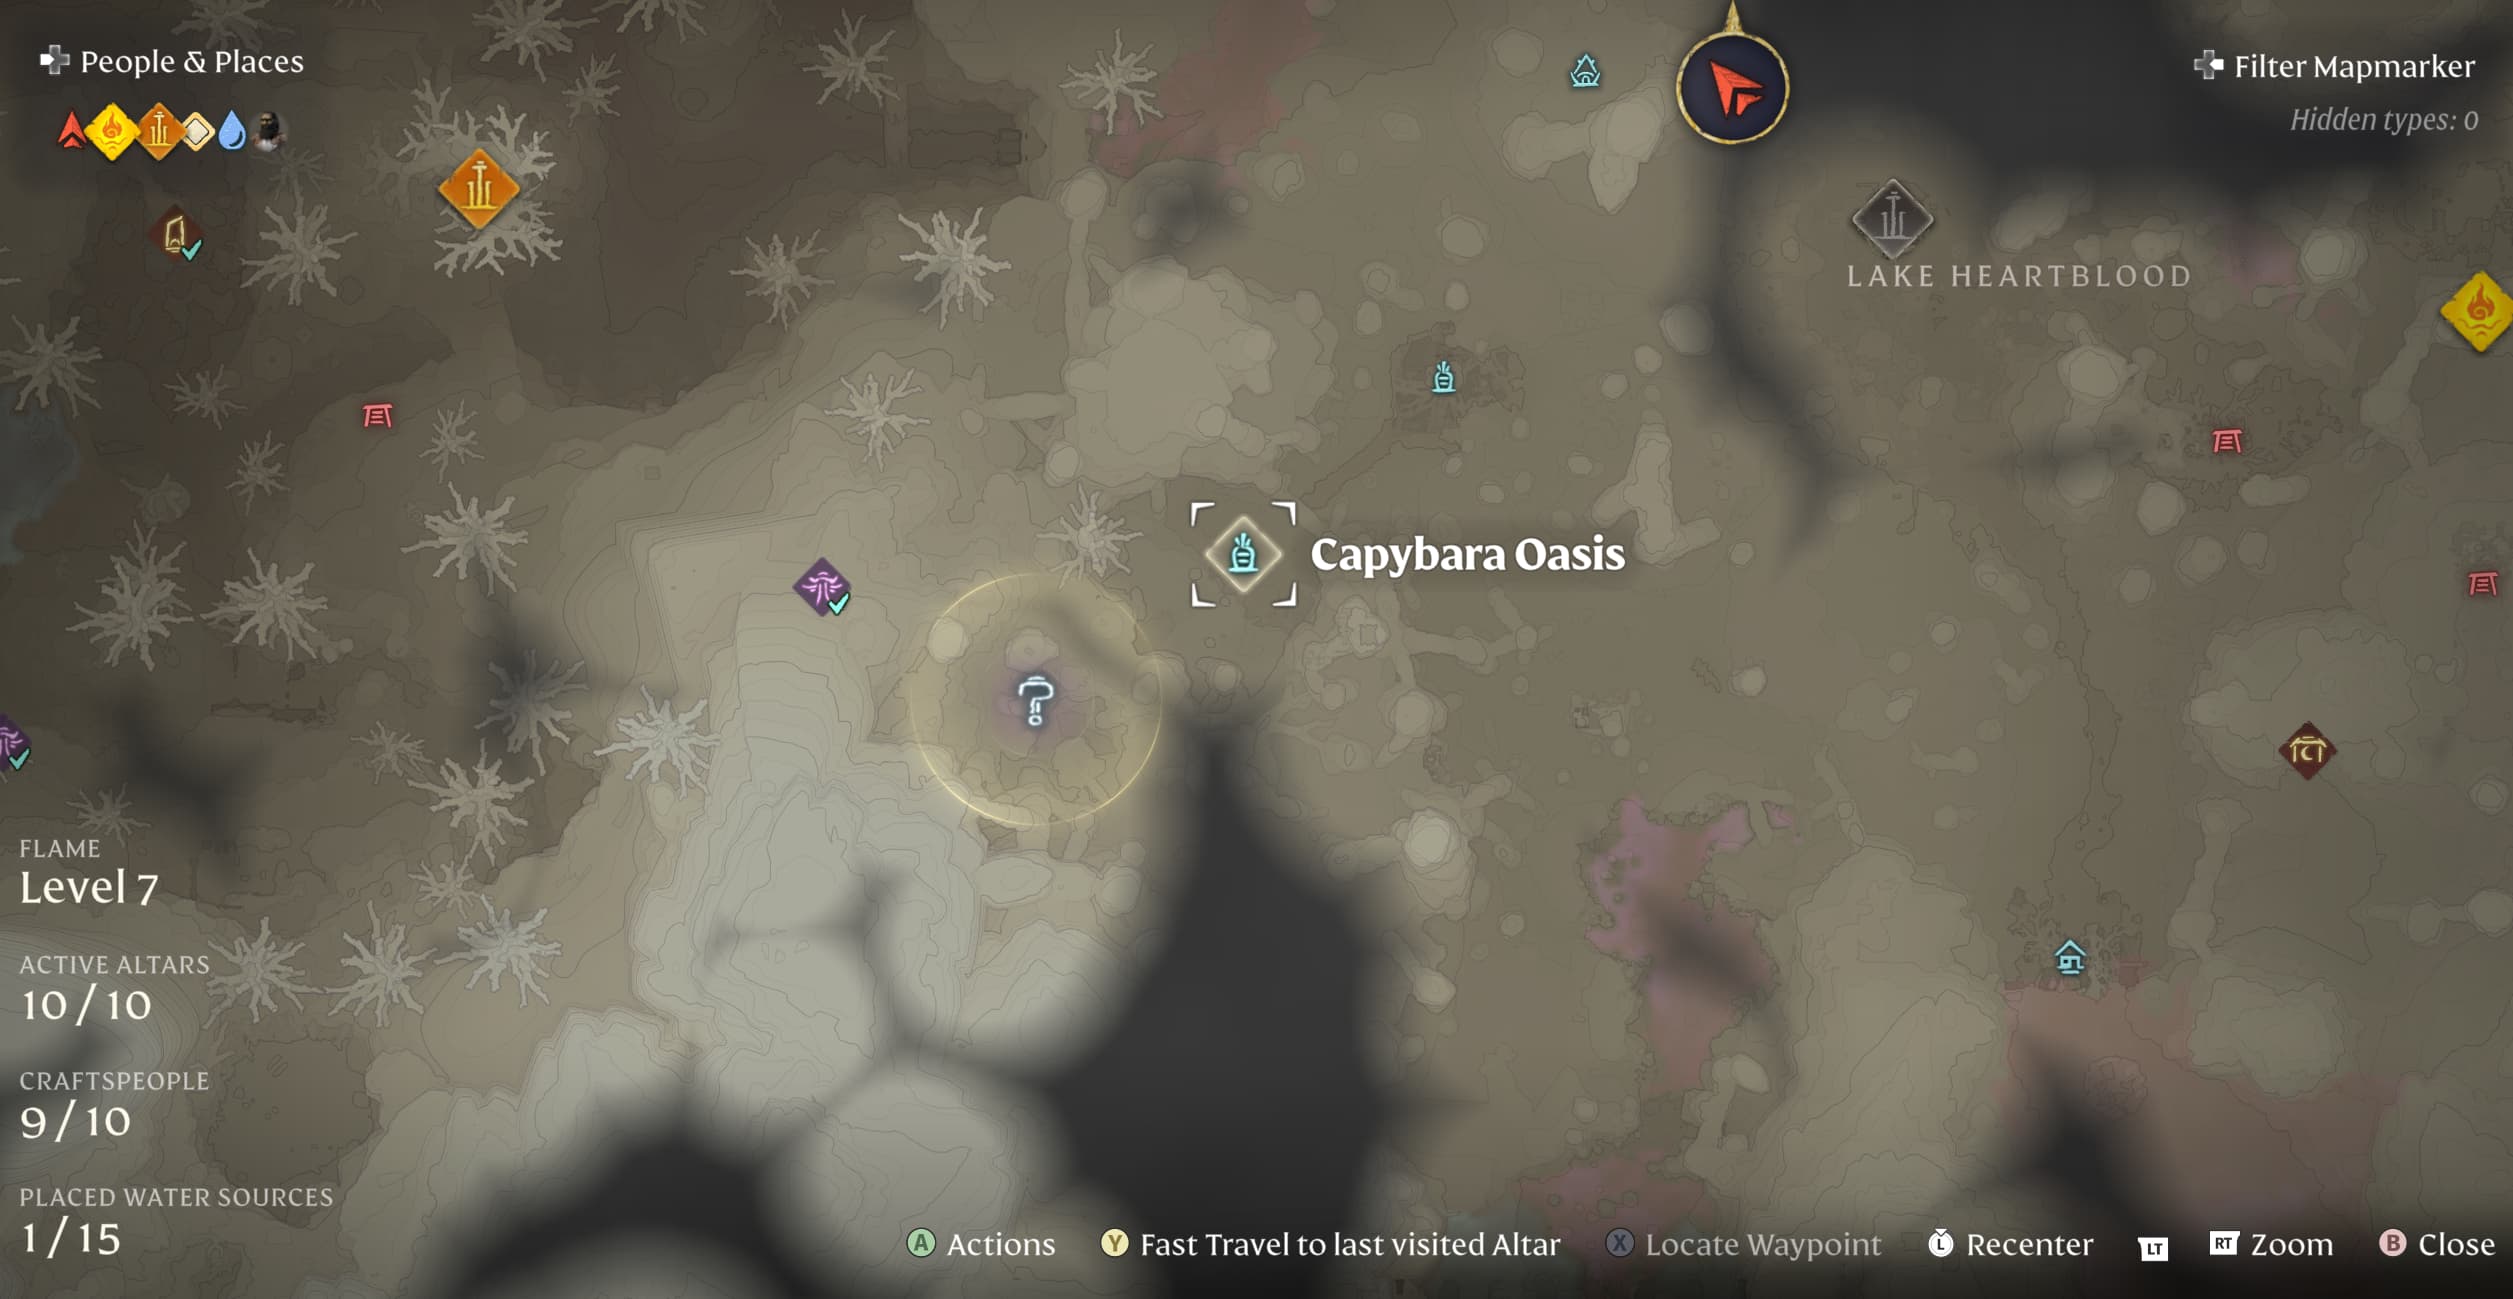
Upon arriving at the Veilwater Basin, make your way to the Capybara Oasis, situated in the western part of the region. Glide southwest from the Ancient Spire in the middle of Lake Heartblood to reach this serene oasis where capybaras love to unwind.
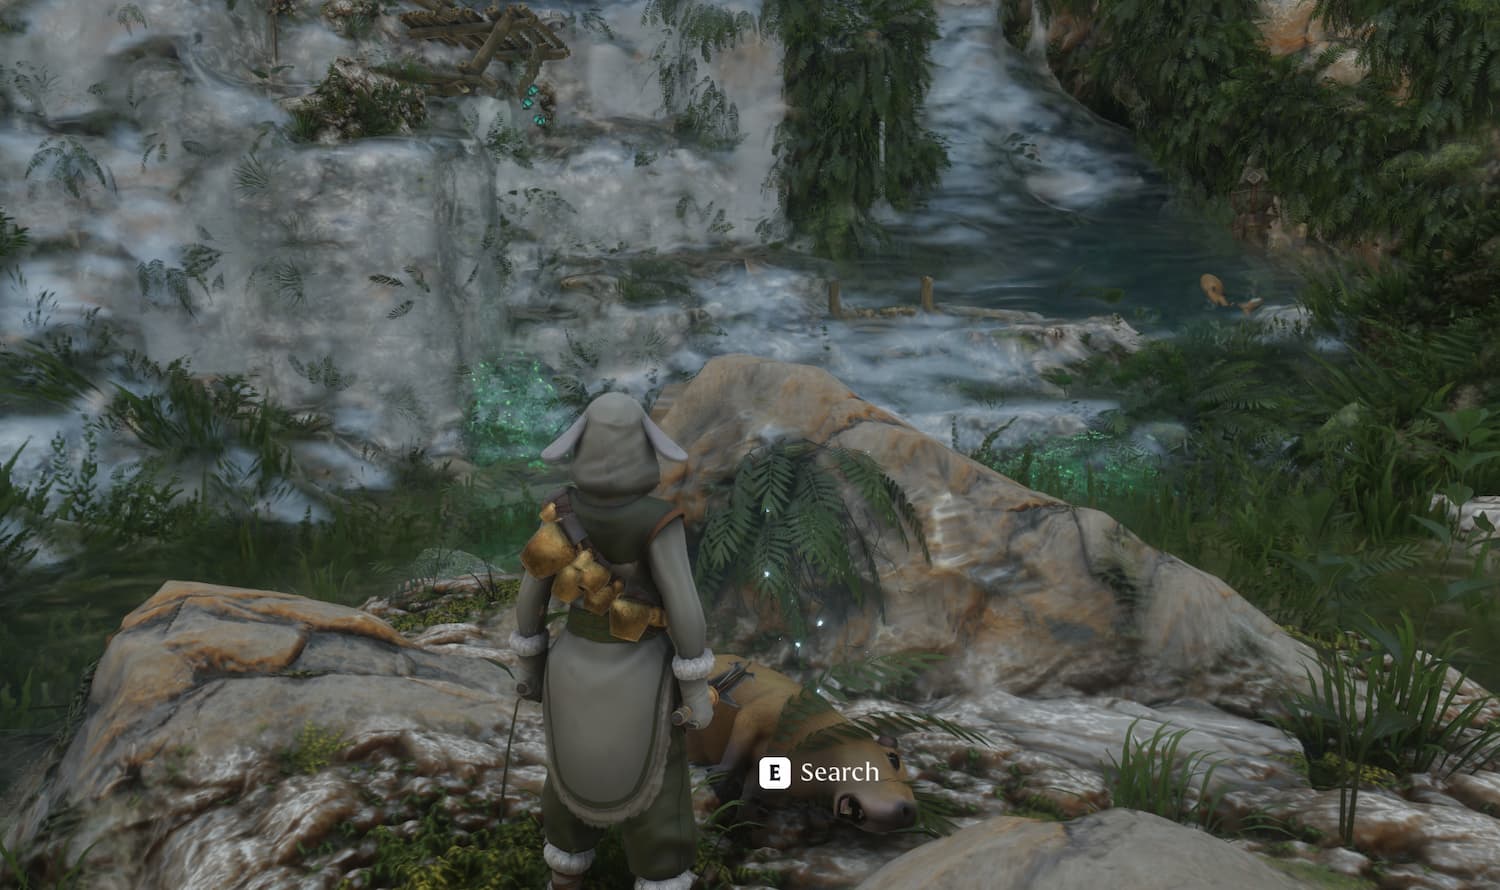
At the Capybara Oasis, you will find numerous capybaras lounging in the water. But there’s a quest waiting for you: look for a dead capybara at the base of the central waterfall. Looting its remains triggers the “Capybara Search and Rescue” quest, unveiling a harrowing tale of the Drak’s hostile actions against the local capybara population.
2. Completing the “Capybara Search and Rescue” Quest
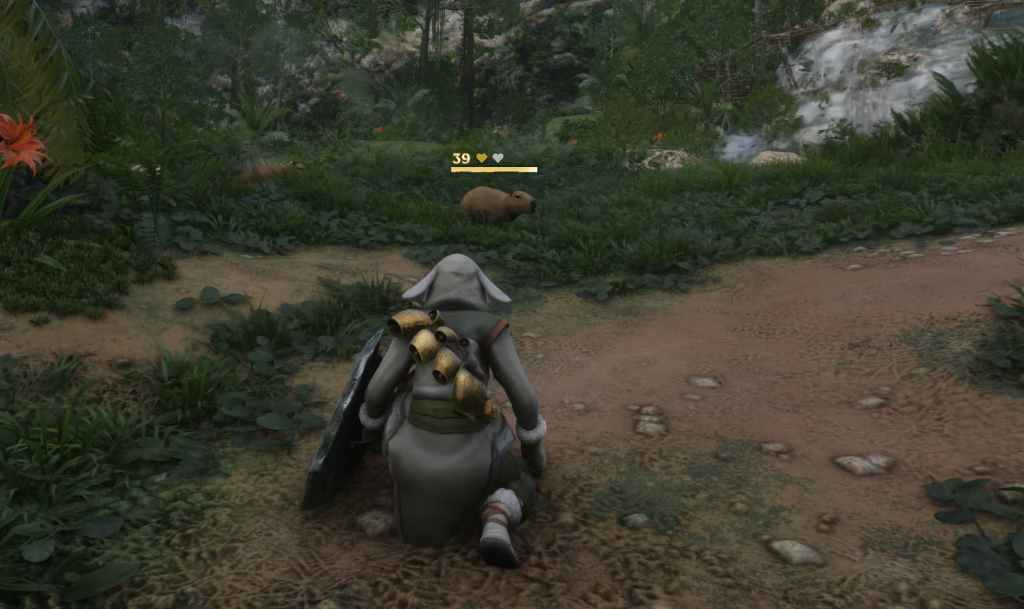
Your quest for vengeance won’t take you far. The Drak camp lurks just southwest of the Capybara Oasis. Tag the quest as active, and you’ll easily spot the location on your map. Be prepared, as the Drak are tough, typically around level 39. If you’re not at that level yet, consider finding a perch to rain arrows down like I did.
To complete the quest, take down the largest Drak situated on the ground floor of their camp. Upon looting its body, you’ll discover a baby capybara, which you can proudly bring back to your base.
This quest is marked as “Hard” difficulty but offers a satisfying reward of a baby capybara and 75 experience points—a worthwhile trade-off for your efforts!
3. How to Tame a Capybara in Enshrouded
Once you’ve secured your capybara, it’s time to think about adding more companions. Speak with Emily Fray the Farmer to unlock the quest titled “Capybara.” This will provide you with the Capybara Bait recipe comprising:
- 1 Sugar Cane
- 2 Paper Reed
- 2 Algae
You can find Paper Reed and Algae around the Veilwater Basin, while Sugar Cane can be harvested from the Nomad Highlands. After crafting the bait, return to the Capybara Oasis for taming.
Taming a capybara mirrors the process for other animals in Enshrouded. Simply place the bait ball in front of the capybara and wait for it to start eating. Watch for a yellow heart to appear above its head, indicating that you can now creep closer and pet it. When the heart turns red, back off to avoid startling it. You will have to repeat this process one more time to successfully tame and add it to your inventory.
What if the capybara looks startled? If you see a yellow question mark next to its health bar, walk away to calm it down. Ignoring this warning can turn it into a red exclamation point, canceling any progress you made in taming.
Once you’ve successfully tamed your capybara, you’ll unlock the recipe for the Capybara Feeder. To craft this feeder, you’ll need seven Wood Logs and two Nails. You can also prepare Capybara Food using two Paper Reeds and three Algae, ensuring your new friend remains happy and healthy.
Are there any special tips for caring for a capybara once it’s tamed? Yes! Make sure to feed it regularly with the Capybara Food you crafted to keep it content and productive.
Want to ensure your capybara remains part of your adventure? Regularly explore new areas and resources in the game to keep enhancing your experience. For more tips, tricks, and guides on Enshrouded, be sure to check out ideas from Moyens I/O. Happy gaming!