So, you conquered Dredgen Sere in the Equilibrium dungeon? Awesome! But your journey doesn’t end there. The Way Between quest is your next step, leading you through a Praxic Trial under Aunor Mahal’s guidance. Completing it? Oh, the rewards are sweet.
If you’ve tackled dungeon quests before, The Way Between feels familiar. You’ll need a few runs to finish it, solving puzzles along the way. Good news, Guardians: Equilibrium is a shorter dungeon if you know the mechanics, and the bosses aren’t damage sponges (unlike some others, cough, Ghosts of the Deep, cough).
Here’s a guide on how to complete The Way Between in Destiny 2’s Equilibrium dungeon—and what you’ll get for it.
Destiny 2: The Way Between Quest Guide
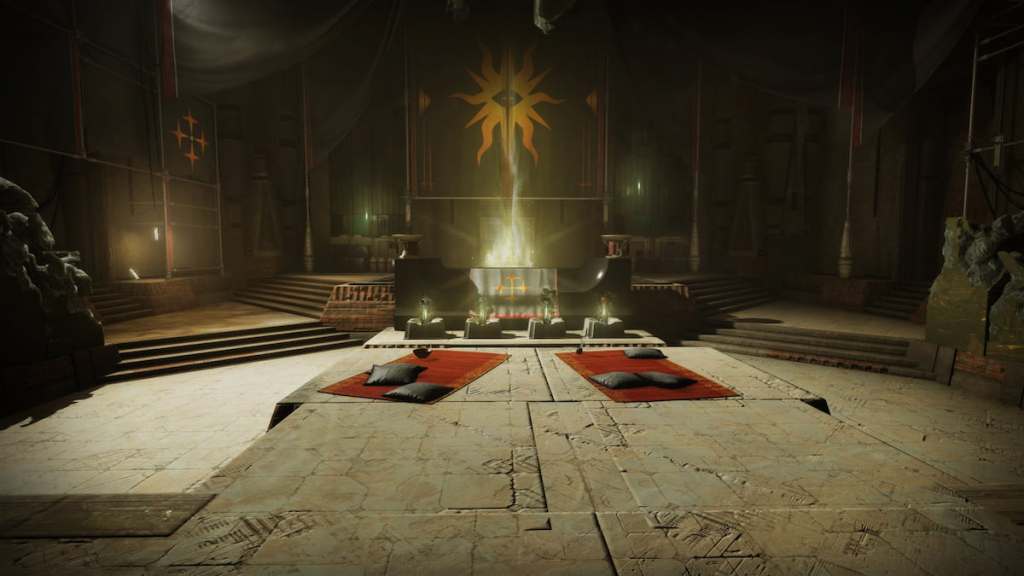
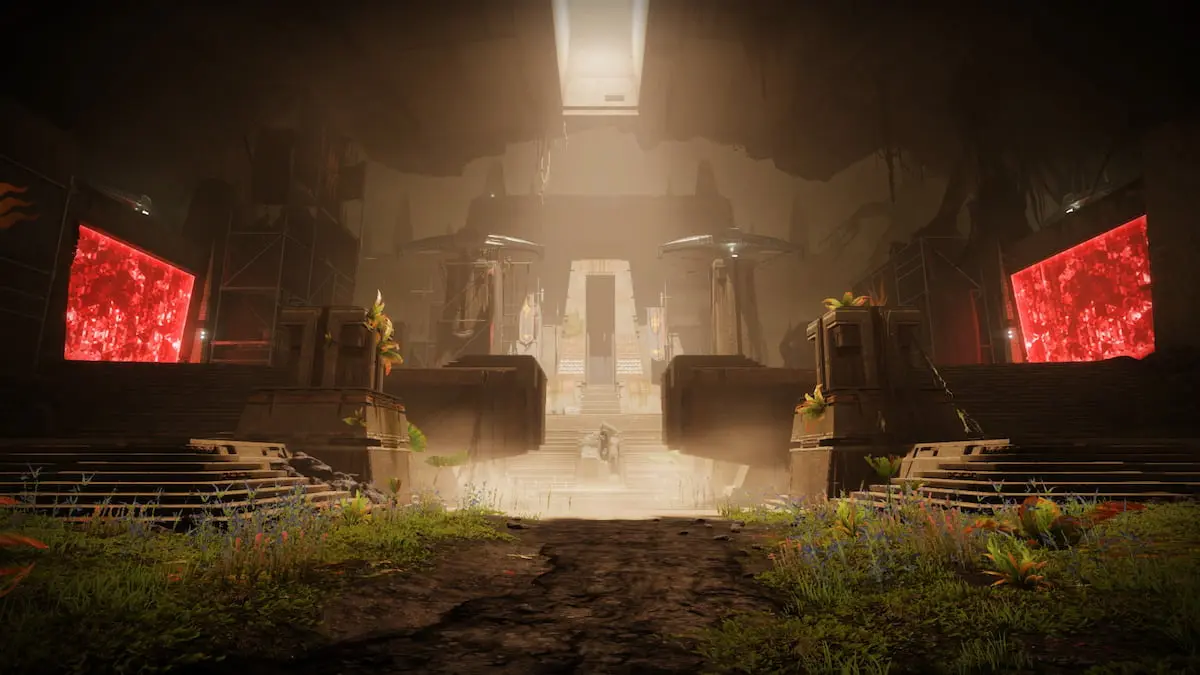
The quest kicks off after your first Equilibrium victory. Dredgen Sere drops an Integrated Relic. Take it to the Praxic Temple at the dungeon’s start, opening a previously locked door and letting you explore deeper.
Inside, find the spot to place the artifact. A Taken Blight will appear, similar to the ones needed for the Praxic Blade catalysts in Fire and Ice.
Here’s the pattern: destroy Taken Blights, hunt down a relic, beat the final boss, then repeat, placing the artifact in the temple. I once spent a whole afternoon figuring this out. Here’s what to remember:
- After the first encounter, just outside the Praxic Temple, before entering the ship (step four).
- After the first encounter, before jumping across space to the other side of the ship (step five).
- After the second encounter, in the jumping puzzle (step six).
1. How Do I Recover the First Praxic Relic (Step Four)?
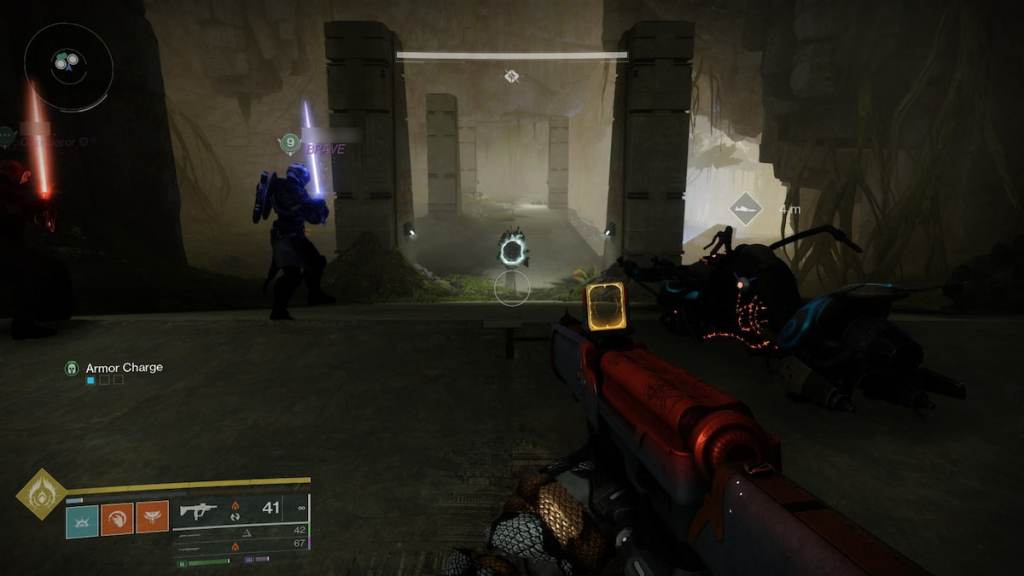
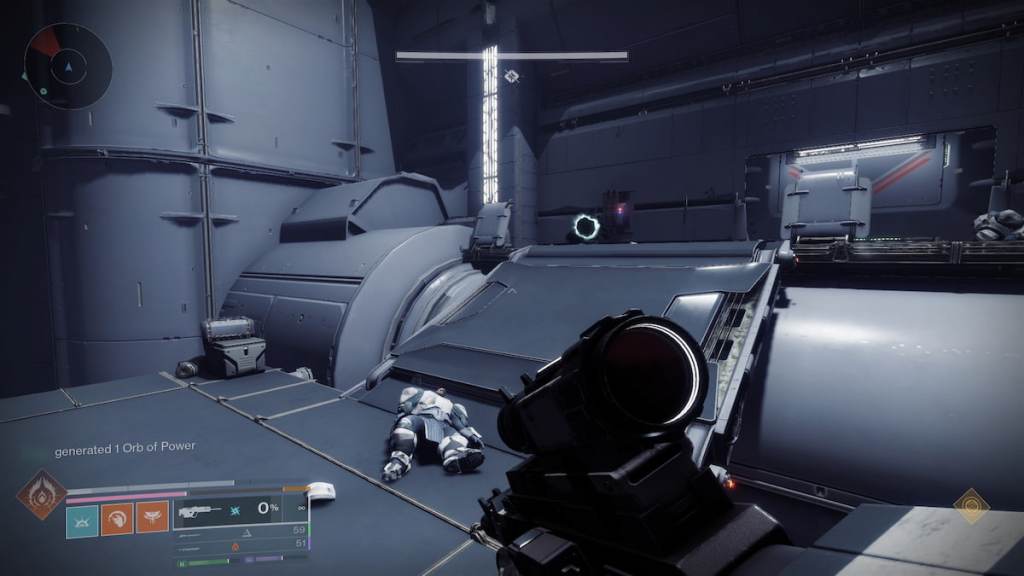
After the first encounter, don’t head into the ship yet. Go back to the Praxic Temple and take the right path (facing the door). Destroy the Taken Blight and stand in the Taken energy pool to get the Shadow Novice and In Shadow buffs.
Clear the area of enemies before the In Shadow timer runs out. Each Acolyte’s Eye you destroy adds 15 seconds. The first wave appears near the Blight, then continue around the race course, shooting Acolyte’s Eyes, until you reach the door. Use your alternate grenade (with the shadow mechanic) to activate terminals.
If you clear all enemies in time, a door opens, revealing the relic. Finish the dungeon, then deposit it to move on.
2. Where is the Second Stolen Praxic Relic (Step Five)?
Find another Taken Blight and destroy it with your Praxic Blade to start a timed sequence. Look for it before shooting the glowing fuse and jumping to the other side of the ship. The Blight is behind the gap, in a cramped hallway.
Clear all enemies, then jump to the other side of the ship, taking down Taken. Follow the dungeon’s path down into the shaft before fighting Harrow, Dredgen Apprentice (the vents explode, so stay clear). Defeat Harrow and Dredgen Sere, then deposit the relic in the Praxic Temple.
3. How Do I Navigate the Imperium’s Shadows for the Third Relic (Step Six)?
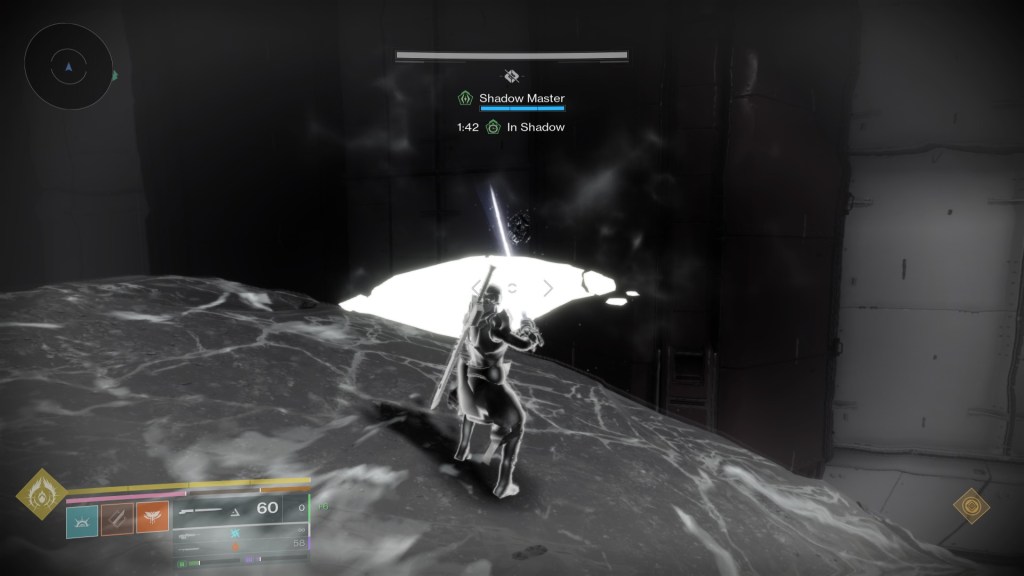
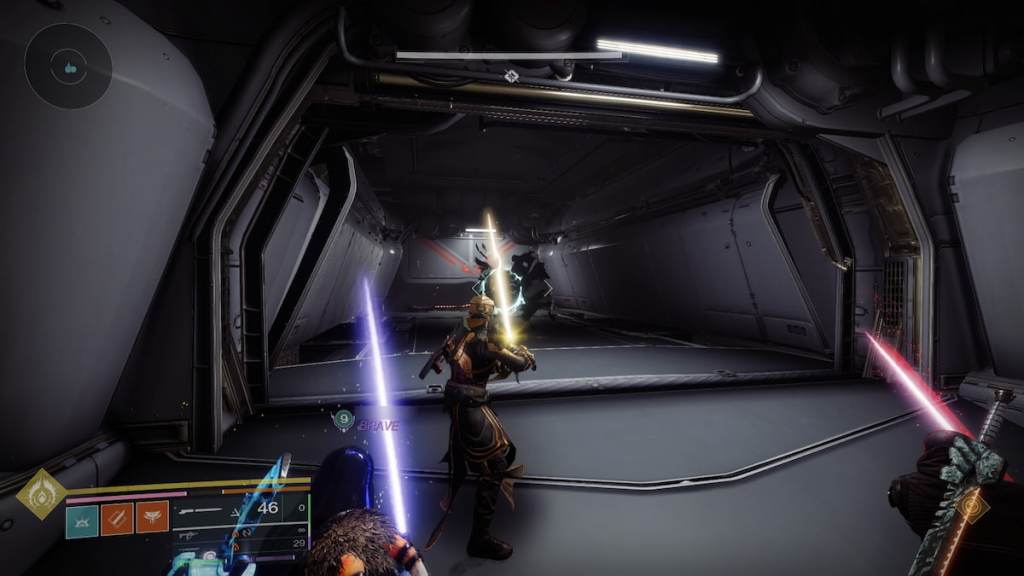
This relic is tricky. After defeating Harrow, you’ll reach a platforming puzzle inside the ship using Shadow mechanics to climb a pipe. The Taken Blight is just before that platforming section. Easier with a team, but solo is doable if you’re fast.
Destroy the Blight and pick up the Taken energy. Clear enemies in the first room, then enter the jumping puzzle area. Use your alternate grenade on the shielded enemy to knock it off, revealing Taken Blights.
Destroy these Blights to spawn platforms leading to buttons around the room. Clear the area, head up the pipe, and race against the clock. A door unlocks, leading to the final relic and something sinister in the Praxic Temple.
4. How Do I Open the Taken Portal and Defeat the Shade of Sere (Step Seven)?
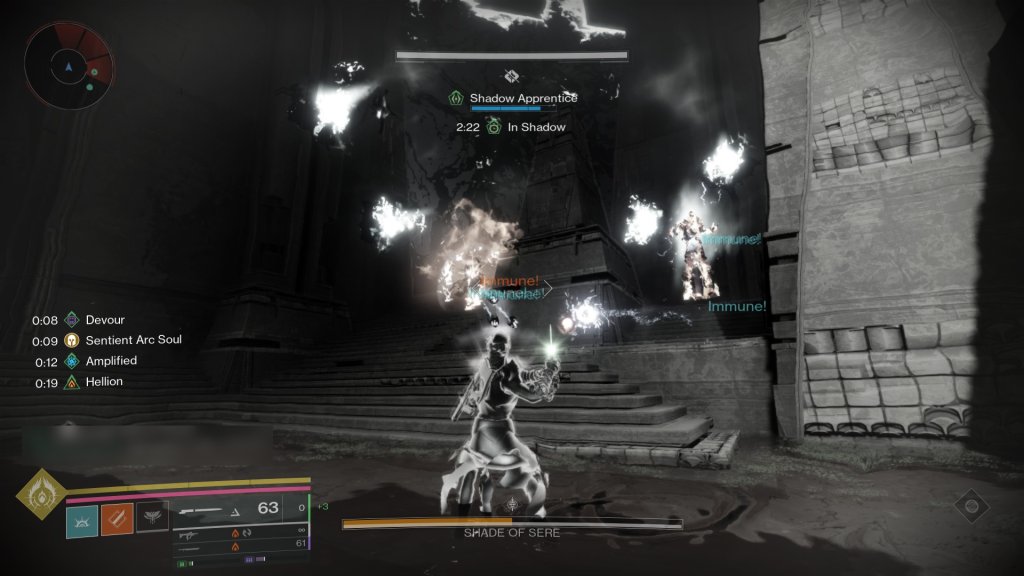
Deposit the final relic to unlock the last challenge: a portal to a Dredgen Sere shade, acting as a bonus boss. The mechanics are familiar.
The portal takes you to the Ascendant Realm, in a square room with Taken energy walls. Stack Shadow buffs, take down adds and Acolyte’s Eyes to extend the timer. Use the buff to strip immune enemy shields, breaking down barriers.
After taking down shielded enemies, Taken Blights appear. Use the Praxic Blade to break them, creating platforms to reach the Dredgen Sere shade. If there are no shielded enemies, use the alternate grenade (with the Shadow buff) to deplete the boss’s shields. Two shield depletions trigger a damage phase, bringing it to half health. Repeat the sequence, defeat the Shade of Sere, and grab your rewards.
What Rewards Do I Get From “The Way Between” Quest?
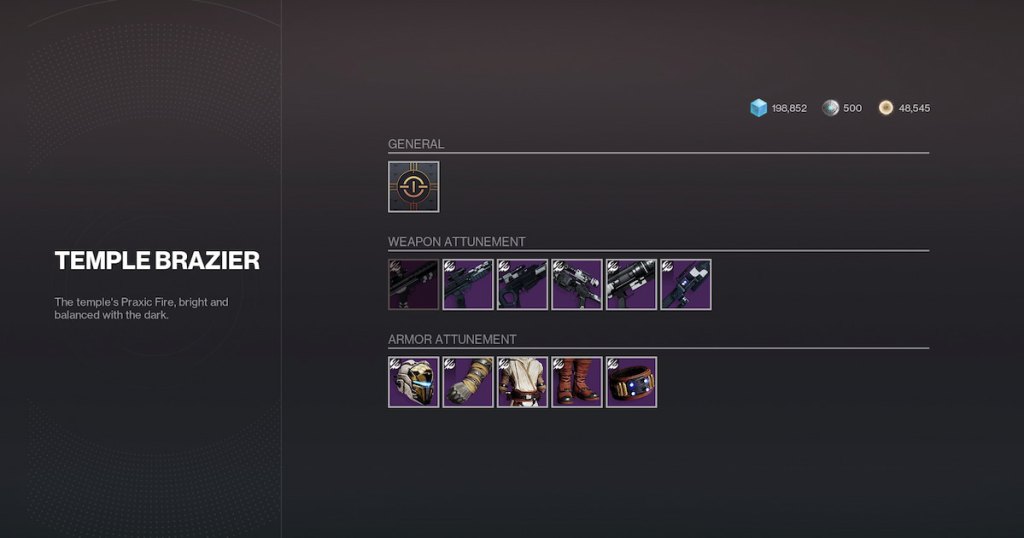
You’ll get upgrades for the Praxic Blade, but completing The Way Between grants two sets of randomly rolled tier five gear (at 550 Power) and unlocks Attunement for the dungeon’s weapons and armor.
If you have the Heirloom Exotic, you can also obtain its catalyst from this quest by attuning to it. I noticed this dropped after clearing the first encounter.
What is Attunement in Destiny 2?
Attunement increases your chances of getting specific weapons and armor from the dungeon.
Can I solo The Way Between quest?
While challenging, skilled players can solo parts of The Way Between, especially the relic hunts. Teamwork makes the final boss encounter easier.
How many times do I need to run Equilibrium dungeon for The Way Between quest?
You’ll need to run the Equilibrium dungeon at least three times to complete all steps of The Way Between quest.
Now you’re ready to conquer The Way Between quest in Destiny 2’s Equilibrium dungeon. With those sweet rewards on the line, what are you waiting for, Guardian? Let me know what you think in the comments below?