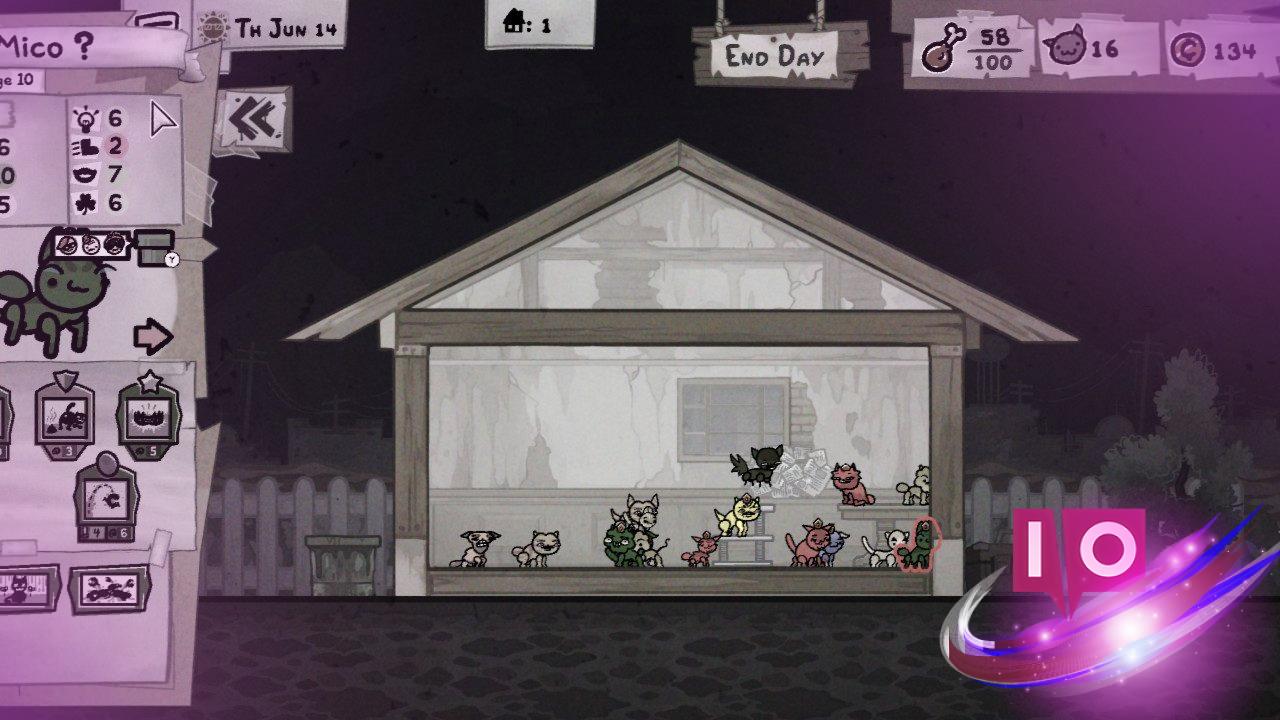
Mewgenics invites you into a fierce contest where your cats face off against powerful bosses. But the real game-changer? The collars that let you assign unique classes to each feline combatant.
Every class brings its own set of strengths and weaknesses, determined by the collars you choose in Mewgenics. Want to switch things up? No problem—you can easily redefine a cat’s role with a simple collar change, giving you endless strategic possibilities.
Each collar packs a punch when wielded correctly, but some shine brighter than others.
Mewgenics class tier list
I’ve sorted the collars into three distinct tiers—over ten options in total, and I promise, you won’t find a dud in the bunch.
- S-tier classes are your elite picks, dominating every enemy they encounter.
- A-tier classes deliver solid performance, though they can’t quite match the S-tier brilliance.
- B-tier classes serve as great options for beginners, but their stat boosts lag behind the more advanced tiers.
Most collars and their classes will remain locked initially, but don’t stress. Gaining access to the full array won’t take ages; early collar acquisitions can give you a crucial advantage.
S-tier

- Cleric: Gaining access to the Cleric class in Act 1 is a game-changer. With unparalleled healing and revival abilities, this class turns the tide when things get tough. Pair it with the right items, and its potential knows no bounds.
- Fighter: If damage is your priority, the Fighter is where you want to be. Packing incredible damage-per-second (DPS) potential, this class allows for both ranged strikes and close combat finesse, even refreshing your actions to adapt your strategy.
- Butcher: The Butcher stands out with its solid strength stats, slightly lagging behind in mobility. Its Meat Hook weapon is a gem, letting you pull enemies within reach while boasting high Constitution to keep your cat standing strong.
- Mage: At first glance, the Mage can be tricky, but once you grasp the mechanics, it can be a powerhouse. Ranged spells and free casts become second nature, especially with boosted Intelligence and Charisma to regenerate your mana speedily.
A-tier

- Hunter: With incredible range and damage, the Hunter can feel S-tier, but beware—the base hit percentage may challenge your precision. Use items to back your attacks and watch your damage soar.
- Tank: This class might not seem flashy, but think of it as the bedrock of your team. It absorbs damage and features abilities like Bodyguard to protect your allies, making it a solid choice from the start.
- Monk: A hybrid class with dual attack styles, the Monk is all about versatility. Though mastering its dual approach takes finesse, its balanced capabilities can turn the tide.
- Thief: The Thief boasts lightning-fast moves and high DPS, but requires a strategy of constant repositioning to maximize damage—a bit of dance on the battlefield.
B-tier
- Psychic: The complexity of the Psychic role makes it a gamble. While strong buffs and debuffs shine, the weak base attack forces you to lean on your team too much.
- Necromancer: Are you drawn to the dark arts? The Necromancer enables you to raise the fallen as allies, but relies entirely on situational luck, making it a double-edged sword.
- Tinkerer: Crafting unique items is the Tinkerer’s forte—ideal for equipment enthusiasts. But beware; random outcomes can lead to wasted efforts if you don’t get the right items.
- Druid: A whimsical class with the ability to summon creatures, the Druid holds promise. Yet, the random nature of spawns can sometimes leave you wanting more.
Don’t forget about the Jester class, which borrows abilities from other collars. I’ve intentionally excluded it from this tier list, but it’s worth the grind to unlock all collars. What strategy will you adopt to dominate in Mewgenics?
