In the world of Destiny 2, players are buzzing about the latest mission, Heliostat, which unearths both sorrows and excitement. While many fans deeply miss SIVA—seemingly gone for good—others can’t contain their joy at unlocking the new Exotic axe, Wolfsbane. To truly master this weapon, guardians must delve into the secrets hidden within the mission.
The Heliostat mission introduces two distinct types of collectibles. The glowing, prominent Vex symbols are essential for upgrading Wolfsbane’s Resurgence Directive intrinsic, while datapads and terminals unlock its four catalysts. Below, we’ll guide you through the must-know locations to power up your axe.
How to Upgrade Wolfsbane’s Intrinsic in Destiny 2

You can start shaping the battleaxe right after your first run of Heliostat, but the most significant shaping features come with upgrades. Be on the lookout for three sets of Vex nodes scattered throughout the mission. You must destroy these with Wolfsbane for the respective upgrades; hitting them with other weapons will show an Immune prompt.
In a solo run, all nine Vex nodes need to be destroyed. However, the equation changes in fireteams. The number of symbols required appears to correlate with the number of players who have yet to unlock that intrinsic. So theoretically, in a full fireteam, each guardian only needs to destroy one set of shapes, though experiences may vary. If you’re solo, you should gain an intrinsic upgrade after every group of three symbols you obliterate.
First Wolfsbane Intrinsic Upgrade Location (Resurgence Directive II)
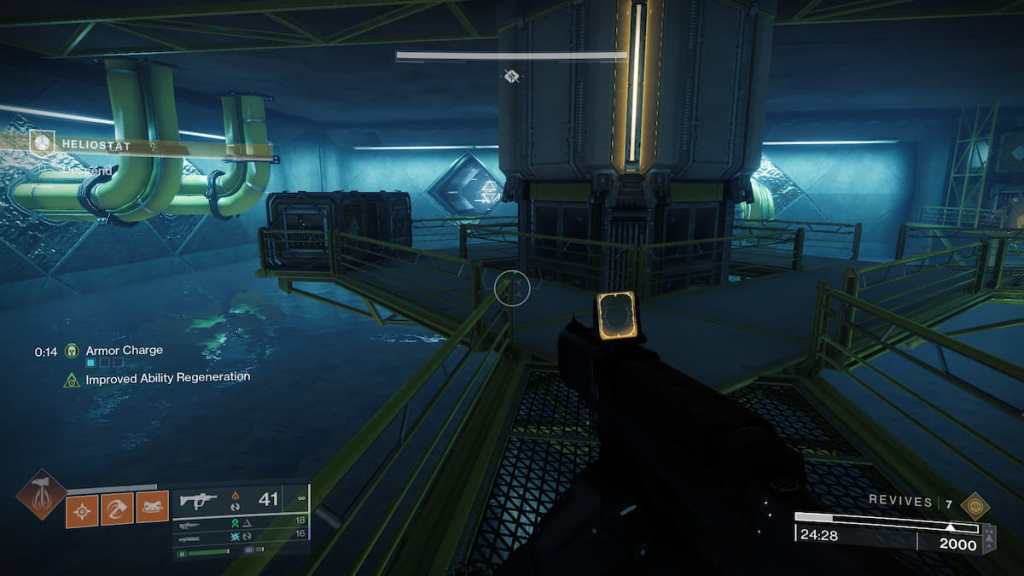
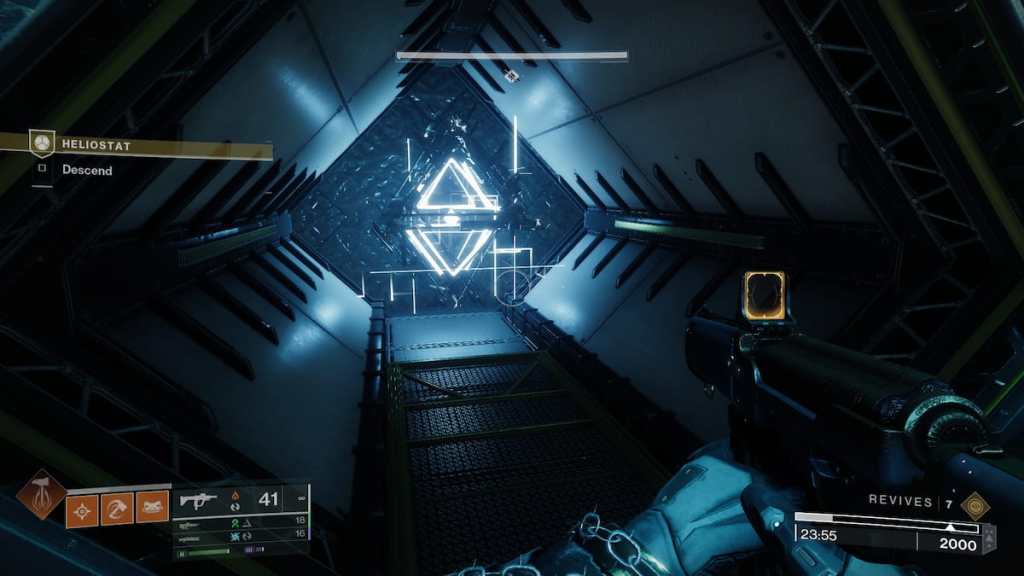
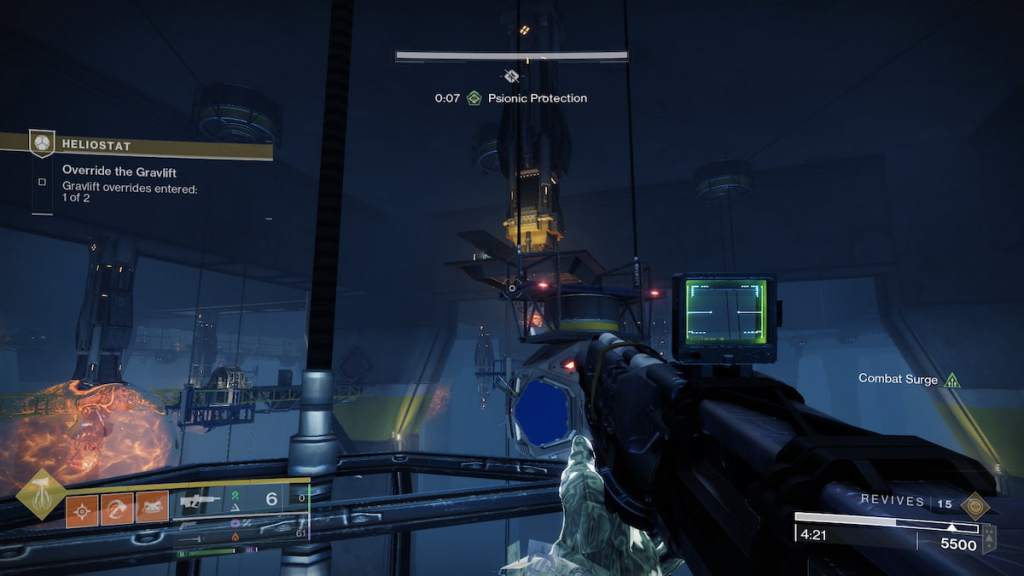
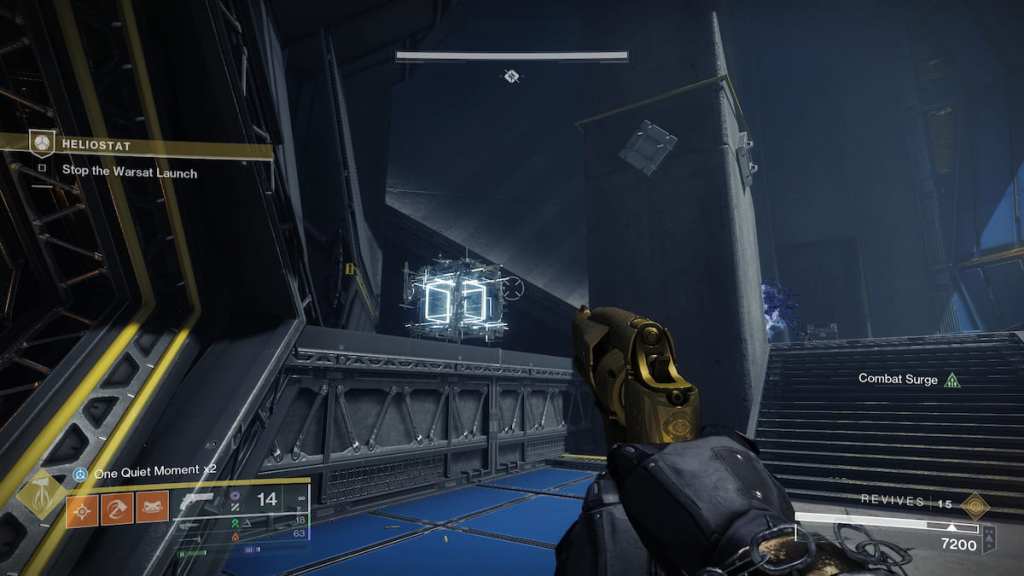
The first set of glyphs required for Wolfsbane’s intrinsic looks like diamonds. After taking down the four security nodes at the mission’s start, drop into a water-filled area. The first symbol is hidden in a dimly lit alcove to the left of the terminal, directly facing the exit on the far side of the room.
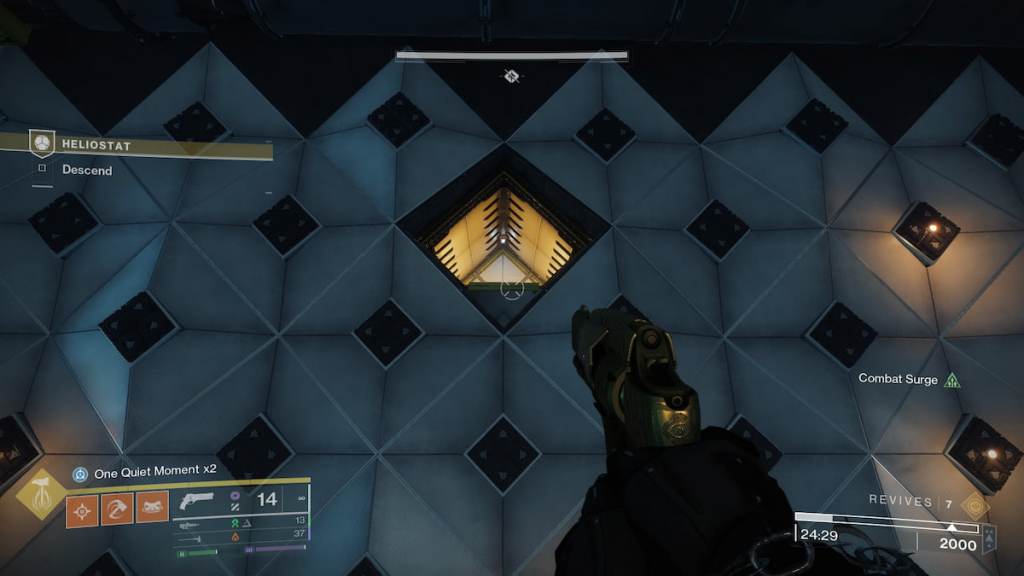
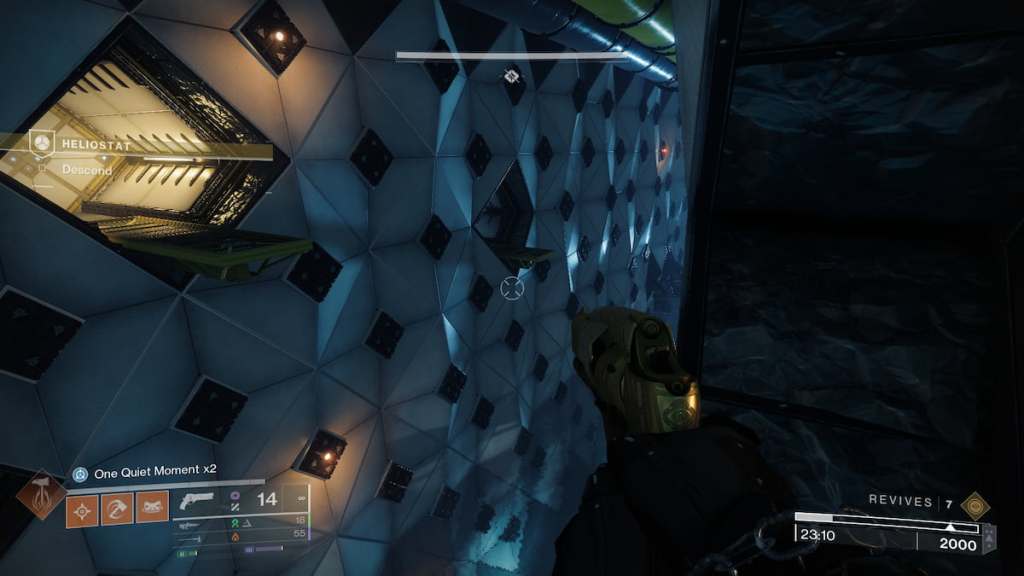
The next diamond appears in the following section. Keep moving until you spot an alcove with a lamp slightly above you. Look left as you approach or turn right after jumping across.
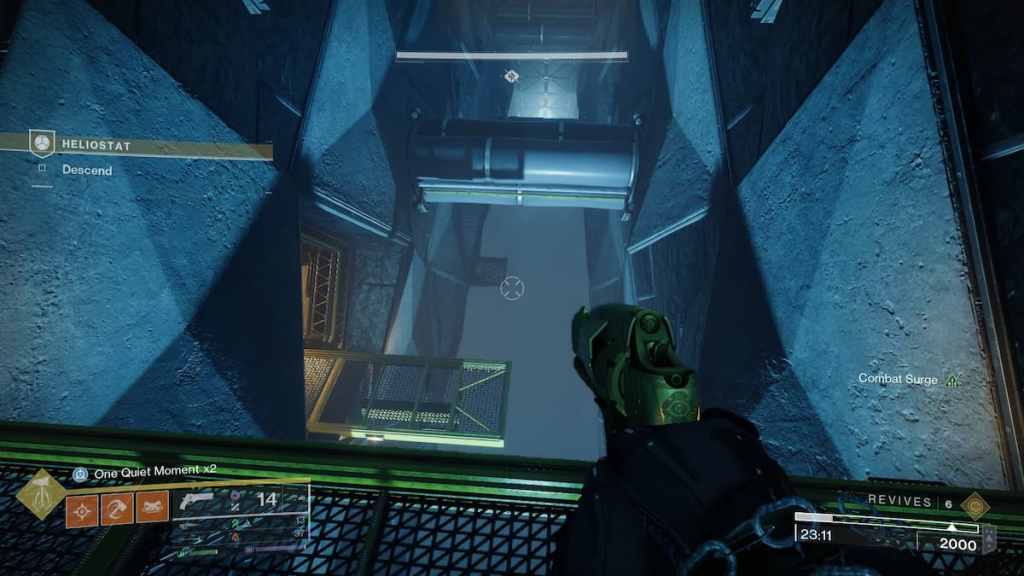
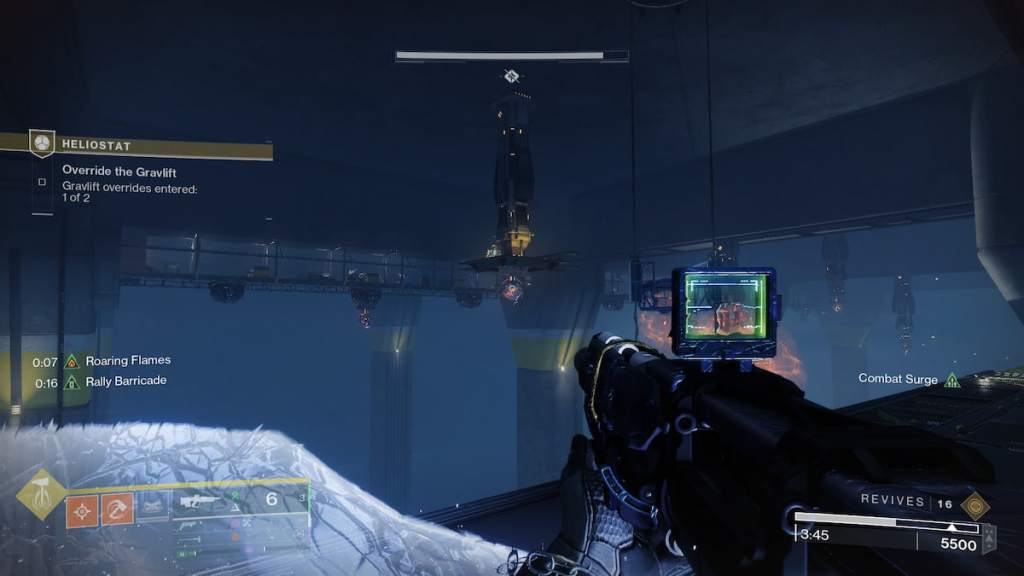
As for the final diamond, it’s located beyond that area when you enter a dark corridor. This small alcove is cleverly hidden behind a pipe. Go to the room with the long walkway ahead, and look for the unlit nook below and to the right.
Second Wolfsbane Intrinsic Upgrade Location (Resurgence Directive III)
Next up, the second set of symbols features a longer parkour section. Depending on the chosen path, you will find these shapes listed in a different order. The key is to ensure you break all the shapes using Wolfsbane.
After riding the elevator to the right, you’ll encounter two Goblins shooting from a high ledge, along with a short yellow walkway to their right. Look for this symbol across from the Goblins, hidden behind a wall.
The other two shapes can be spotted on the opposite side of the room. They are quite visible and fall right into your path—one is near the start, and the other is just a bit ahead.
Third Wolfsbane Intrinsic Upgrade Location (Resurgence Directive IV)
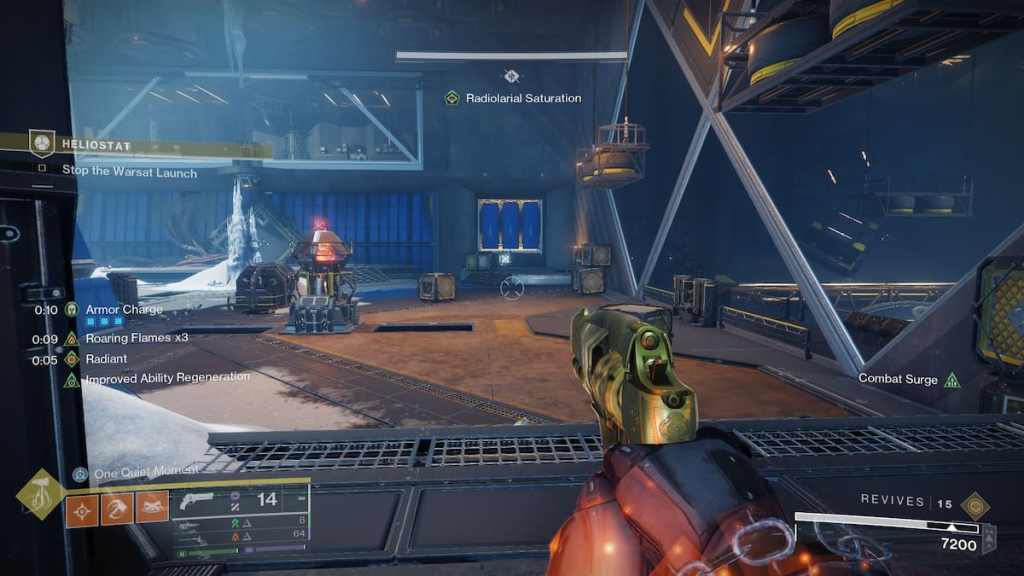
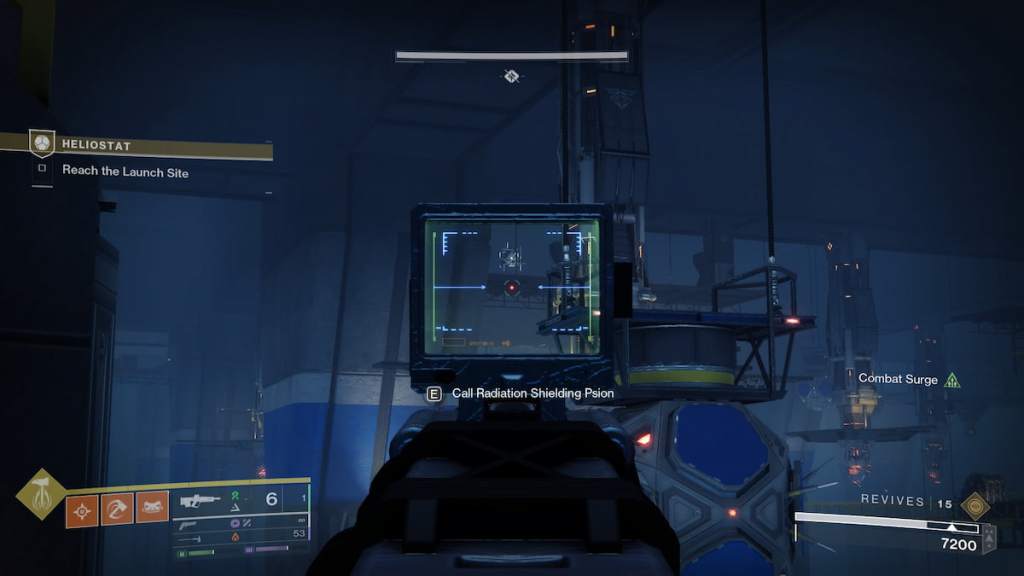
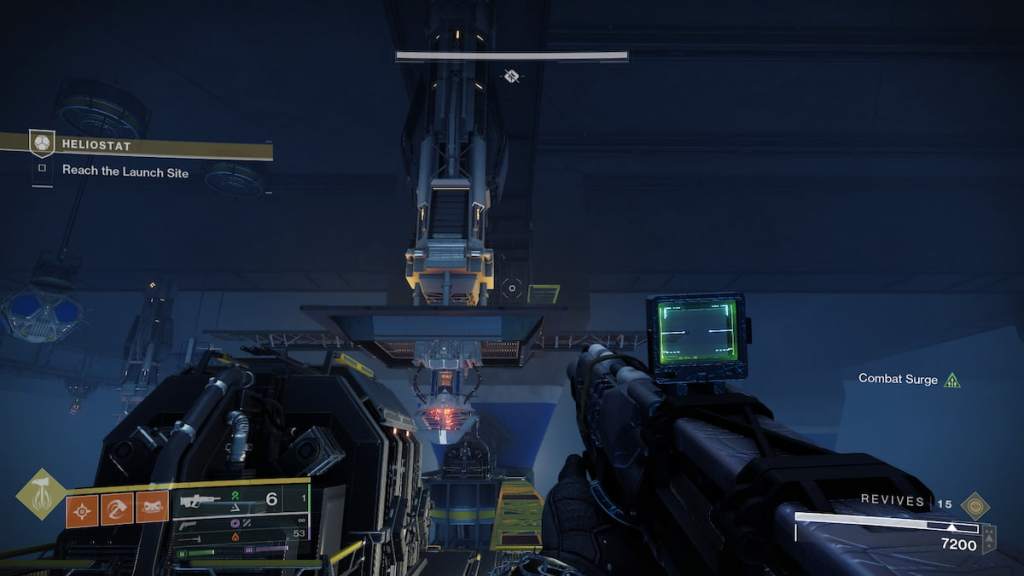
The boss room splits into three parts: the main area and two adjoining rooms needed for the hacking mechanic. Each has a symbol waiting for you.
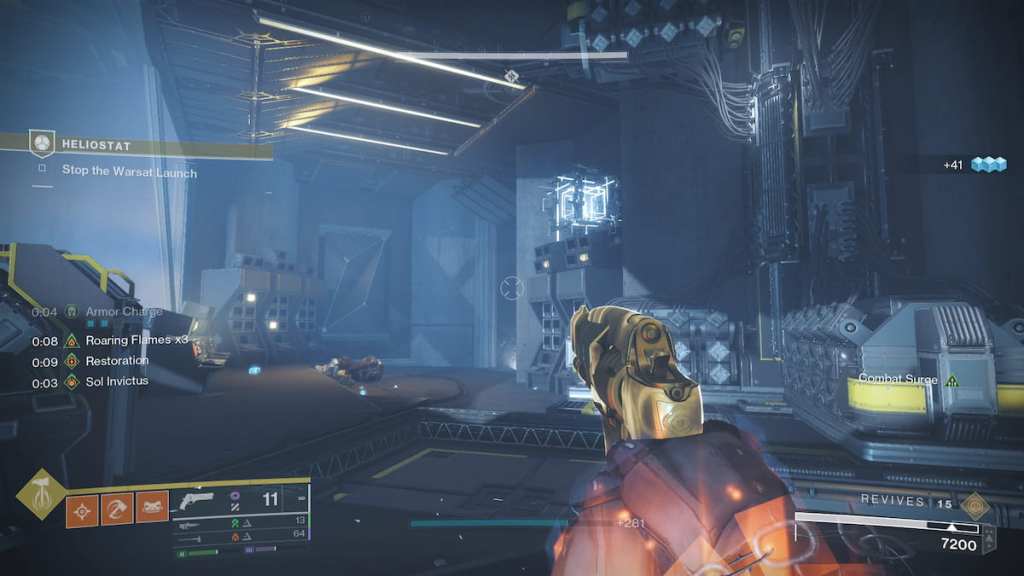
From your spawn point, one square resides in the back left. Another is found in the room where you summon the hacking Psion, floating above a terminal. The last symbol is to your left after breaking through the second wall with the Quicksilver Psion.
If you’ve destroyed all symbols, you should achieve the three necessary intrinsics, although results may vary in a fireteam. This will allow you to shape the handle and blades of Wolfsbane, offering a bit of creative control over its design.
What kind of upgrades can I apply to the Wolfsbane axe? You can enhance its intrinsic ability as well as its physical features, allowing for a customization experience tailored to your play style.
Are there any missed upgrades in the Heliostat mission? If you skip the Vex symbols and datapads, you may miss out on significant upgrades for your weapon, so be thorough in your exploration.
How many Vex symbols do I need to find in Heliostat? You need to find three sets of Vex symbols to successfully upgrade Wolfsbane’s intrinsic ability and make the most out of the weapon.
Don’t miss out on the opportunity to personalize Wolfsbane and elevate your gameplay. As you explore the deeper secrets of Destiny 2, consider checking out related content on Moyens I/O to further enhance your journey.