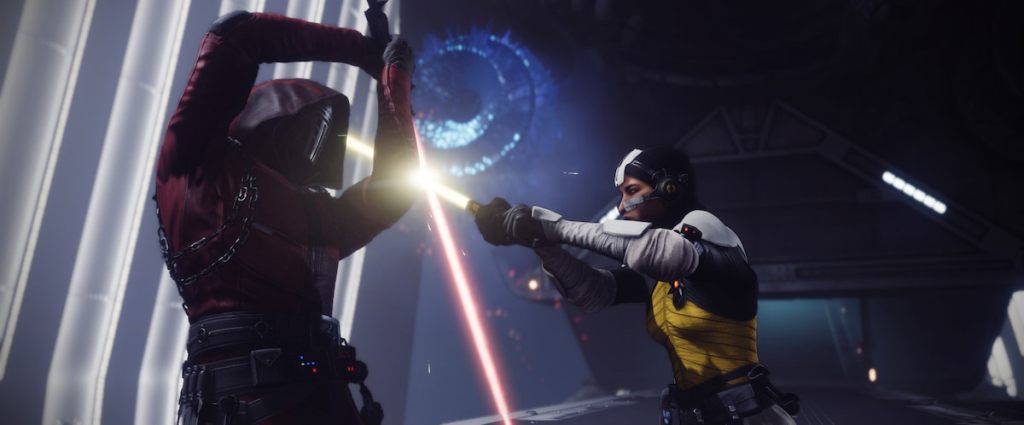
The Praxic Blade in Destiny 2 is an exciting fusion of Bungie’s unique gameplay and the iconic lightsaber from Star Wars. This exotic weapon offers players multiple upgrade paths, enhancing both its aesthetics and functionality. If you’re ready to dive into the world of Praxic Blade upgrades, you’re in the right place.
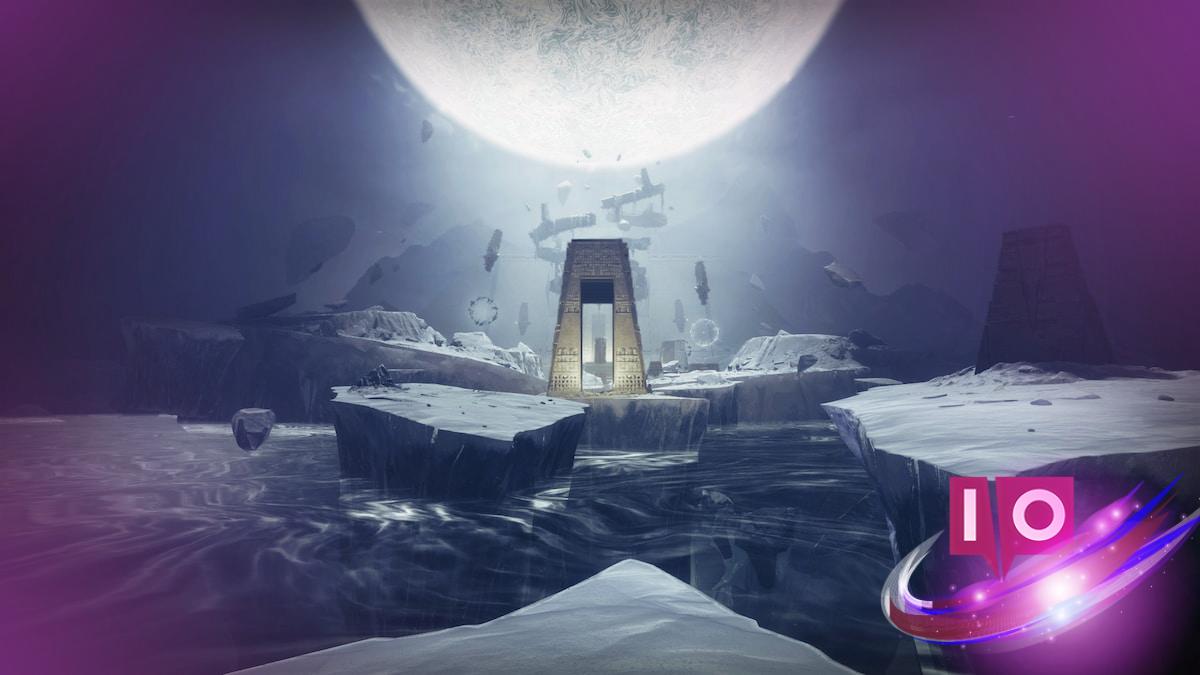
As you explore its features, you can acquire various mods through Syndicates or alter your blade’s color using Dark Matter Crystals. Notably, there are four catalysts associated with this weapon, three of which can be discovered in the Fire and Ice mission, and one that awaits you in the Equilibrium dungeon. Let’s uncover how to obtain them.
All Praxic Blade Catalysts in Destiny 2 and How to Obtain Them
In the Fire and Ice mission, you will encounter three catalysts for the Praxic Blade:
- Echoing Blade: This catalyst allows your Praxic Blade to hit multiple targets simultaneously.
- Upper Hand: Increases the damage done by your sword throw and reflects bolts when you are positioned above your target.
- Hyperblade: Grants you an Amplified state after reflecting shots and provides a one-time Eager Edge effect after blocking, which can be a game-changer for strategic retreats.
Additionally, the Energy Conduit catalyst grants health regeneration based on the number of enemies hit with your sword throw, obtainable in the Equilibrium dungeon.
How to Acquire All Praxic Blade Catalysts
To efficiently gather catalysts during the Fire and Ice mission, follow this sequence:
- Eliminate the two Taken Knights found in the regular plane.
- Collect all seven oddities spread throughout the level.
- Intentionally fail the first balance encounter to spawn the Catalyst of Imbalance.
- After the level shifts upside down, backtrack to destroy the two Blights left by the defeated Taken Knights.
- Balance the white Blights before defeating the Disciple of Harrow.
For detailed locations of these catalysts, we’ve referenced insights from skilled gamers, Skarrow9 and Esoterickk.
Upper Hand Catalyst (Part One)
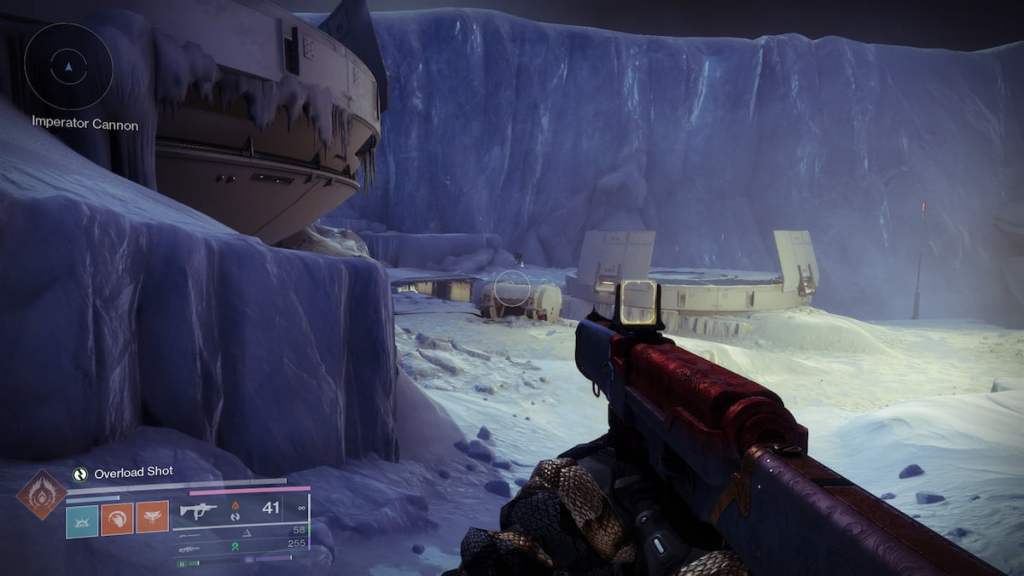
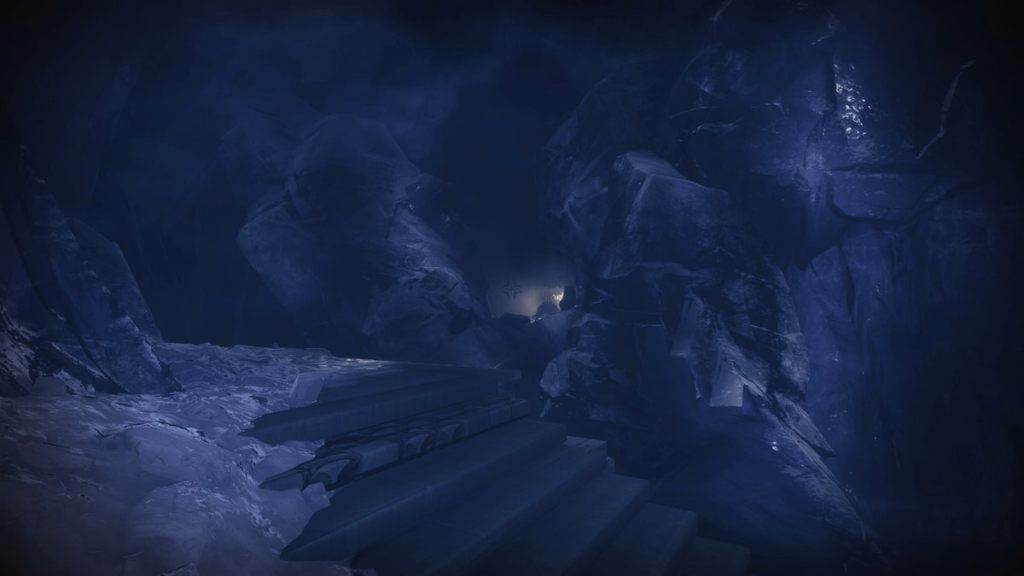
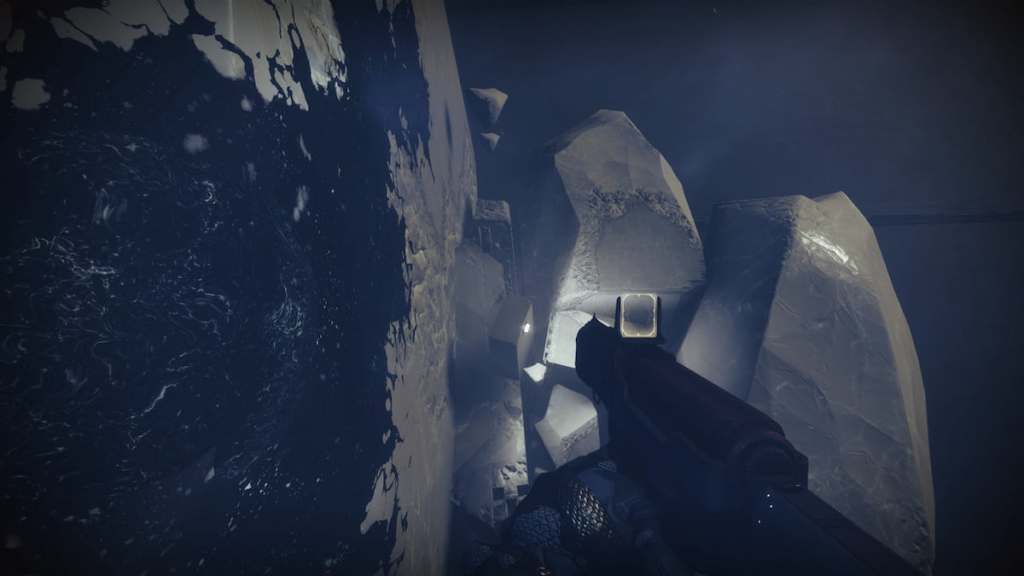
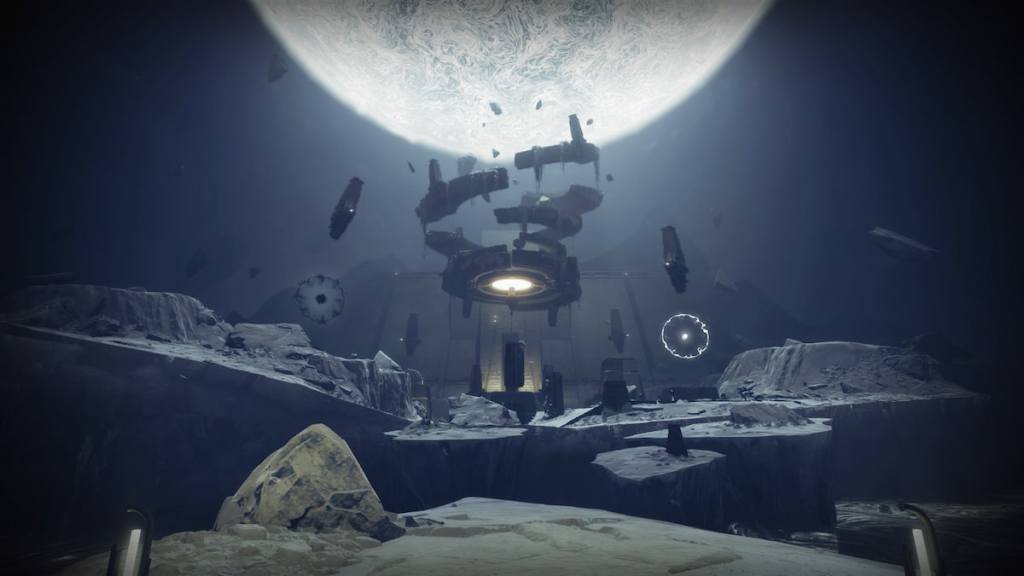
At the start of the mission, look for two Taken enemies called Imbalance Warden near the Firebase Imperator. One is to the right at the entrance, and the other is in a small hallway on the left. After defeating them, continue with your mission until you transition between dimensions, post-Balance the Scales objective. Next, you’ll focus on finding seven oddities for the Echoing Blade catalyst.
Echoing Blade Catalyst
The Echoing Blade Catalyst requires you to throw your Praxic Blade at seven small Blights scattered throughout the mission. Similar to your first clearing, destroying them will display “X out of seven oddities destroyed” above your Super bar.
First Oddity
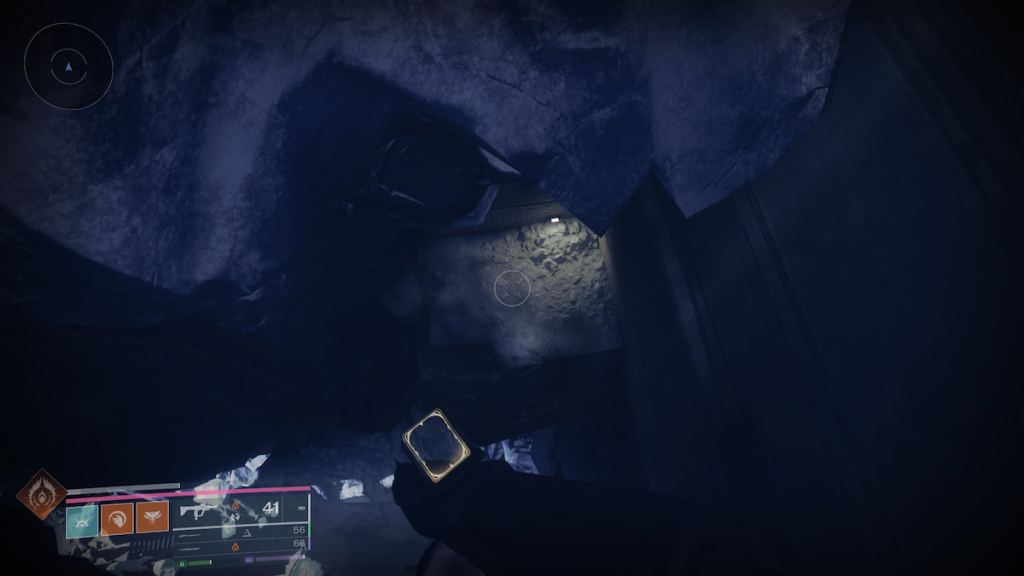
After collecting the Imbalanced Octant and shooting the four Darkness artifacts, jump into the pit below and find a small glowing ledge. It’s positioned on your right if you stand at the edge. Proceed to the glowing ledge across from you until you find an area with bars underneath. Locate an ice block with a crate of special ammo and identify a closed-off wall. Move to the walkway in front, then return just in time to dissolve the wall and reveal a Blight. Throw your Praxic Blade to hit it and check that “one out of seven oddities” appears.
Second Oddity
From the first oddity, drop down to the icy ledge. Instead of proceeding straight, backtrack to see icy steps. Look to the right for a door with a symbol; dissolve it to find another Blight. Ascend on the tiny ledge behind you, crouch through a hole in the wall, and take the right path to destroy the Blight. Exit through the dissolving wall nearby.
Third Oddity
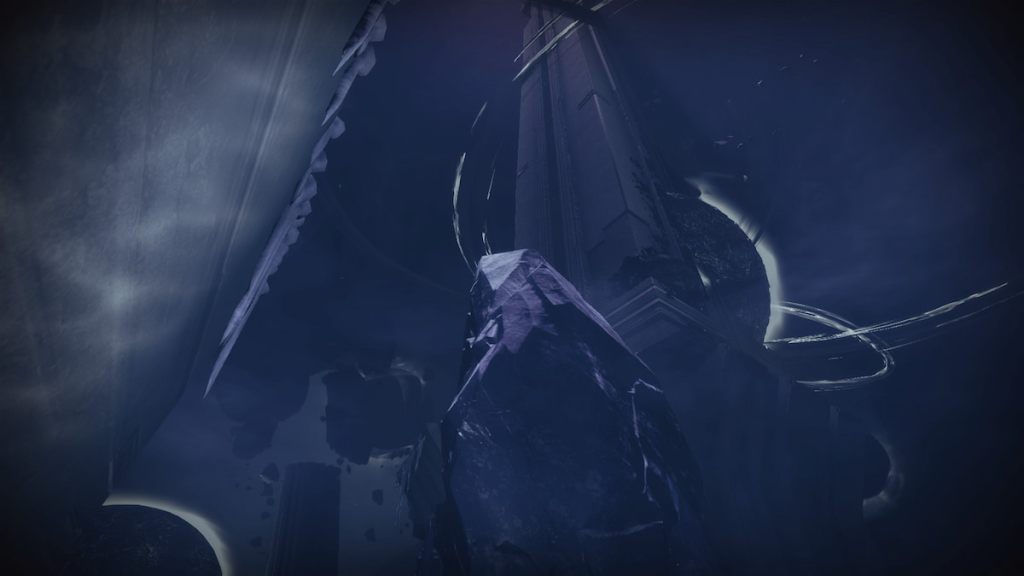
During the jump puzzle where you maneuver through obstacles, reach the second story and find the large building behind an icy rock. Secret ledges are accessible on the opposite side, often hard to spot. Continue climbing until you discover the third Blight in view of the next mission area.
Fourth Oddity
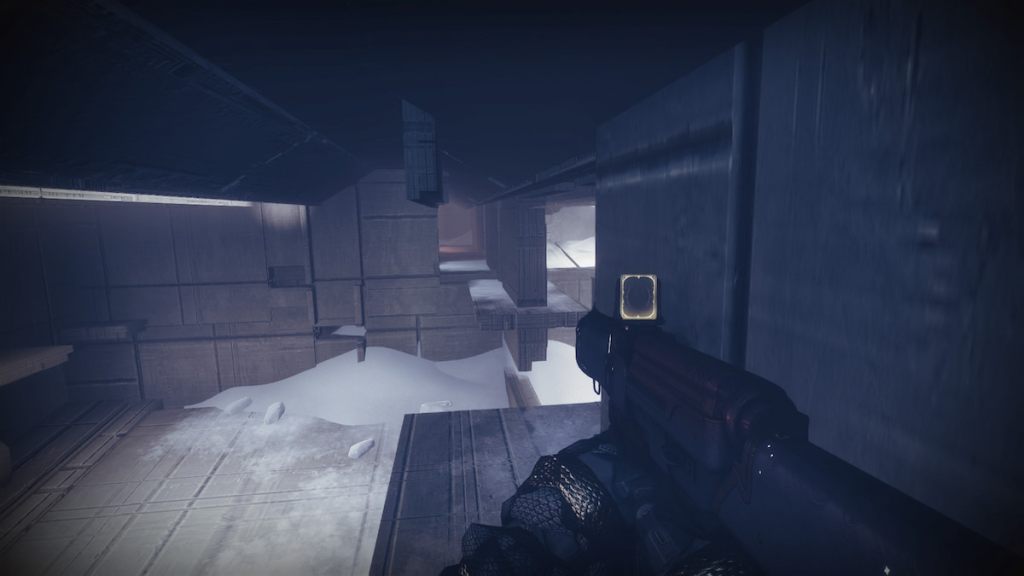
When you arrive at a room with a narrow metal beam, head upwards. Before exiting, explore nearby areas for a distant Blight. Search for a minuscule entrance in the wall; the most effective way to enter is to use the ledge closer to the Blight. Dissolve the double walls quickly and throw your Praxic Blade at it.
Fifth Oddity
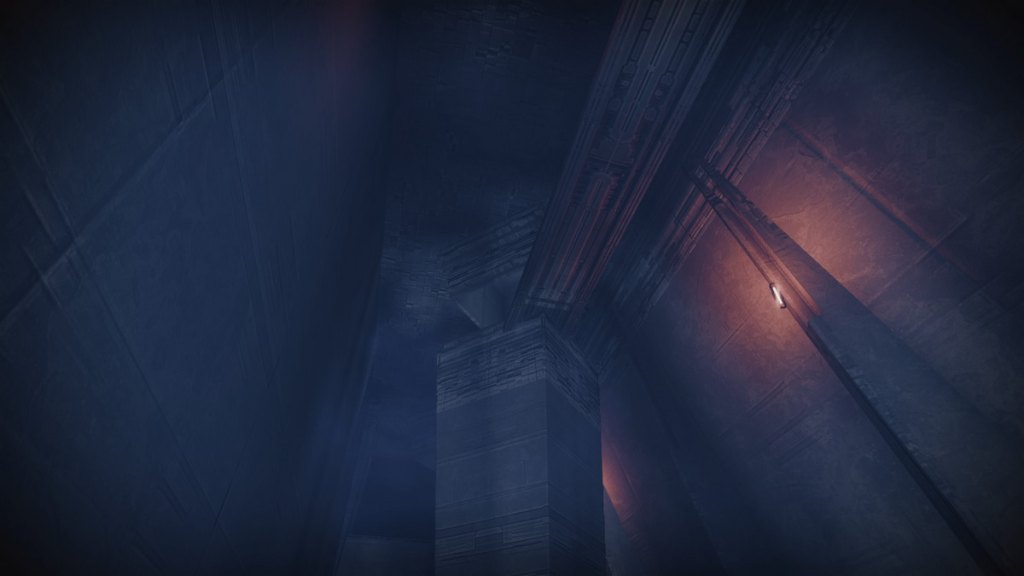
Continue the mission until you find a narrow path below a beam. When you reach a junction, jump to the right, then climb to another beam. Once you reach a diamond-shaped part of the floor, look up and dissolve the ceiling. Align your lightsaber to hit the Blight through the wall.
Sixth Oddity
Shortly after the fifth oddity, clear out any Hobgoblins sniping you and move on to a floating glacier with additional Hobgoblins. Drop down to three small ledges to your left; you can destroy the Blight by ricocheting your throw off a nearby wall.
Seventh Oddity
Backtrack from the entrance of the section, climbing on the rocks above the wall. Observe across a chasm for a structure containing the final Blight. Continue upward until you reach it, noting a hole in the metal. Position yourself close enough to throw your Praxic Blade inside—it may take a few attempts.
Hyperblade Catalyst
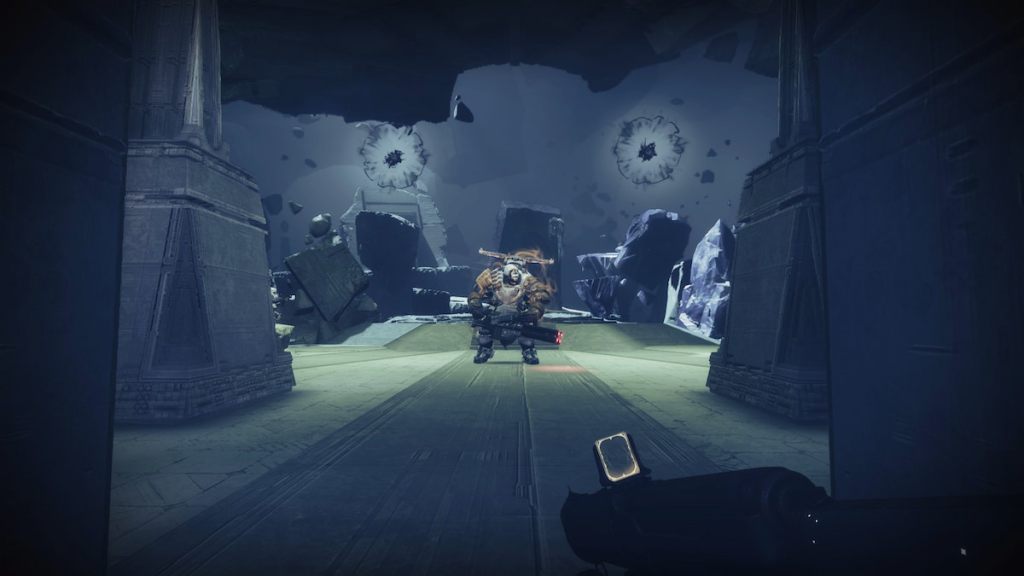
In the “Balance the Scales” encounter, overcharge each Blight to knock them out of balance. Throw three of the matching energy type on them. If you fail, a new enemy will appear. Each failure spawns a small Blight on each edge of the central device. Destroy all four to summon the Warden of Imbalance, an imposing Taken Ogre. Upon defeating it, you’ll receive the Hyperblade Catalyst for your Praxic Blade.
Upper Hand Catalyst (Part Two)
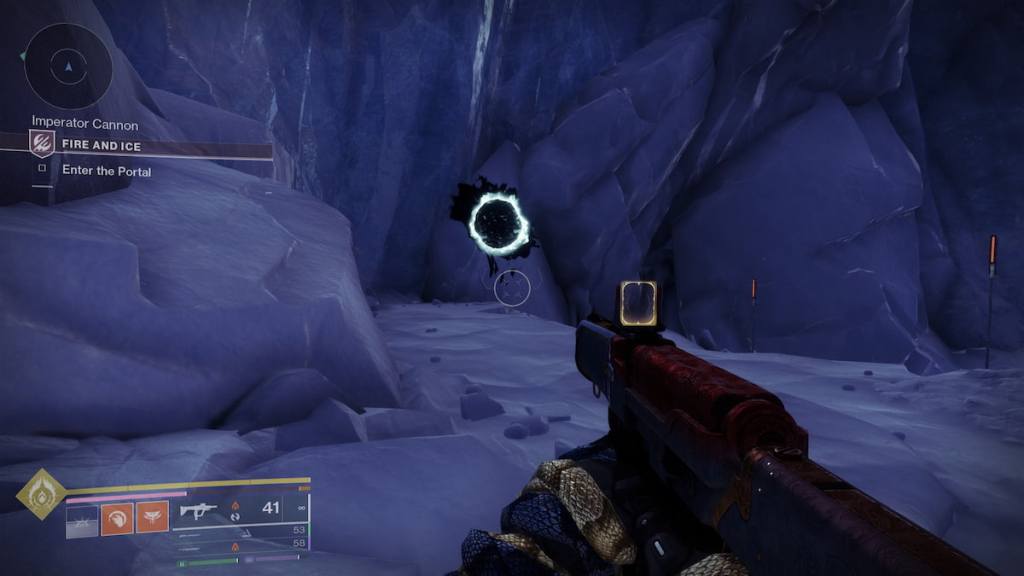
Immediately after using the Balanced Octant and unveiling the flipped reality, don’t enter the portal. Instead, backtrack to the locations where you took down the two Taken Knights. You should find a Blight in each spot. Eliminate them with your Praxic Blade throw; one Blight is to your right, and the other is on your left as you exit Firebase Imperator.
After completing this, two white Blights will materialize during the Disciple of Harrow fight under the boss arena. Charge these by throwing Paired Energy at them, gathered from eliminating the same enemy type consecutively, and alternate your throws effectively. Finish the encounter as usual to claim this catalyst from a lockbox after the mission.
Energy Conduit

The Energy Conduit catalyst can be found in the Equilibrium dungeon. Stay tuned for updates once it becomes available.
With this guide, you’re now equipped to master the Praxic Blade. Ready to wield it to its maximum potential? For even more strategies and tips on gaming, explore related content over at Moyens I/O.