
After getting the second satellite to unlock the Tentacle System in Astro Bot, it’s time for another set of levels that range from warm sands to ice-cold realms. In this guide, we will cover every single checkpoint within the levels and all of the collectibles you can pick up along the way.
This guide is a work in progress and will continue to be updated.
Astro Bot Go-Go Archipelago! Walkthrough
The Tentacle System begins with the Go-Go Archipelago, which is perfect because it’s a sunny beach with a massive pirate for a final boss. It’s a welcome change after the Gorilla Nebula came to a close. There is even a Lost Galaxy to collect in this level, so there is plenty to look for as you climb up and we’ll have it all covered here.
Go-Go Archipelago! Area 1 (Puzzle Piece 1, Bot 1, Bot 2)

As soon as the level starts, there is a puzzle piece you can collect with your controller ship. A bird will fly out from the right side of the water and you need to boost your controller if you want to reach the piece in time. If you miss it, I recommend just restarting the level and trying again. You should be good to land on the beach after the piece is yours.
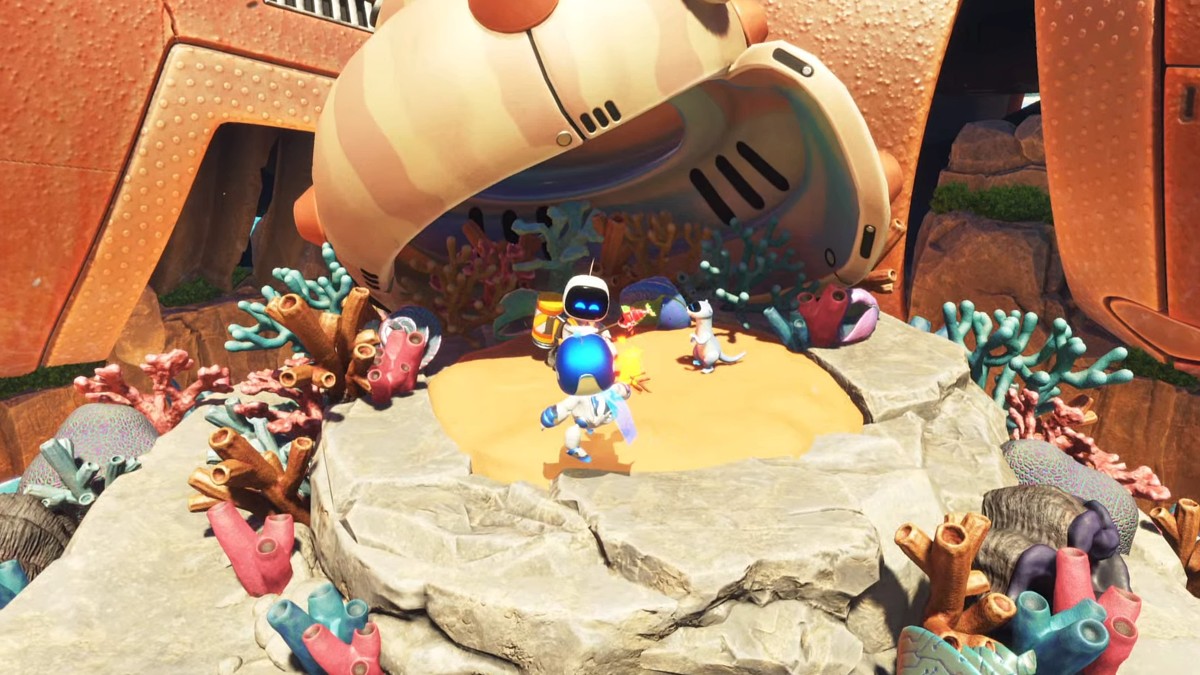
On the beach, your first path should be to the left. Take down the enemies and then use your thrusters to reach the platform with the shell to the left. The first Bot in this level will be waiting for you as he roasts a fish. Smack the Bot and then head back to the main island.
Next, you should head to the right side of the level and climb the rocks. Take out the enemies on the top of the rocks with the thrusters so you don’t take damage from electricity. At the end of the path is a second Bot that is tied up on a tree. Get rid of the spiky enemies and then punch the Bot to release it from the bindings.
Now you can head back to the center of the beach. A skull-like enemy will appear that will throw a ball on a chain at you. Dodge the spiked ball and then punch the glass on the enemy twice to kill it. A blue glowing X will appear on the ground below it which means you can hold “Square” on it to dig into the ground. Open that chest that appears to use the monkey hands. These are integral for the rest of the level. The left and right hands can be controlled with the triggers. But you also need to physically move your controller to move the arms as well. Climb out of the beach to reach the next area.
Go-Go Archipelago! Area 2 (Bot 3, Bot 4, Bot 5, Puzzle Piece 2)

Up ahead there is an angry-looking chest with red eyes. Grab the chest with both monkey hands and hold the triggers to force it open. You will find a few rocks with hands on them which means they can be grabbed and thrown. Start by throwing a rock at the wooden face to the right. A platform will fall that can be climbed and the second Puzzle Piece is at the top.
After you get the piece, throw three rocks at the wooden faces on the platforms to the left. This allows you to move up and there are a couple more paths to follow. Head toward the left first. Another skeleton ball will appear and you can quickly take it out with a few punches. Below that enemy is a circle with a monkey on it which always means you should slam the ground with “R2+L2” at the same time. Flower platforms will appear due to the slam and you can reach the top. A chest with another Bot will be there.

Go back to the main path and you will encounter a flimsy blue bridge with yet another Bot in a cage. Use your thrusters or the hand slam to break the bridge around the cage and then head to the bottom of the cliff. You can punch the Bot you released to add it to the collection, but that’s not all for this area. Look for the giant stone with hands on it and grab it. Then look toward the cave to break the entrance and expose the green blocks. Pushing in the block will get you to the fifth Bot.
From there climb back to the top path by climbing on either side of the cliff. Your path won’t matter so don’t worry about the choice.
Go-Go Archipelago! Area 3 (Bot 6)

Knock the enemies out of your way and then climb up the ship. A few more pirates are waiting for you but you can quickly get rid of them. Before you keep climbing up after dealing with those enemies, turn around and jump to the other side of the ship. Another monkey image is on the ground and slamming it will cause the cannon to shoot a rope. Grind across to reach the ship all the way on the other side.
More enemies await but you can throw rocks at them or fist-fight the old-fashioned way. Regardless, there is a sparkly chest to grab from them and then you can keep climbing. Follow the path up the mast and use those monkey arms to move up the rungs carefully. Beating two more enemies at the top will unveil the sixth Bot from a tree. Pick them up and then slam the ground to unlock the trampoline back to the main ship.
Back at the main ship, slam down on the monkey image to unfurl a green bar. This marks the next section and requires even more physical use of the controller.
Go-Go Archipelago! Area 4

Utilizing the bars with the monkey arms means making a swooping motion with your controller. Momentum is created as you make the motion and then you can let go to launch yourself higher. After launching up high, more enemies appear on the next platform before you reach the next climbable wall. Take them out and slam the ground again to find the banana rungs.
Go-Go Archipelago! Area 5 (Bot 7)

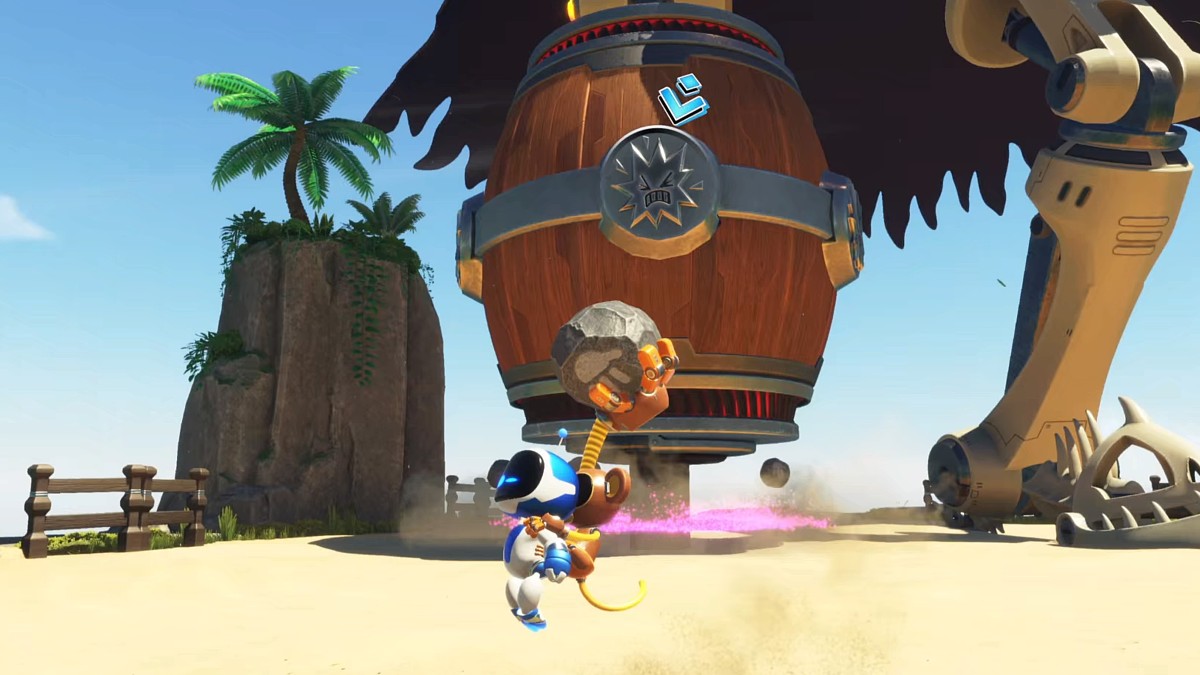
As soon as this section starts, you can look to the right to find a keg. On the other side of the keg is a wire that can be pulled by holding “Square” and pulling backward. The seventh and final Bot in this Astro Bot level is hiding within.
With the enemies gone as well, go to the left side of the ridge and slam the ground to open the flower platforms temporarily. Jump across them to reach the next spot where a skeleton ball will quickly start breaking the wall. Don’t wait too long to attack because the Bot is getting closer as it swings. Hop over the ball and then smash the glass to take it down.
Go-Go Archipelago! Area 6
The next part is almost all climbing. Jump across the anchors and begin the ascent up the cliff with the banana rungs. More enemies will appear and then the real climb begins. Remember that you can use both hands to grab one banana and reset where you are moving. Whatever you do, don’t turn back on the breaking planks.
Go-Go Archipelago! Area 7 (Puzzle Piece 3, Lost Galaxy)

At the top of the peak, there is a massive door. Head left before you enter to grab the giant boulder on the left side of the ridge. Throw the boulder directly ahead to unveil the third Puzzle Piece for the level. Grab the piece and then head back to the door.
Pulling the door will drop a bar you can use to swing to another bar that is carried by two birds. Timing is key here and it will allow you to scale the rest of the cliff. When you reach the top, you will see the usual ending platform which is surrounded by a buried hat. Approach the hat to spawn the Captain Pincher boss fight.
Luckily the fight is simple. Throw three stones at the marked parts on the Captain’s leg and climb up the side. Carefully climb his chest to reach the head and then tear it off with the monkey arms. The boss will fall and a piece of it will land back on the platform. If you look closely there is a blue cross under it that makes a Lost Galaxy. But remember that if you jump in it will take you out of the level without saving your progress. Either way, now you have all the collectibles in the archipelago.
And that’s the Astro Bot Tentacle System Walkthrough.
If you’re looking for a guide for another level in Astro Bot, head on back to our hub page by clicking on that fancy blue text, as that’s where you’ll find our other walkthroughs for the game’s various levels and how to get every collectible.
Astro Bot is available to play now on PlayStation 5.