Understanding Classes in Dead Rails
In Dead Rails, your class plays a crucial role by determining your starting items (like revolvers or helmets) and passive bonuses (such as the ability to revive players without using bandages). You can view your current class above your character’s head while in the lobby. By default, you start with no class (None).
Dead Rails Class Rankings
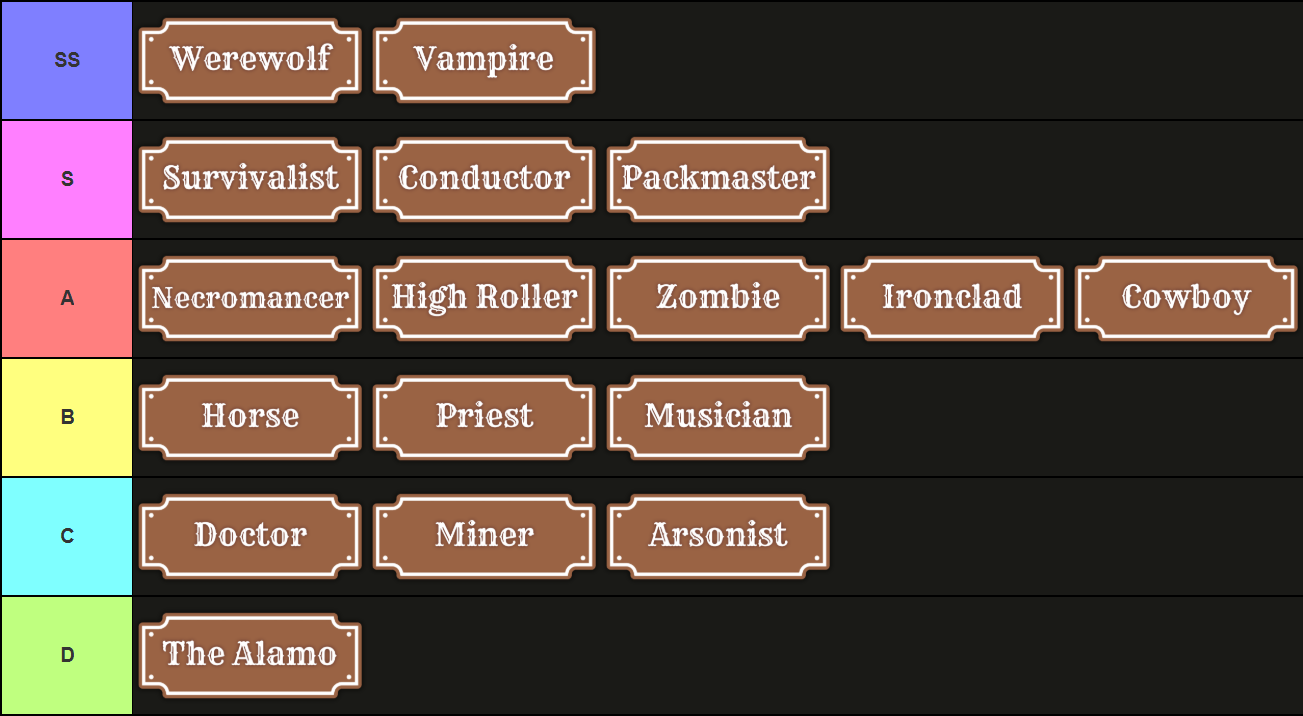
Below is our class tier list for Dead Rails, where we categorize all classes from best to worst based on their overall strength, suitable for both solo play and team setups. Generally, classes that require more Bonds to unlock tend to be stronger. However, exceptions exist, such as the Ironclad class, which, despite its high cost, is relatively weak. Here’s an overview of our Dead Rails class rankings:
- SS-tier: Werewolf, Vampire
- S-tier: Survivalist, Conductor, Packmaster
- A-tier: Necromancer, High Roller, Zombie, Ironclad, Cowboy
- B-tier: Horse, Priest, Musician
- C-tier: Doctor, Miner, Arsonist
- D-tier: The Alamo
Optimal Classes for Solo Gameplay
If you’re keen on playing Solo and wish to amass a large amount of Bonds, consider unlocking the Vampire, Survivalist, or Zombie classes. The Vampire stands out as the best class for solo play due to its exceptional survivability and speed. However, its unique playstyle may require teammates to adapt if they do not choose the same class.
Complete Class Overview in Dead Rails – Details, Pros, and Cons
Listed below are all the classes in Dead Rails, including their cost, starting items, and unique passive bonuses. We’ve also included pros and cons for each class to provide clarity to the tier list mentioned above.
| Class | Details | Starting Items | Pros & Cons | Price (EUR) |
|---|---|---|---|---|
 |
• 2x speed, damage, and HP at night. • 0.9x stats during the day. |
• Shovel | + Great at night + High survivability − Weaker during daytime |
12.12 EUR |
 |
• Boosts movement speed and melee damage. • Takes damage from sunlight. |
• Shovel • Vampire Knife |
+ Top class for solo play + Very high survivability − Unique playstyle − Less effective in parties |
18.18 EUR |
 |
• Damage increases as your health lowers. | • Shovel • Tomahawk |
+ High damage potential − Risky playstyle |
18.18 EUR |
 |
• Train speed increases by 30% while driving. | • Coal x2 | + Excellent for team play + Good for speedruns − No starting weapon |
12.12 EUR |
 |
• Starts with three tamed wolves. Attackers become tamed. | • Shovel | + Strong in both solo and team play + Immune to wolf attacks − Vulnerable without wolves |
10.61 EUR |
 |
• Defeated enemies have a 25% chance of reincarnation with a downside of losing 10 HP. | • Shovel | + Potential to revive strong foes − High-risk playstyle |
10.61 EUR |
 |
• Collecting moneybags yields 50% more cash but increases lightning strike chances by 10x. | • Shovel | + Effective for boosting economy + Suitable for team play − Vulnerable during storm nights |
12.12 EUR |
 |
• Regain health by consuming corpses, stealthy movement, but cannot use bandages. | • Shovel | + High survivability + Good for solo farming − Dependent on food source (bodies) |
18.18 EUR |
 |
• Movement speed decreased by 10% with full body armor provided. | • Helmet • Chestplate • Left & Right Shoulder Armor • Shovel |
+ High survivability + Strong defense from the start − Lacks agility |
18.18 EUR |
 |
• Grants a tamed horse upon spawning. | • Shovel • Revolver • Revolver Ammo x2 • Saddle |
+ Great choice for solo play + Strong initial gear − Lacks passive bonuses |
12.12 EUR |
 |
• Take on the appearance and traits of a horse. | • Shovel | + Useful for some challenges + Very fast − Cannot ride the train |
0.00 EUR |
 |
• Immune to lightning strikes. | • Shovel • Holy Water x2 • Crucifix x2 |
+ Exceptionally useful during storms − Weak for solo gameplay |
18.18 EUR |
 |
• Playing a banjo heals nearby players over time. | • Banjo | + Great fun to play + Supportive class for parties − Lacking offensive capability |
6.06 EUR |
 |
• Revive teammates for half HP sacrifice. | • Shovel • Bandage x2 • Snake Oil x2 |
+ Perfect for team play + Ideal for assisting beginners − Lacks offensive bonuses |
6.06 EUR |
 |
• Equipped with a headlamp for illumination. | • Pickaxe • Mining Helmet • Coal x2 |
+ Best early-game class + Headlight is invaluable at night − Weak in combat |
6.06 EUR |
 |
• Doubled fire damage. | • Shovel • Molotov x4 |
+ Effective against crowds − Limited Molotov availability |
6.06 EUR |
 |
• No specific bonuses. | • Helmet • Metal Sheet x3 • Barbed Wire x3 • Shovel |
+ Decent starting items − Lacks unique benefits |
12.12 EUR |
How to Unlock and Swap Your Class in Dead Rails
In Dead Rails, you can acquire new classes or alter your current class at the Tailor NPC located in the main lobby. Each class requires a certain amount of Bonds to unlock, and class changes can only be made before starting a run.
If you’re a newcomer to Dead Rails, it’s advisable to accumulate all Bonds you find and invest them into unlocking new classes. This strategy ensures you maintain an effective starting loadout and gain powerful passive abilities.
Guide to Farming Bonds
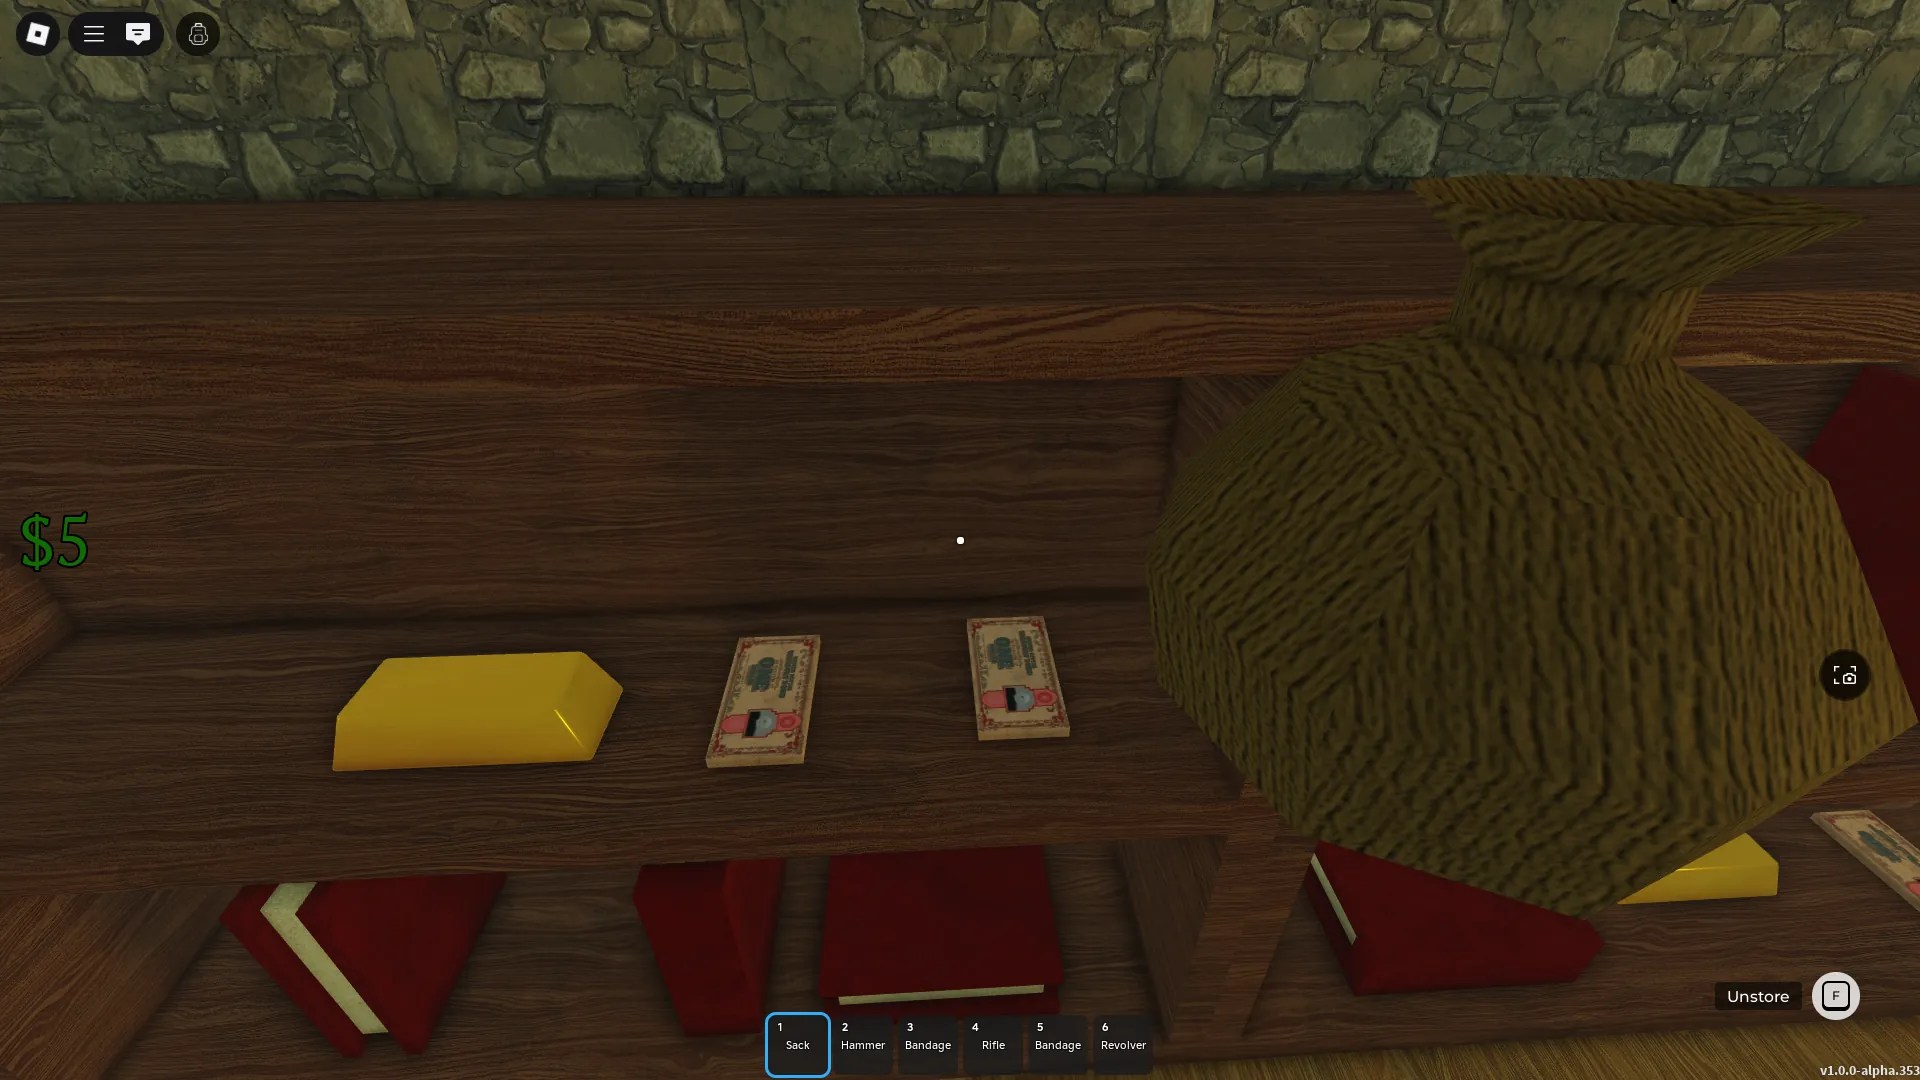
If you want to unlock a class in Dead Rails, you need to gather Bonds. The best locations for finding Bonds are the castle at the 40km mark and the bank vaults in various Burning Towns alongside the railway. For an in-depth approach on how to engage with these areas, refer to our guide on farming Bonds in Dead Rails.
This wraps up our comprehensive Dead Rails class and tier list guide. If you’re still uncertain about selecting your ideal weapon, check out our Dead Rails weapons tier list to discover your new favorite!
FAQs About Dead Rails Class System
Classes can be unlocked by spending Bonds at the Tailor shop located in the main lobby.
Optimal classes for group engagement include Conductor, High Roller, Musician, and Doctor.
For solo exploration or when your entire group selects the same class, the top classes are Werewolf, Vampire, Conductor, Zombie, and Cowboy.


