
Key Takeaways
- You can disable Dark Mode in Microsoft Word by selecting a theme other than black in the Office Theme settings on Windows. If you’re on Mac, go to Word > Preferences > General and check the box next to Turn Off Dark Mode.
- If the issue persists, check your device’s display settings and adjust your screen’s brightness.
- While the only way to update your graphics driver on Mac is to update your device’s software, you can do it manually on Windows using the Device Manager.
Were you writing an essay on Microsoft Word, just to notice your document is black? Perhaps you’ve accidentally enabled Dark Mode in Microsoft Word, or your graphics driver is outdated. Regardless of the cause, here’s a quick guide on how to fix it and return Word to the default view.
Disable Dark Mode in Microsoft Word
Since Microsoft Word has a built-in dark and light mode, if your document appears black, chances are that you’re stuck in Dark Mode. Before you proceed with the other troubleshooting steps, ruling out this basic one is a good idea. Here’s what you need to do to disable Dark Mode in Microsoft Word:
- Open Microsoft Word, and navigate to the File tab. Then, go to Account in the bottom-left corner.
- On the next screen, click the dropdown box under the Office Theme header.
- You’ll now see five different options: White, Colorful, Dark Gray,Black, and Use system setting. Since you’d like to switch from dark mode, select any theme from the menu other than black.

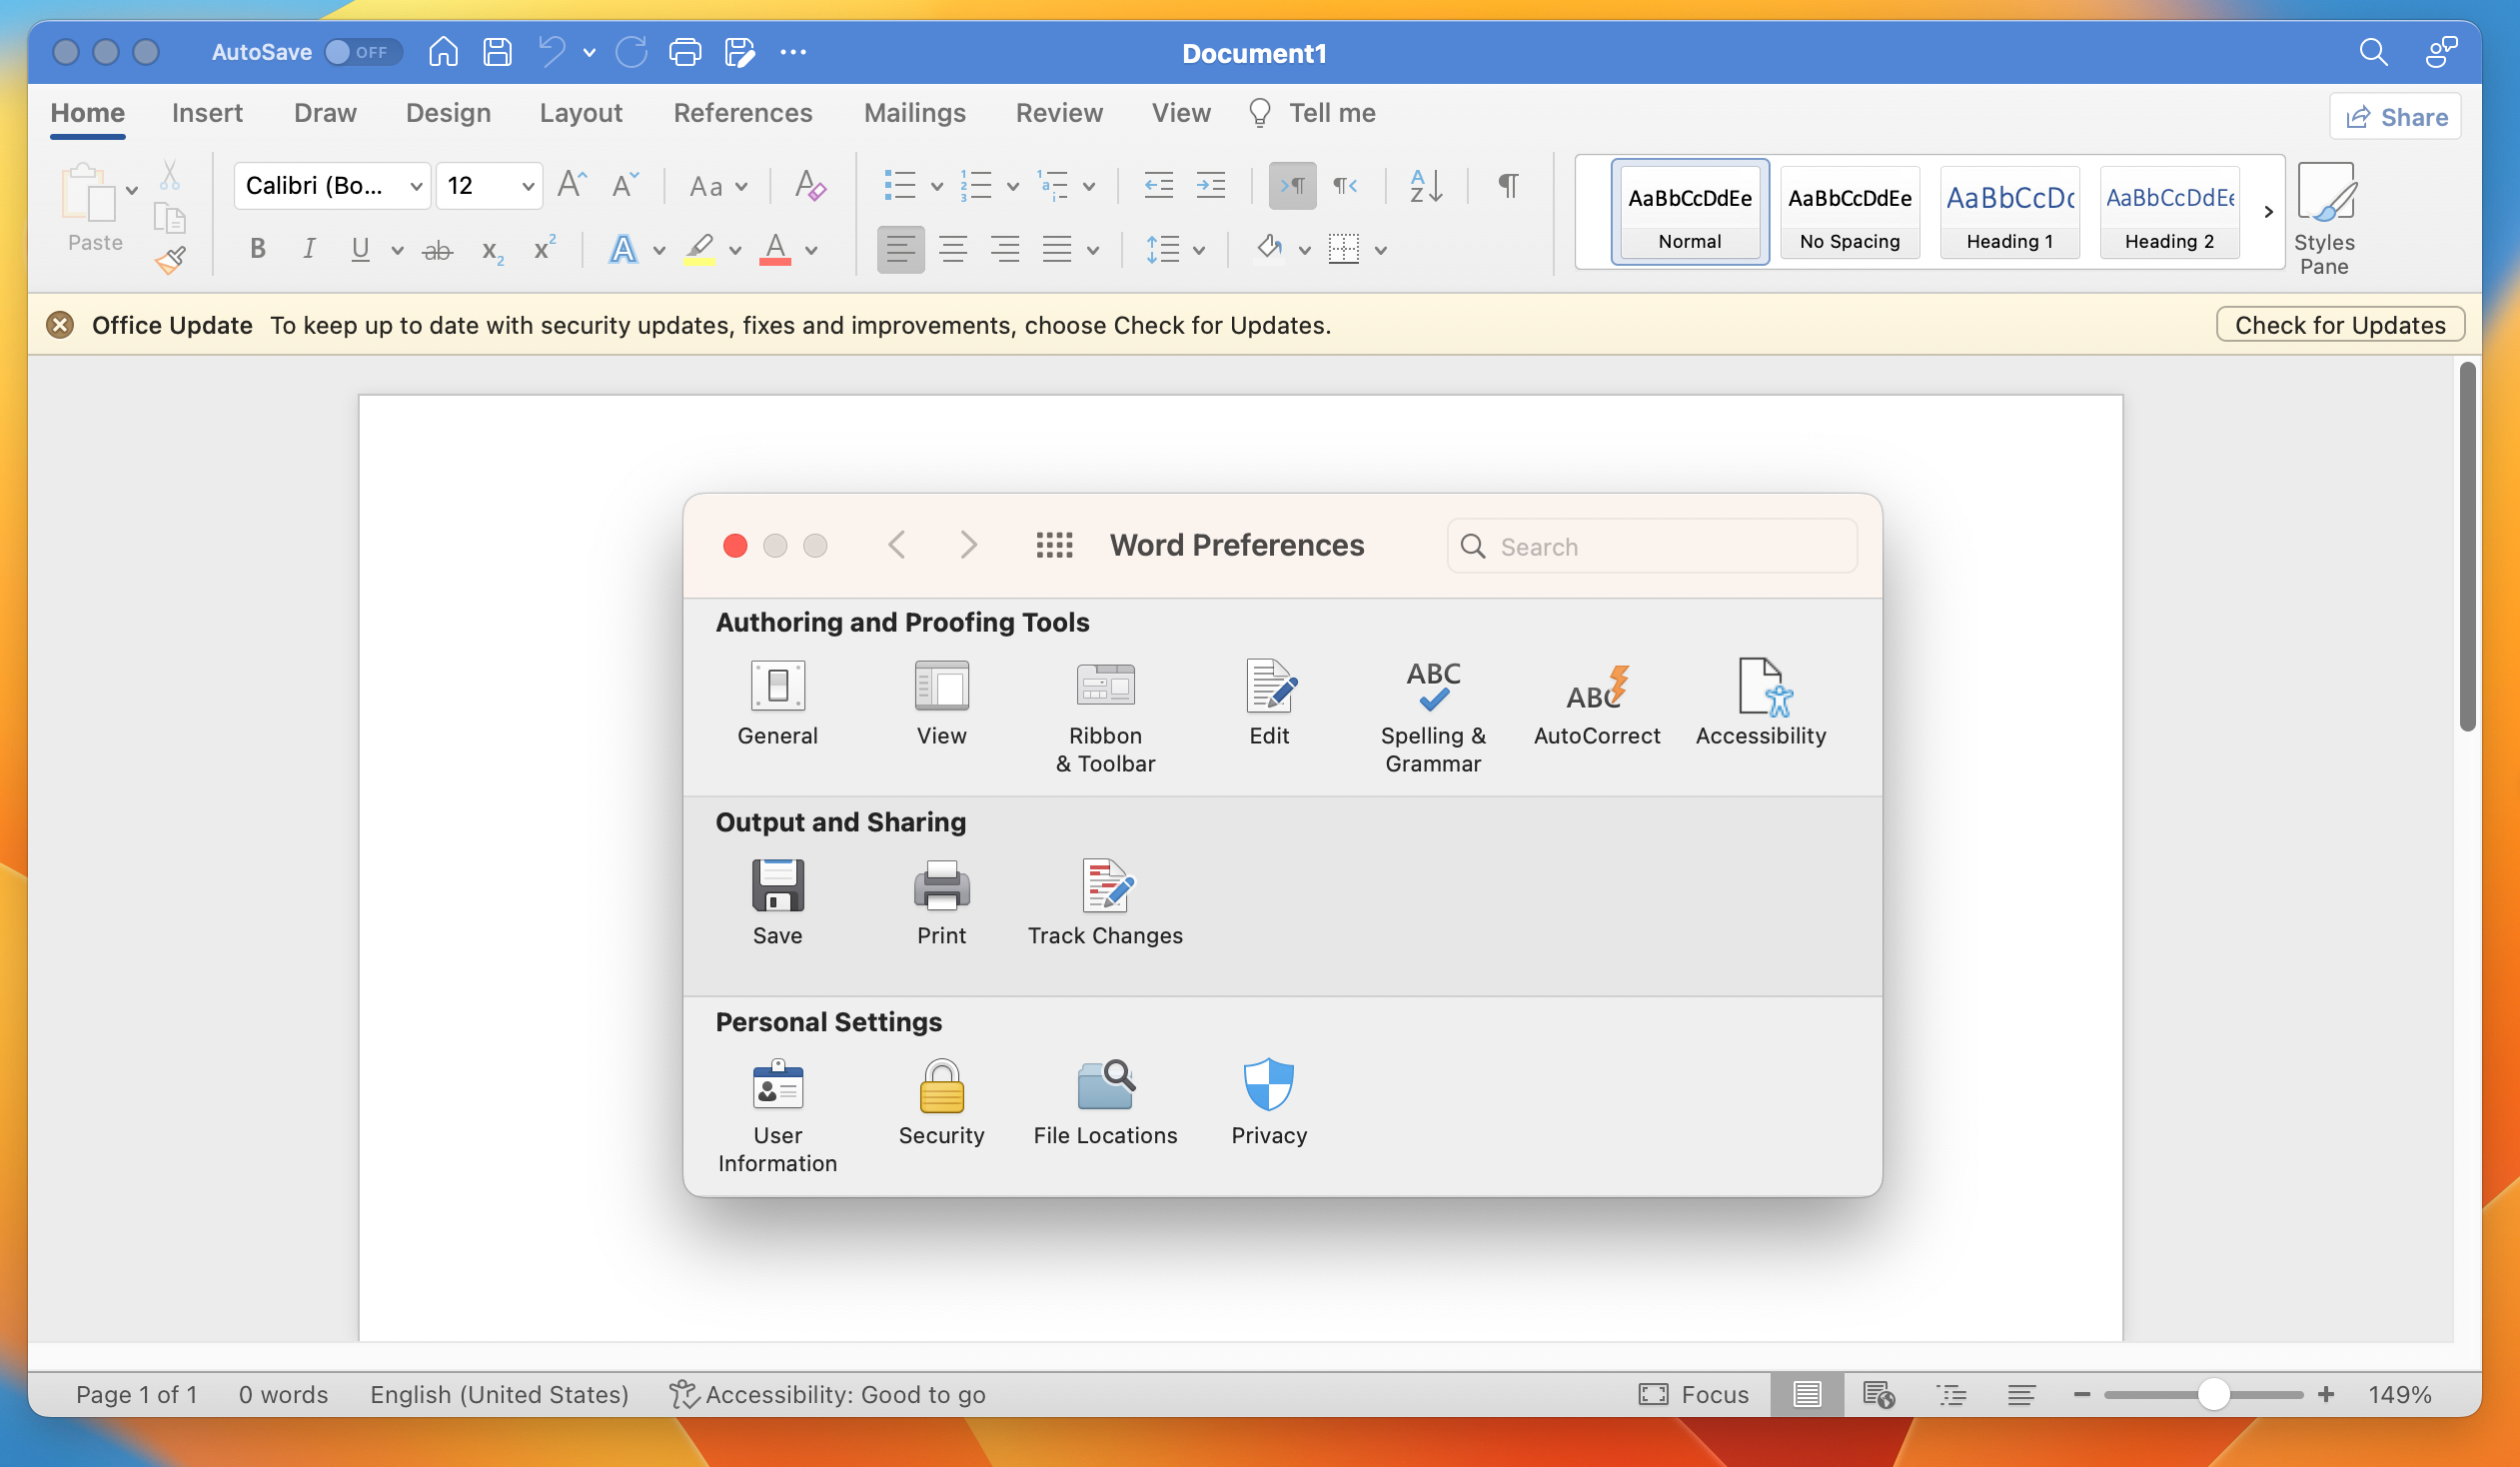
If you’re on a Mac, click Word in the top-left corner of the menu bar. Select Preferences from the drop-down menu and click General under Authoring and Proofing Tools.
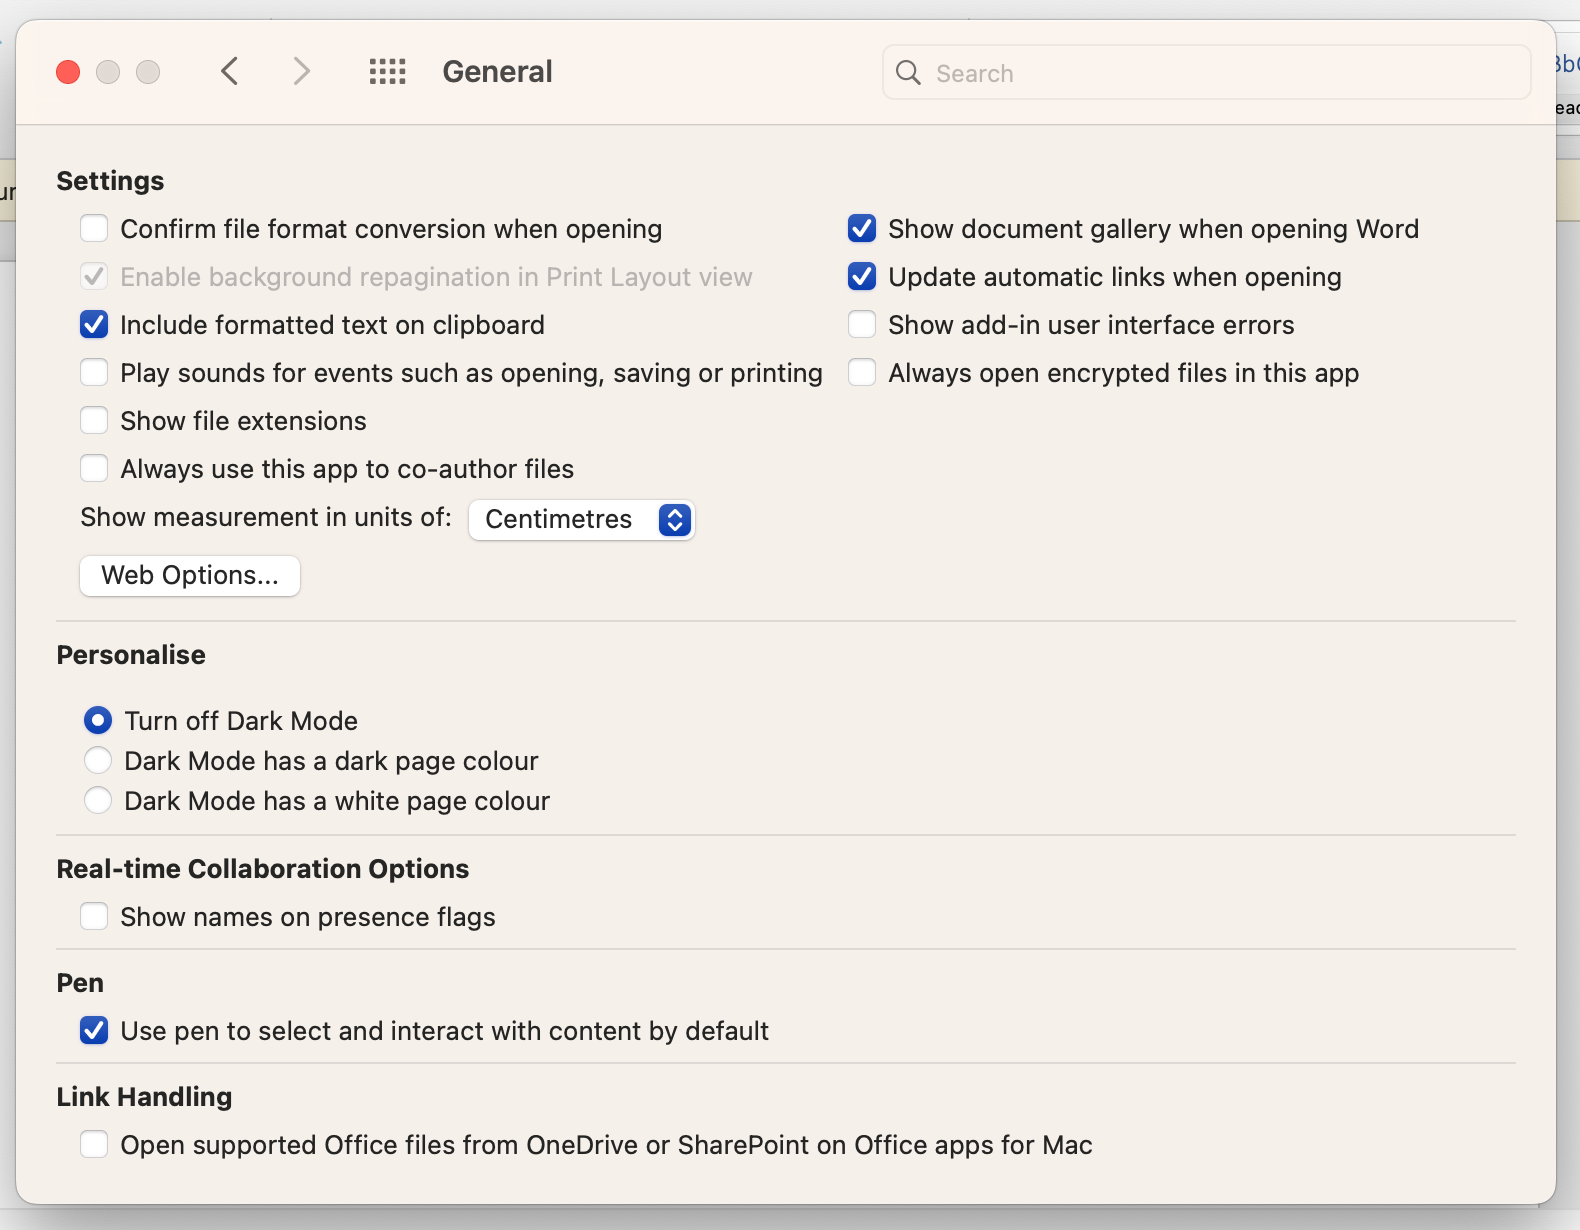
Then, select the checkbox next to Turn off Dark Mode.
If displaying Microsoft Word’s built-in Dark Mode didn’t do the trick, it’s a good idea to check whether Dark Mode is enabled on your device. If enabled, all applications will be affected and displayed in dark mode. Therefore, make sure to refer to our guides about Dark Mode on Mac and Dark Mode on Windows to learn how to enable, disable, and customize it.
Disabling Dark Mode for Document Space Only in Word
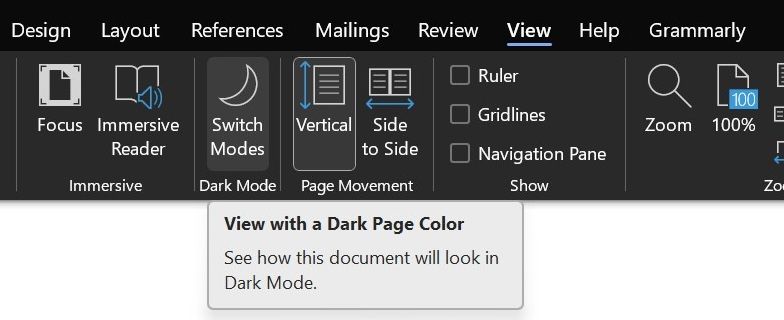
If you’ve noticed that only the document space is in Dark Mode, you can disable that as well. On Windows, you can do so by going to the View tab in the ribbon and clicking Switch Modes to toggle between dark and light modes.
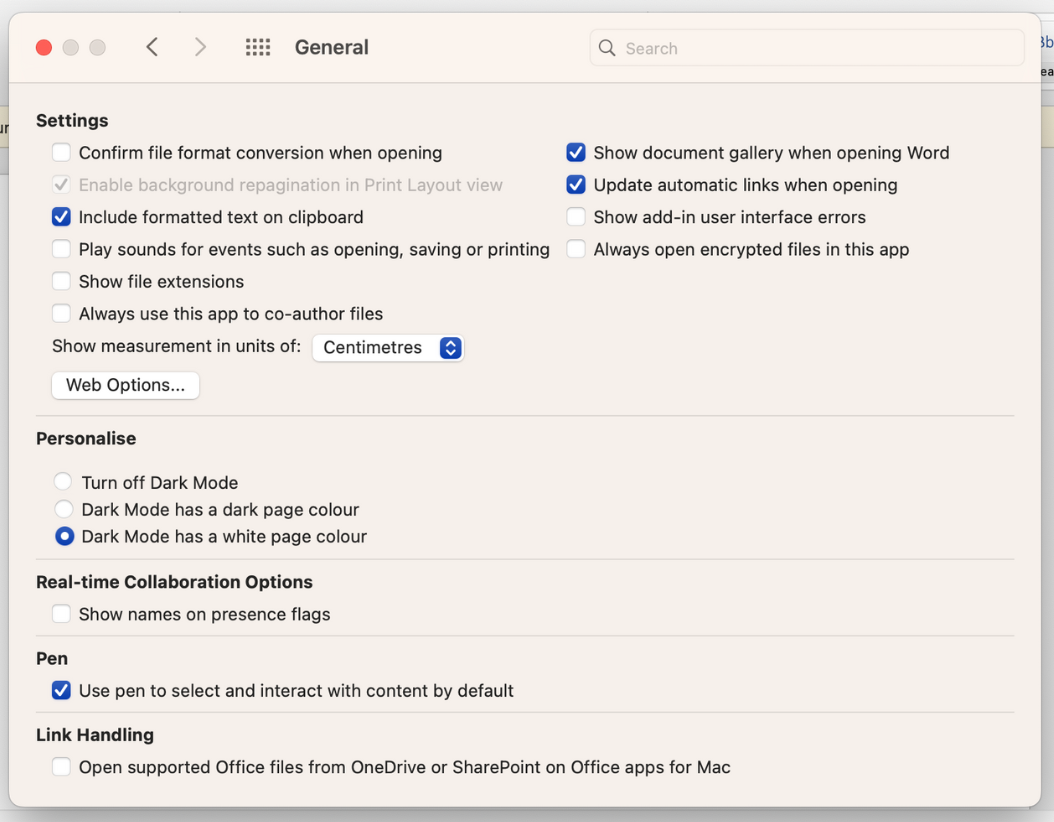
If you’re on a Mac, click Word in the menu bar and select Preferences from the dropdown menu. Now, click General and check the box next to Dark Mode has a white page color.
Is Your Screen Too Dark? Check If It’s a Display Issue
If Dark Mode wasn’t the culprit, we recommend checking if the issue is taking place because of a display issue. Often, we end up tweaking our laptop’s settings, just to forget all about it later.
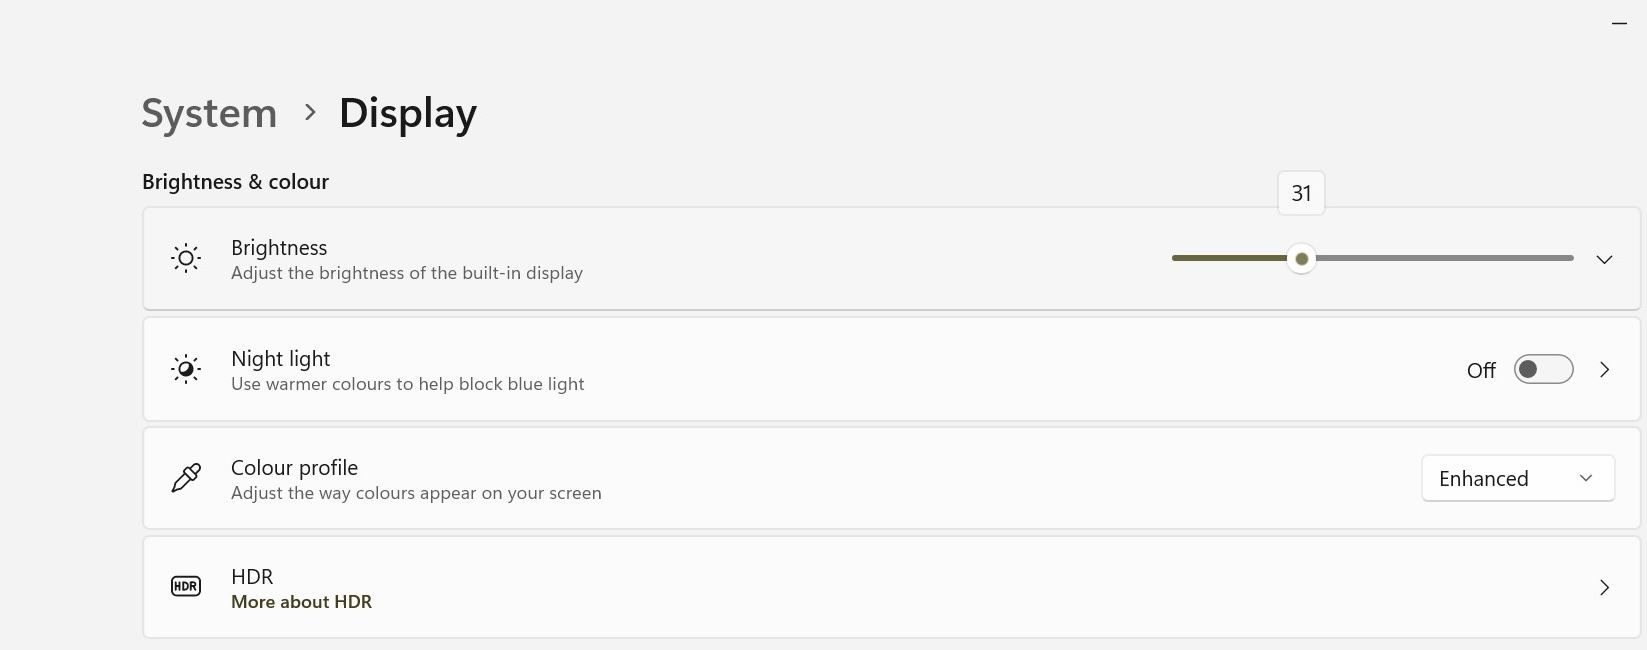
Begin by adjusting your display’s brightness. On Windows, go to Settings > System > Display. You’ll now see a slider under the Brightness and color header. Simply drag the slider to the left (lighter) or right (darker) to adjust your device’s display brightness. Alternatively, you can also use the physical brightness keys on your keyboard to do so.
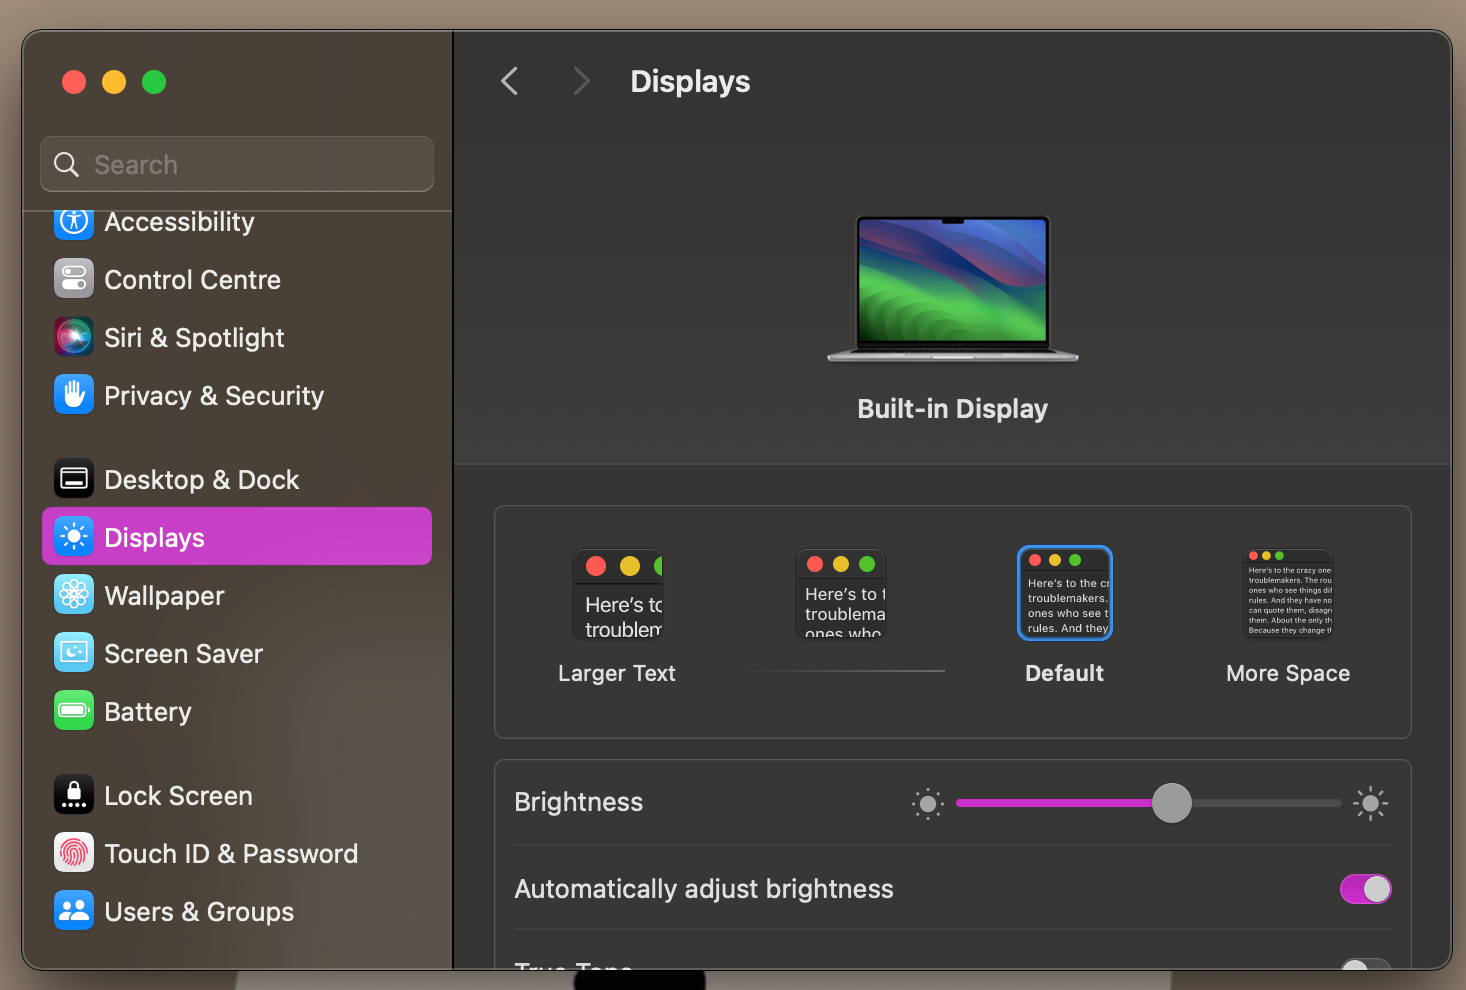
On macOS, click the Apple logo in the top-left corner of the menu bar and choose System Settings. Select Displays from the sidebar and use the slider next to Brightness to adjust your device’s display brightness.
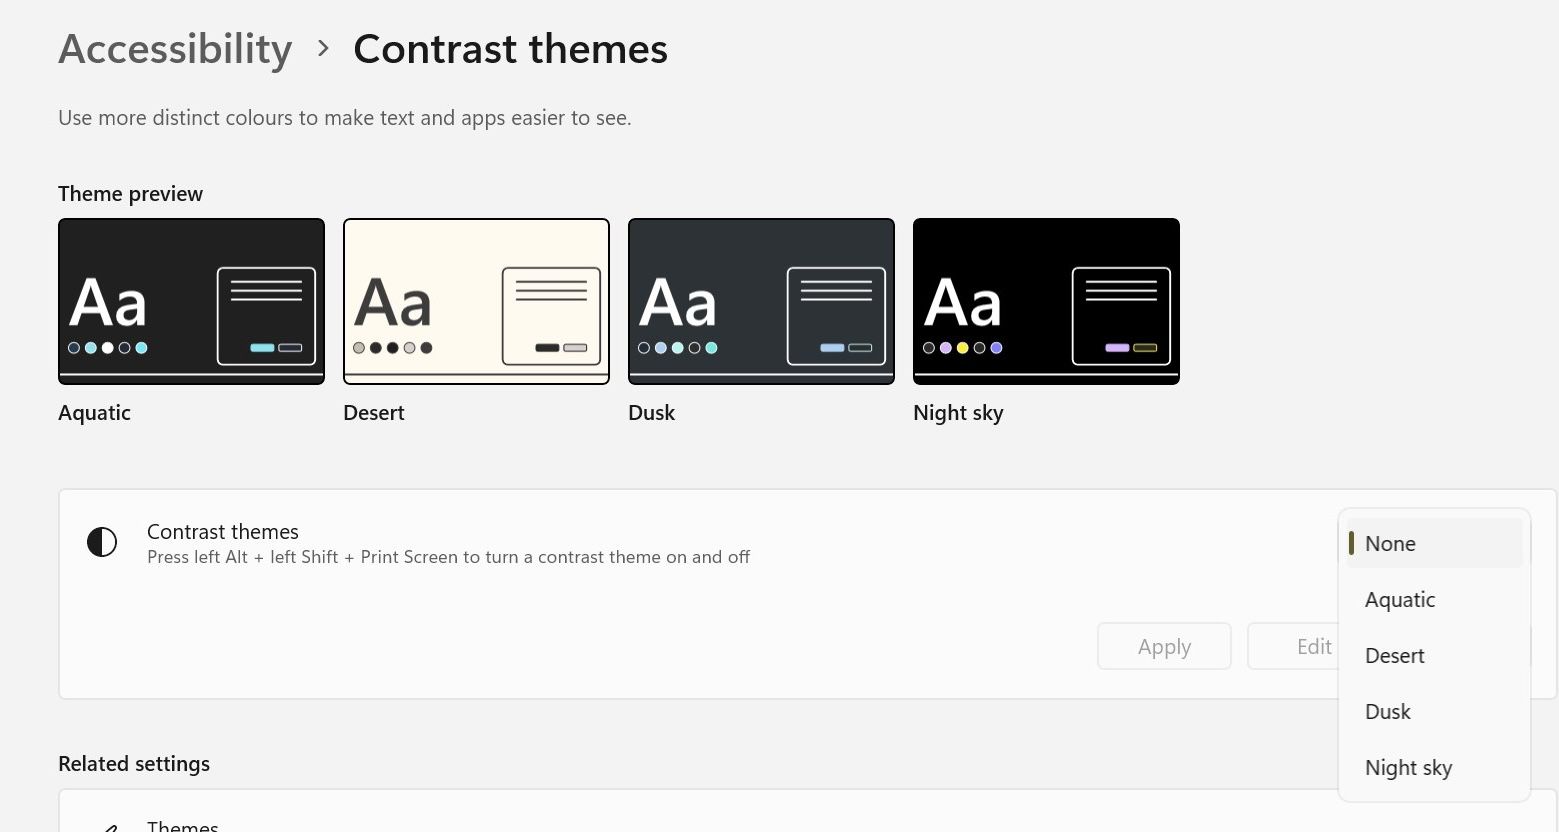
To allow for better readability, Windows 11 allows users to turn on High Contrast Themes. If you have this setting enabled, it’s a good idea to disable it and check if the issue still occurs. Here’s what you need to do:
- Go to your system settings by right-clicking on the Windows button on the taskbar and selecting PC Settings, or clicking the Settings icon.
- Then, select Accessibility from the sidebar.
- Click the arrow right next to Contrast themes to expand the dropdown menu and select None.
- Finally, click Apply to disable contrast themes entirely.
You can also enable and disable these themes by pressing the Left Alt + Left Shift + Print Screen keys simultaneously. Click Yes on the prompt that’ll appear on the next screen, asking if you’d like to turn on or turn off High Contrast Mode.
Update Your Graphics Drivers to Fix the Black Document in Word
Another reason why you might be seeing a black document in Microsoft Word is because of outdated or malfunctioning graphic drivers. Fortunately, updating your graphic drivers is extremely simple and will only take a couple of minutes.
While the only way to update your graphics driver on macOS is to update your Mac’s software, you can update your graphics drivers on Windows by downloading the latest drivers from your manufacturer’s website and manually installing them using Device Manager. Visit NVIDIA, AMD, or Intel’s download pages, find the latest graphics drivers, and install them.
If the driver file is in executable format, simply double-click the file and follow the on-screen instructions for installation. If manual installation is required, install them via Device Manager. Here’s how to update them:
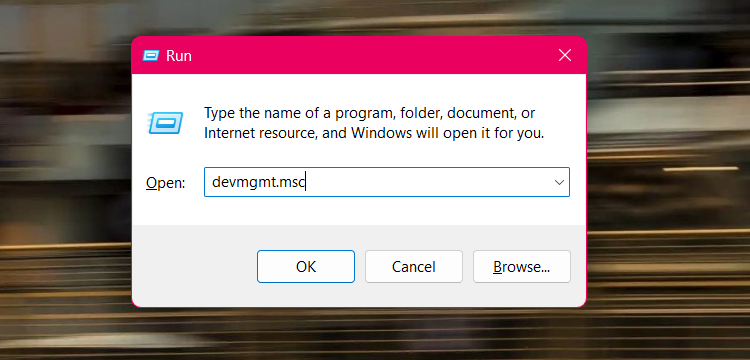
- Press the Windows + R keys simultaneously to open the Run box.
- Type devmgmt.msc in the textbox and click OK to open Device Manager.
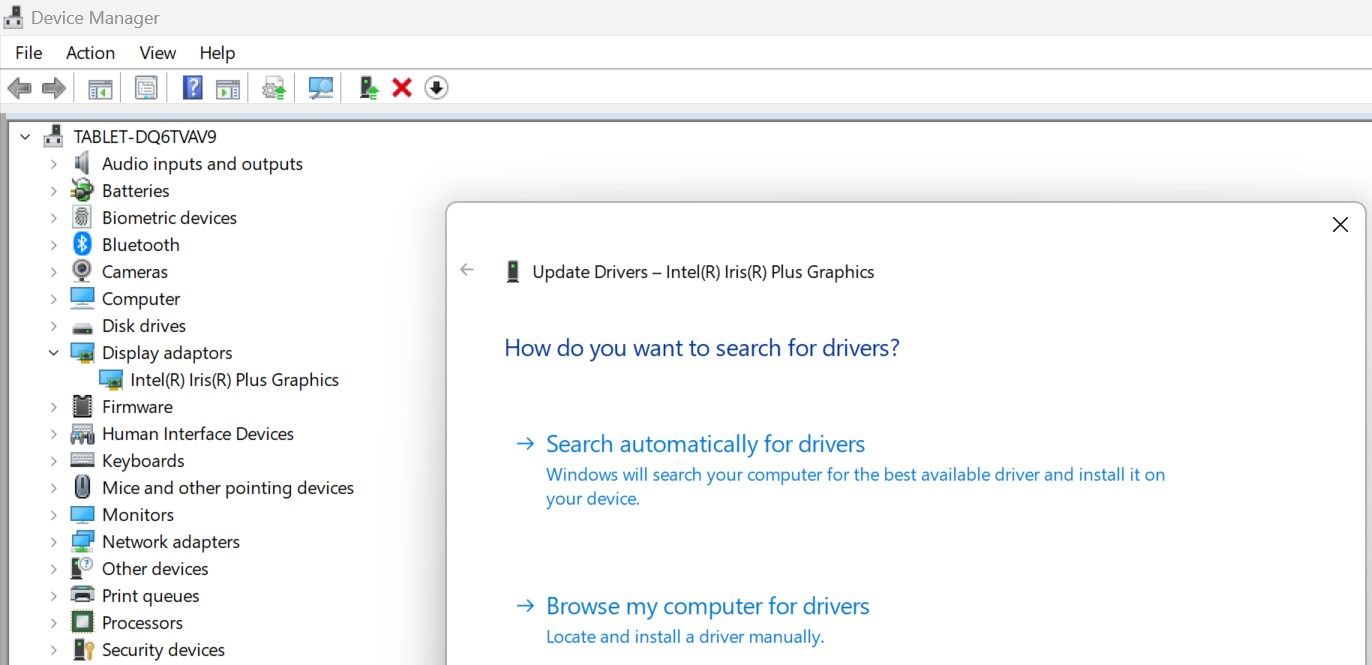
- In the Device Manager window, expand the Display adapters category.

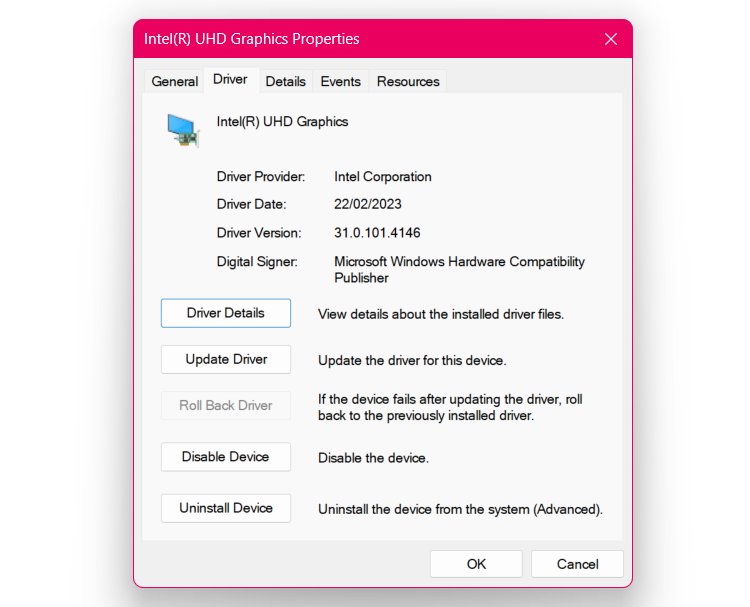
- Right-click your graphics card and choose Update Driver.
- Select Browse my computer for drivers, choose the downloaded driver file, and follow the on-screen instructions.
More often than not, such issues can be nothing more than mere software bugs, and a straightforward fix is to install any pending updates. If none of the troubleshooting methods above seem to do the trick, we recommend installing any pending Office updates. Similarly, it’s also a good idea to update to the latest version of macOS or Windows while you’re at it.