The latest update to the Museum introduces a fascinating way to gain various boosts depending on the minerals you choose to display. Each mineral offers unique effects, and these effects amplify based on rarity, modifiers, and size. It’s essential to understand the Prospecting Museum effects and boosts to maximize your gains.
1. Prospecting Museum Boost Guide
Essentially, displaying a mineral at the Museum grants you a boost (with all effects detailed below). Keep in mind that you need to pay shards to display these minerals. The greater the rarity and size of the mineral, the larger your boost will be. Additionally, minerals with modifiers provide extra boosts, so focus on showcasing your heaviest minerals with the rarest modifiers available.
2. Understanding Modifier Effects
Here’s a quick overview of the modifiers and their effects:
- Pure: Dig Speed
- Shiny: Shake Strength
- Glowing: Shake Speed
- Scorching: Dig Strength
- Iridescent: Luck
- Irradiated: Modifier Boost
- Electrified: Dig and Shake Speed
- Voidtorn: Luck and Capacity
The boost values for each modifier are determined by mineral rarity: 0.01x for Commons, Uncommons, and Rares; 0.02x for Epics; 0.03x for Legendaries; 0.05x for Mythics; and 0.1x for Exotics. Let’s dive into the effects of each individual mineral.
For detailed information on each mineral, including locations and values, explore our Minerals/Ores List.
3. Common Ore Museum Effects
The base boost for common minerals can reach 0.05x, which doesn’t include modifier effects. Here’s what each common mineral offers:
- Pyrite: Capacity
- Silver: Shake Speed
- Copper: Size Boost
- Gold: Sell Boost
- Blue Ice: Dig Speed
- Platinum: Dig Speed
- Seashell: Capacity
- Obsidian: Size Boost
- Amethyst: Dig Speed
- Pearl: Shake Speed
4. Uncommon Ore Museum Effects
The base boost for uncommon minerals can go up to 0.08x. Here’s the breakdown:
- Titanium: Dig Speed
- Neodymium: Shake Strength
- Topaz: Capacity
- Smoky Quartz: Shake Strength
- Malachite: Modifier Boost
- Coral: Capacity
- Sapphire: Dig Speed
- Zircon: Size Boost
5. Rare Ore Museum Effects
The base boost for rare minerals can peak at 0.13x. Here are the details:
- Ruby: Shake Strength
- Lapis Lazuli: Dig Speed
- Jade: Modifier Boost
- Sliver Clamshell: Shake Speed
- Peridot: Luck
- Onyx: Size Boost
- Meteoric Iron: Shake Strength
- Glacial Quartz: Dig Speed
- Azuralite: Dig Speed
- Pyrelith: Sell Boost
6. Epic Ore Museum Effects
Epic minerals can provide a base boost of up to 0.2x. Check them out:
- Iridium: Dig Speed
- Moonstone: Shake Speed
- Ammonite Fossil: Capacity
- Ashvein: Size Boost
- Pyronium: Sell Boost
- Emerald: Luck
- Golden Pearl: Capacity
- Cobalt: Dig Speed
- Borealite: Dig Speed
- Osmium: Size Boost
- Opal: Shake Speed
- Aurorite: Dig Speed
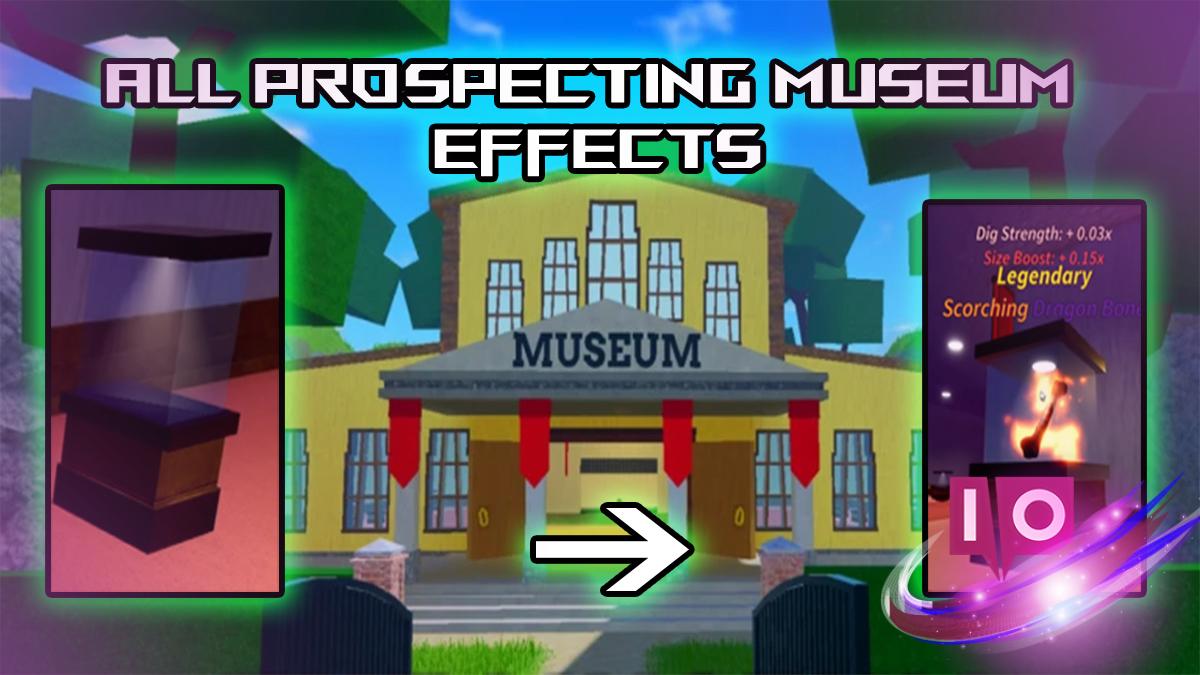
7. Legendary Ore Museum Effects
Legendary minerals can give you a base boost of up to 0.3x. Here’s what to expect:
- Rose Gold: Shake Strength
- Palladium: Sell Boost
- Cinnabar: Size Boost
- Diamond: Luck
- Uranium: Modifier Boost
- Luminium: Capacity
- Volcanic Key: Size Boost
- Fire Opal: Size Boost
- Dragon Bone: Size Boost
- Catseye: Capacity
- Starshine: Size Boost
- Tourmaline: Sell Boost
- Aquamarine: Dig Speed
- Aetherite: Dig Speed
8. Mythic Ore Museum Effects
Mythic minerals have diverse effects, ranging from 0.25x to 1x. Here are the specifics:
- Pink Diamond: Luck (0.5x)
- Painite: Size Boost (0.5x)
- Inferlume: Luck (0.5x)
- Vortessence: Capacity (0.5x)
- Mythril: Shake Strength (0.5x)
- Prismara: Luck, Capacity, and Dig & Shake Strength (0.25x)
- Flarebloom: Boosts Luck 1x but reduces Size Boost by -0.5x
- Volcanic Core: Dig Strength and Size Boost (0.25x)
- Frostshard: Dig Strength (0.5x)
9. Exotic Ore Museum Effects
Exotic minerals have complex effects that can vary widely, from 0.5x to 1.5x. Here’s a look at what they do:
- Dinosaur Skull: Size Boost and Sell Boost (0.5x)
- Cryogenic Artifact: Boost Dig Amount and Shake Strength by 1.5x while lowering Dig Speed and Shake Speed by -1x.
- Voidstone: Luck and Capacity (0.5x)
Now you have a comprehensive guide on all the Prospecting Museum effects and boosts. To enhance your gameplay even further, consider exploring our Enchants tier list and guide.
What determines the value of the boost effects in the Prospecting Museum? The boost effect value is primarily determined by the rarity of the minerals. Higher rarity minerals not only offer greater boosts but also enhance effects based on their size.
Is there a cost associated with displaying a Mineral in the Museum? Yes, to display a mineral, you’ll need to pay with shards, so keep that in mind while strategizing.
Do mutations or modifiers of the minerals influence Museum effects? Indeed, each modifier adds a unique effect to the mineral, enhancing your overall boost. You can review all modifier effects earlier in the guide.
What’s the boost value provided by the modifier effects? Modifier effects can yield boosts ranging from 0.01x to 0.1x, depending on the rarity of the mineral.
Are there any negative effects associated with Museum displays? Yes, some mineral effects like those from Flarebloom and Cryogenic Artifact both come with drawbacks in addition to their boosts. You can find detailed information about these in the respective sections.
Ready to take your Prospecting adventure to the next level? Continue exploring related content and enrich your game strategies with insights from Moyens I/O.