
The motel’s neon blinked like a heartbeat. You hit a link, the chat pings, and suddenly there’s a countdown that wasn’t there a minute ago. I’ve slept through enough motel nights to know which sounds mean you should never leave the room.
I’ll walk you through every persistent killer in Welcome to the Game 3, how they spawn, and the simple habits that stop them from turning a solid run into a funeral. Read fast, act faster—this is about preserving Rep, cash, and a pulse.
The motel parking lot smells of stale coffee and engine oil. WTTG3 killer guide: Mechanics and counters
Start runs with small rituals: turn off the computer before you step outside and don’t reopen it if you know a killer is queued. Prep in the first in-game hour—mine on VirtMesh to afford basic tools from DarkDrop, and finish A.C.R.S tasks for Rep and cash by harvesting and selling clips from the dark web. Use ShadowFetch to convert sketchy URLs to MP4s, and ping requestors before the half-hour reset so you can return to saved requests later.
Two short rules I live by: never carry more than you need, and always have one baggie in inventory for Cletus. Install motion sensors if you can afford them (they’re about $5 (€5) each), and use the sensor feed to check the FRONT_OUTER_LOT before panic-slamming the button.
Here are every threat you’ll face and how to blunt them.
Bomb Maker
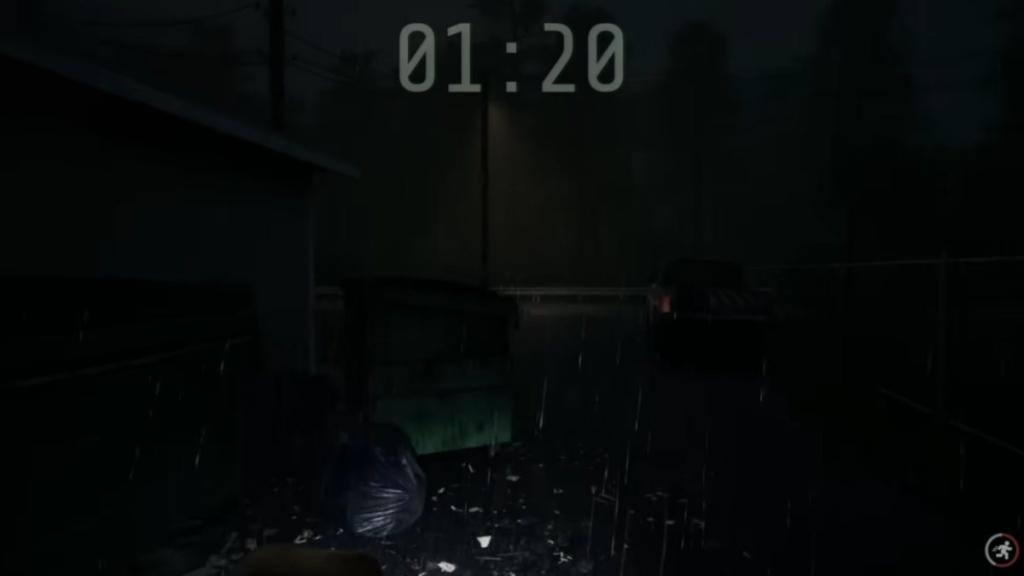
- Threat level: Low
Similar to the Dollmaker from WTTG2, the Bomb Maker only appears if you click his site. If he spawns, an overblown timer fills the screen and CryptChat will have a private message offering the disarm code. You have 90 seconds to find and defuse; miss it and the run ends. The simplest counter: don’t click that site.
Breather
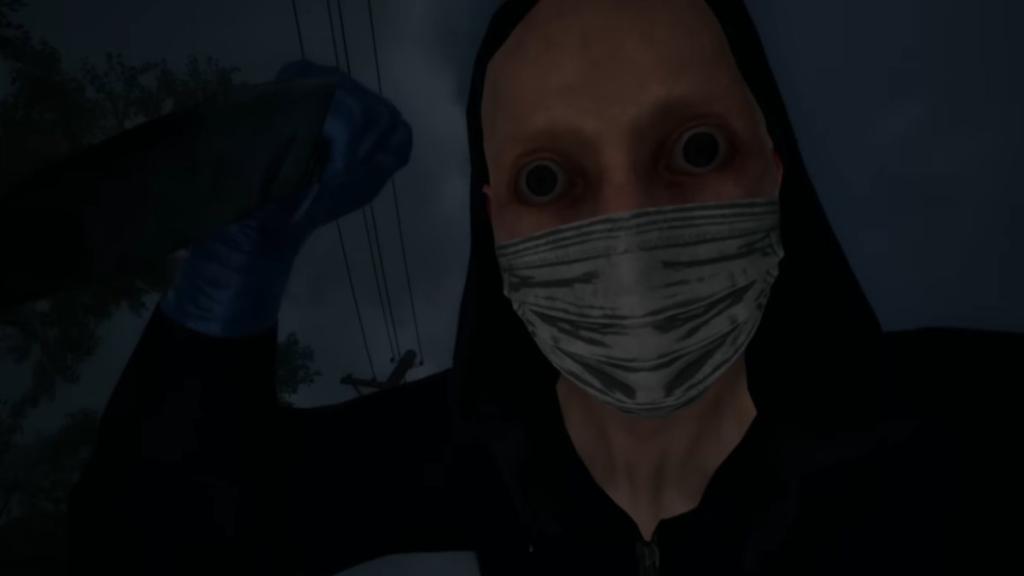
- Threat level: Low
The Breather returns from earlier entries and loves the Drone drop under the lit bridge outside the motel. He triggers when you pick up packages from that dead drop. Make sure stamina is full before you collect. If he spawns, run straight back to the motel; stepping into the parking lot will usually make him give up. Don’t improvise routes—there’s a scripted chase window; respect it.
Cletus

- Threat level: Low–medium
Keep one baggie on you and never more than one. If Cletus catches you with multiple, he takes it all. He wants his fix, not your economy. He won’t kill you once satisfied, but he will shove you into a motel room if he catches you outside—lose time and supplies, gain stress.
Kidnapper
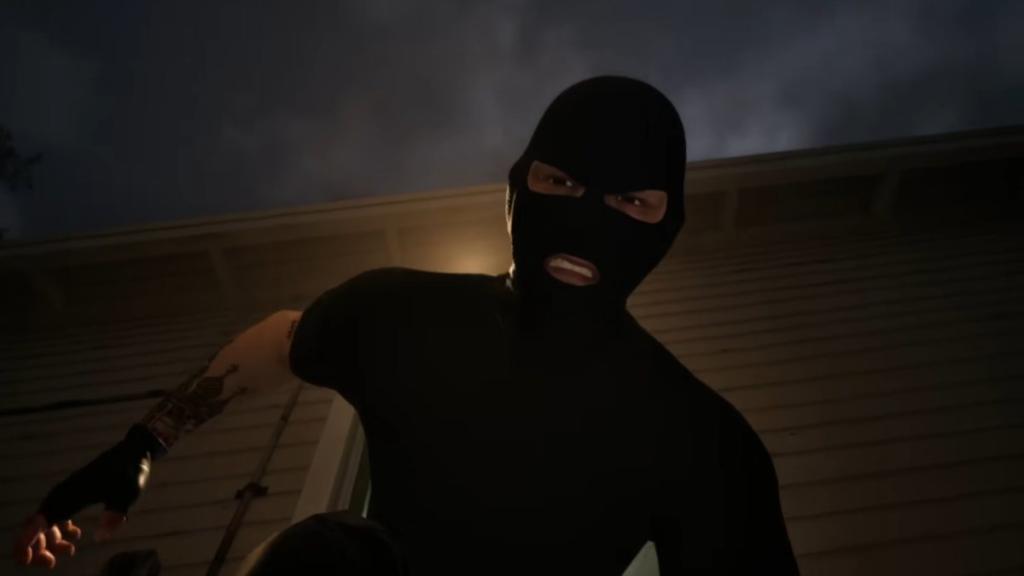
- Threat level: Low
The Kidnapper waits in a white van in the motel parking lot. If the van is present, do not step outside through front or back doors—doing so is immediate abduction. Sit tight inside until the van drives away. The longer you wait to move lamps or restore power, the higher the chance other threats will appear.
How do I stop Lucas in Welcome to the Game 3?
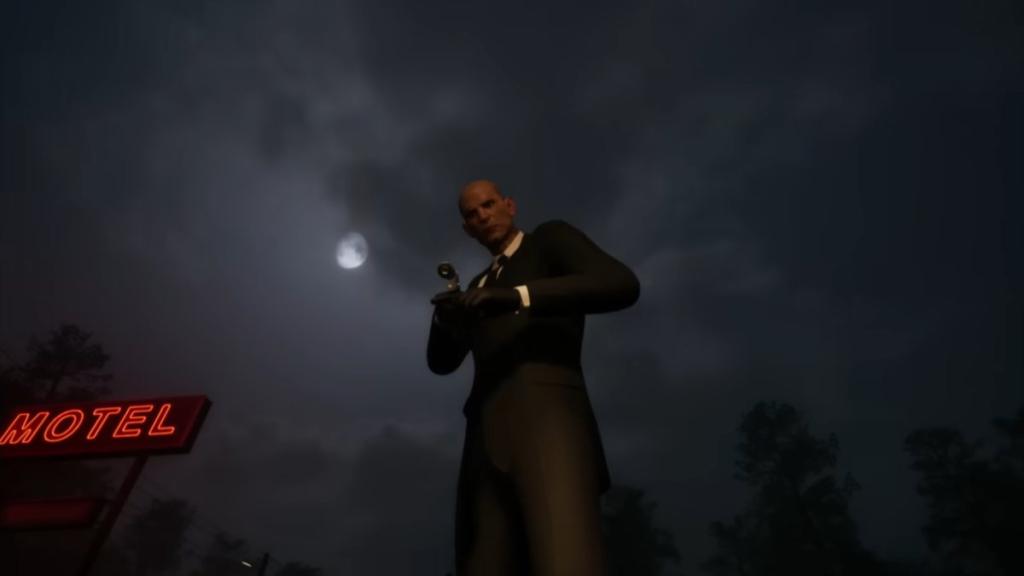
- Threat level: High
Lucas has been the consistent assassin throughout the series, and here he’s more methodical. He gets in through back doors—Electrical Room included—so keep those doors locked the moment your run starts and only open them if you must repair the net or power. There’s an audio cue of a back-door unlock; when you hear it, sprint to one of two hiding spots beside the computer: the lockers on the right or the laundry basket on the left.
Hide, then play the hold-and-release minigame to keep the ring steady between the moving bands. The gauge only drops while Lucas is present; you’ll know he’s gone when the minigame ends. Turn off two to three lights at the start of a run and switch off the computer if you hear Lucas coming—he’ll steal DOS coins if you leave it on.
Noir
- Threat level: Low–medium
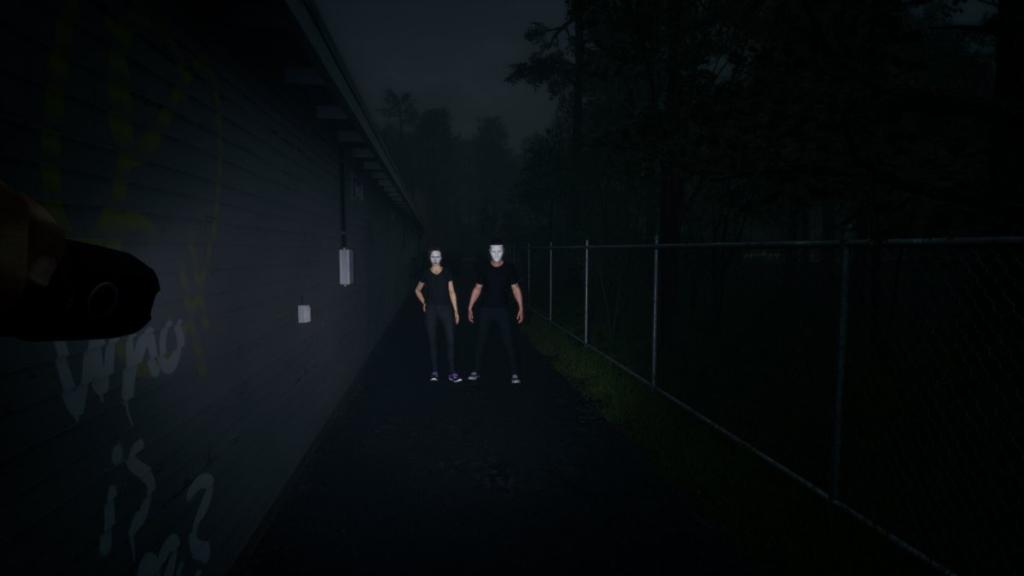
Noir shows up more when you keep lights off—so fixing a power cut raises risk. When Noir stands out back, note who is on the left. If the man is left, flash a light then look away for five seconds; if the woman is left, wait 10 seconds. If Noir shows inside near the computer, look away until you hear the whisper indicating departure. Quick visual checks save you trips outside.
How can I survive Tanner in WTTG3?

- Threat level: High
Tanner is a fan-favorite threat with multiple approach patterns—through rooms or by leaping the main counter. There’s a panic button right of the computer that temporarily disables the automatic doors; timed correctly, it can cause Tanner to slam into glass instead of injecting you. Don’t overuse that button; repeated presses create network strain that forces you out back to fix things.
Treat the motel like a chessboard: install cameras (they take time to initialize), buy motion sensors, and place sensors on pillars near the road. Use the sensor readout to spot FRONT_OUTER_LOT movement; if you see activity, press panic. Lock doors behind you when entering rooms and use the peephole—seeing Tanner means he’s on cooldown and you can breathe for a moment.
Tucker

- Threat level: Medium
Tucker tends to strike when you’re mid-fix on the router out back. Listen for rustling leaves—that indicates he’s nearby and will usually walk off after a second rustle. If you hear music from an outdoor speaker, run to the parking lot and find the Ace of Spades card on a motel door. Enter that room and lock it behind you; when you hear the triumphant tune, Tucker has moved on.
Small habits stack into reliability: power-cycle only when safe, keep your inventory lean, and use sensors and cameras to make the motel less of a mystery and more of a control panel. Reflect Studios dresses these encounters with tension; your job is to remove surprise and turn threat into routine. Are you ready to argue which counter feels cheap and which is a genuine strategy?