
I dropped through a chapel roof and the map went silent. You can feel the game rearrange itself when a sidearm changes how you approach a room. I learned fast: the difference between grabbing a gun and getting jumped is a single choice.
I’ll guide you through every sidearm in Mortal Shell 2—where to find them, the hard fights you’ll face to reach them, and small tricks I use so you don’t waste time. Read slow where it matters, rush where it doesn’t. You play; I point the breadcrumbs.
All Sidearm locations in Mortal Shell 2 and how to get them
Most players stop at beacons to plan the next move; that pause is where you gain advantage.
There are eight sidearms total: the prologue’s Naylshotte, then seven more spread across Fainweald and the Ruins of Mammon. Below I list them, then walk you to each one with the shortcuts and the threats to expect.
- Forgotten Crossbow
- Troubadour’s Lute
- Salvaged Trebuchaxe
- Ballistazooka
- Triarch Repeater
- Cursed Child
- Caged Hystrix
How many sidearms are there in Mortal Shell 2?
You’ll collect eight sidearms in a playthrough if you’re thorough. The first is forced in the prologue; the seven others sit behind dungeons, bosses, and a few gates that demand timing or a secondary quest.
Forgotten Crossbow — Flooded Village
Find it in a closed chapel inside the Flooded Village dungeon north of the Blackridge Pass beacon. The chapel entrance is behind an illusory gate—approach and pass through the wall that isn’t there.
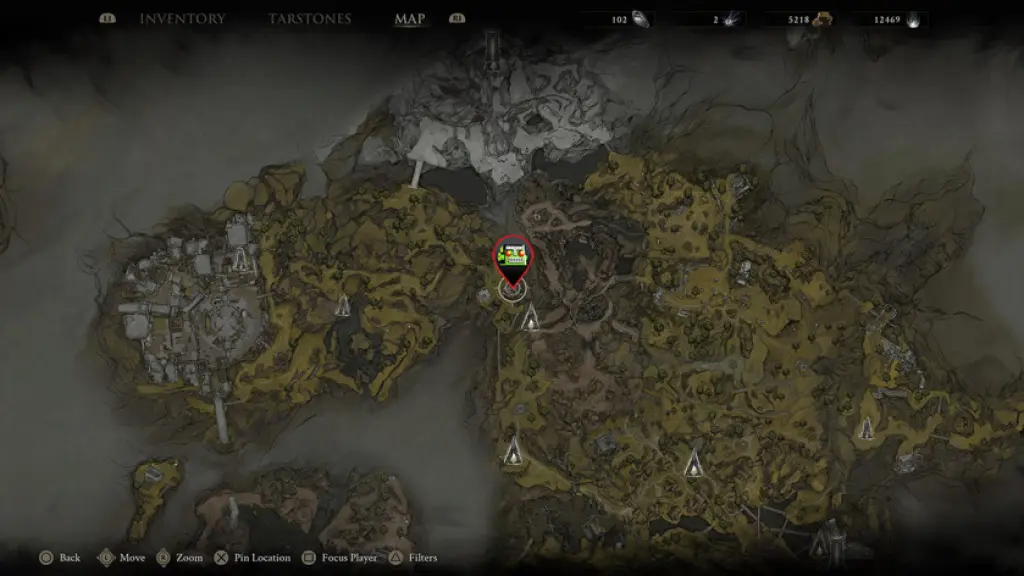
Grab the Damp Key to open the chapel. Head north, move across the rooftops, and expect poisonous enemies—bring Tiel or another immunity option to speed the run. You’ll also encounter a Grisha boss for an extra Remnant if you want the fight.
Troubadour’s Lute — One Legged Wolf Tavern
The tavern sits east of Mushroom Village and south of the Overrun Quarry dungeon. Enter the building and the lute is propped beside the stage.
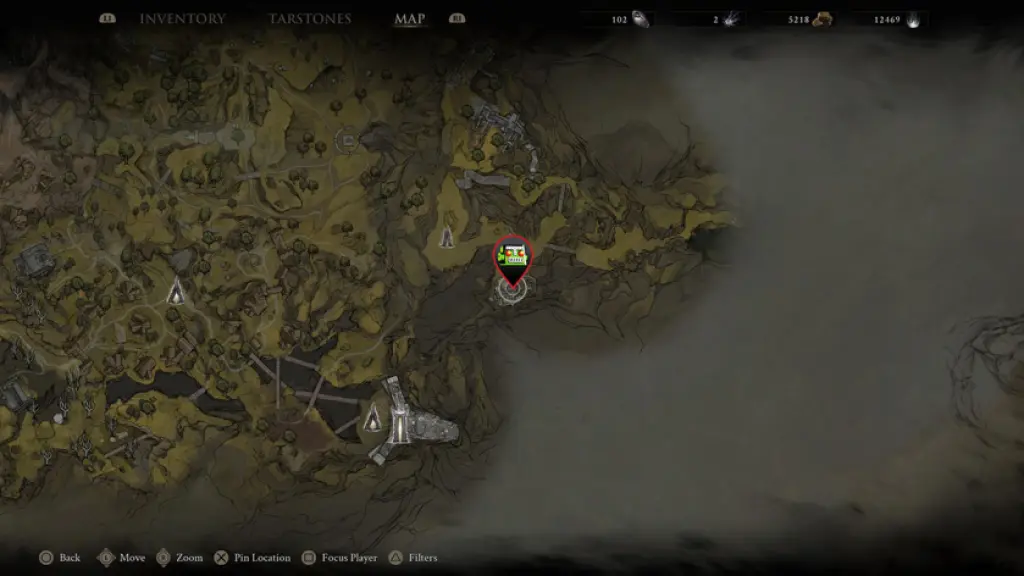
The Troubadour’s Lute is a whispering spy that sows confusion in enemy ranks. Gragu sits by the bar—if you want the Shell tied to his quest, talk to him and follow the hints in our Shell guide.
Salvaged Trebuchaxe — Ravaged Hideout
Ravaged Hideout sits south of the Gloomshade Grove Beacon and is guarded by the Bloodcursed Lithopod at the entrance. The axe waits at the dungeon’s end.
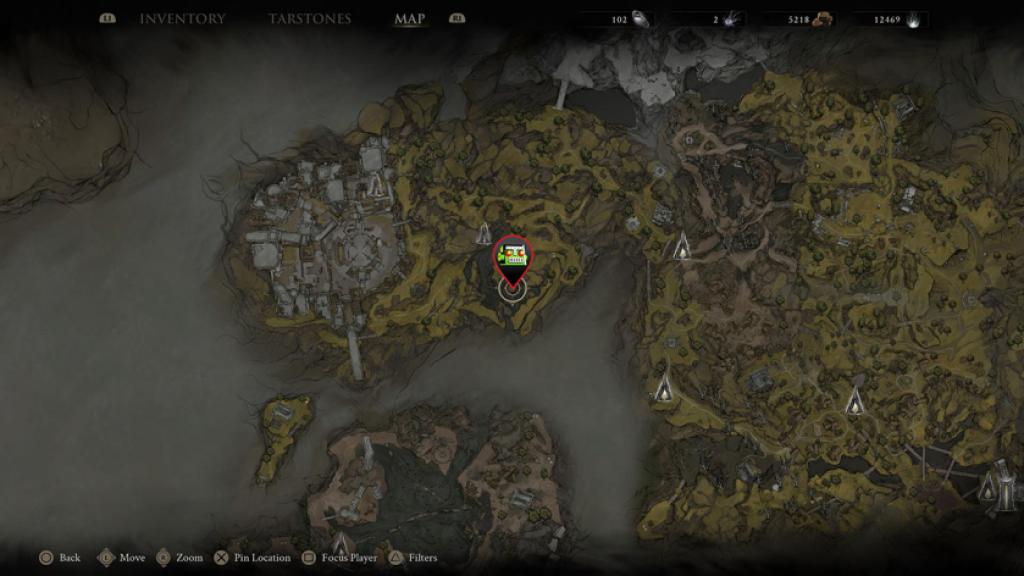
Don’t relax when you see the axe—three apparitions spawn the moment you get close. Clear a circle before you grab it, or be ready to parry and backstep fast.
Where do I find the Ballistazooka?
The Ballistazooka returns from the first game and waits at the end of Sentry’s Grave on Lonesome Spire. Head east of the Gate of Mammon beacon to reach the dungeon.
-
Screenshot by Moyens I/O -
Screenshot by Moyens I/O.
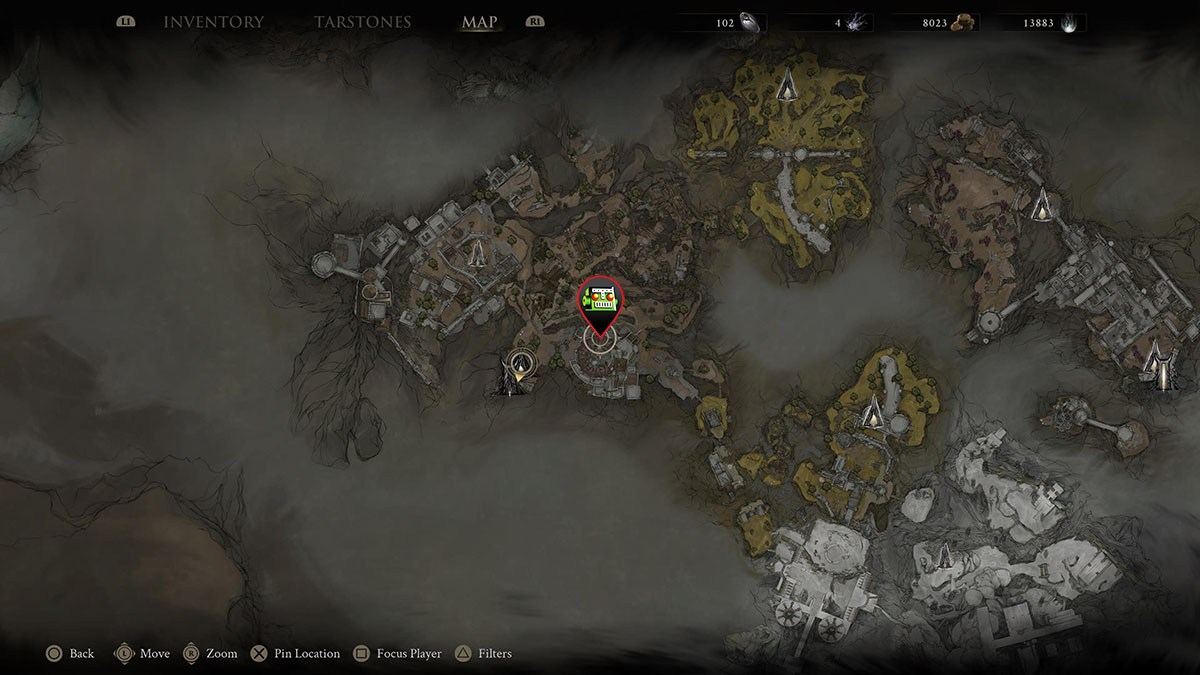
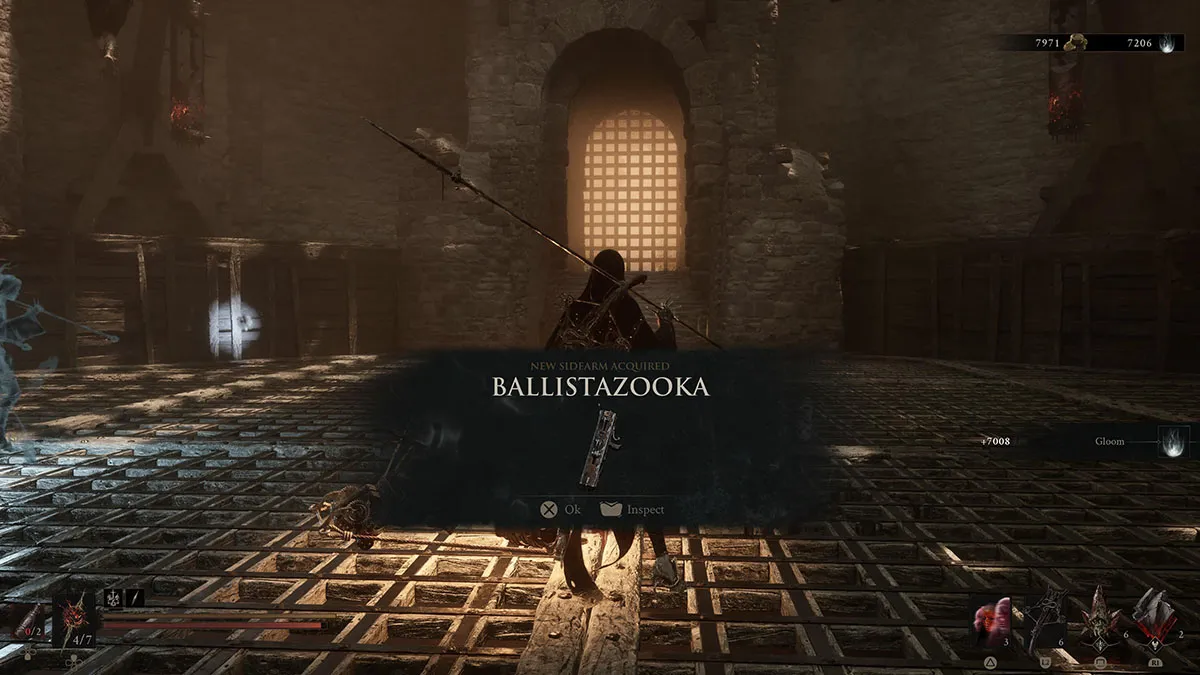
Defeat the Subjugated Guardian at the dungeon’s end to claim the weapon. The Ballistazooka is high-impact but slow—reserve it for choke points or staggerable targets.
Triarch Repeater — Blackwell Cavern
Blackwell Cavern sits below the broken bridge toward Castigator’s Keep. Use the elevator by the Castigator’s Keep beacon or drop from the bridge to reach the caverns.
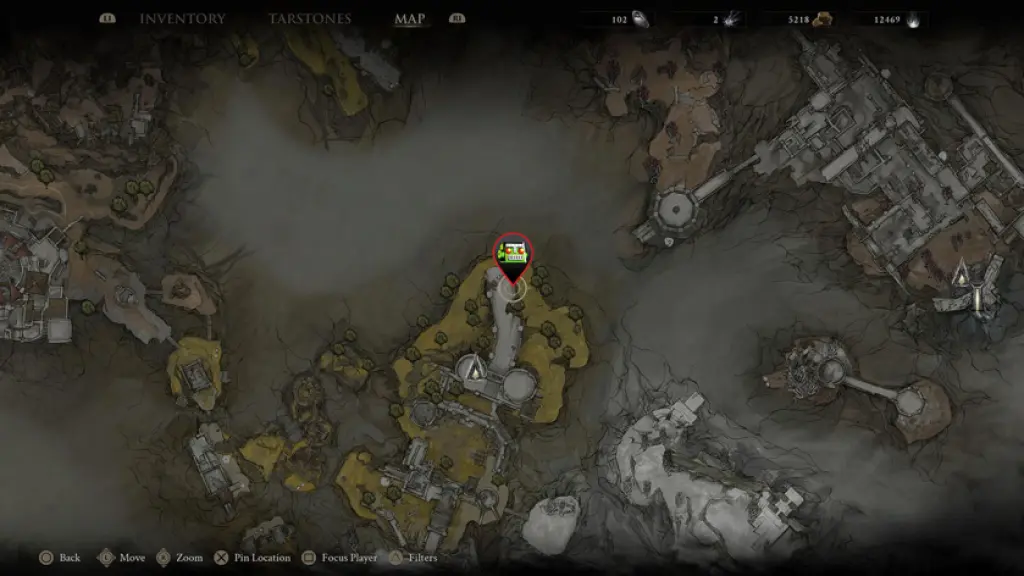
Cross a corridor thick with apparitions and the Repeater awaits. The Triarch Repeater is a ravenous furnace of iron and intent. Expect unmatched ammo capacity at the expense of mobility—build around cover and stagger mechanics.
Cursed Child — Revered Beacon at Sister’s Refuge
You can reach Sister’s Refuge early by going to Outskirts of Mammon via The Marrow Keep and then jumping into the traversal gate linking Road to Absolution and Revenant Graves. The Revered Beacon holds the dungeon.
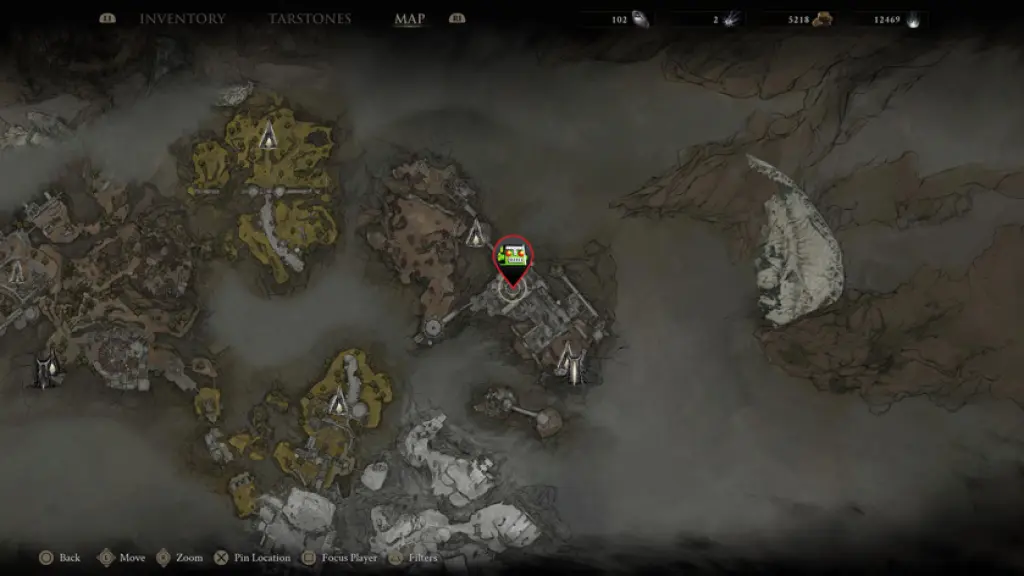
Climb to the brightest platform, trigger the flaming altar, and the Cursed Child will be summoned. Avoid the harmful light where possible—run for the traversal gate and treat the ascent as a parkour puzzle more than a fight.
Caged Hystrix — Chamber of Becoming
The Chamber of Becoming sits at the southern edge of The Silent Steps. The stairs to the weapon only appear after you beat Sariel and claim his Shell plus the Clockwork Scythe; you will face Sariel multiple times.
-
Screenshot by Moyens I/O -
Screenshot by Moyens I/O
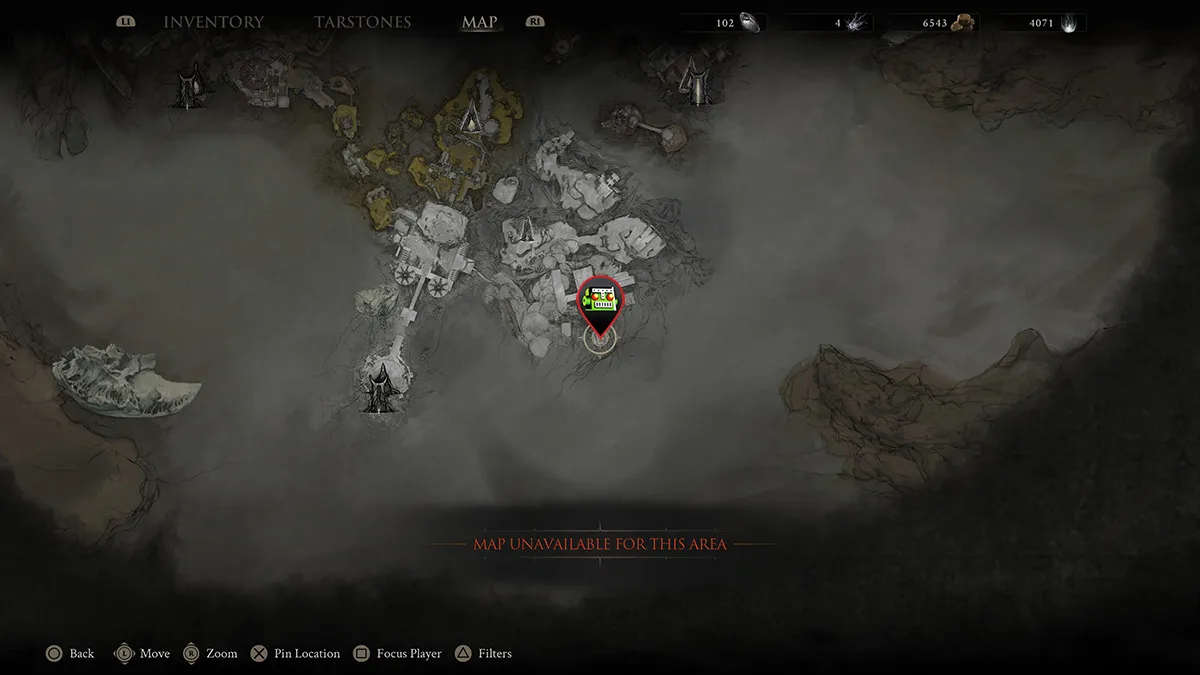
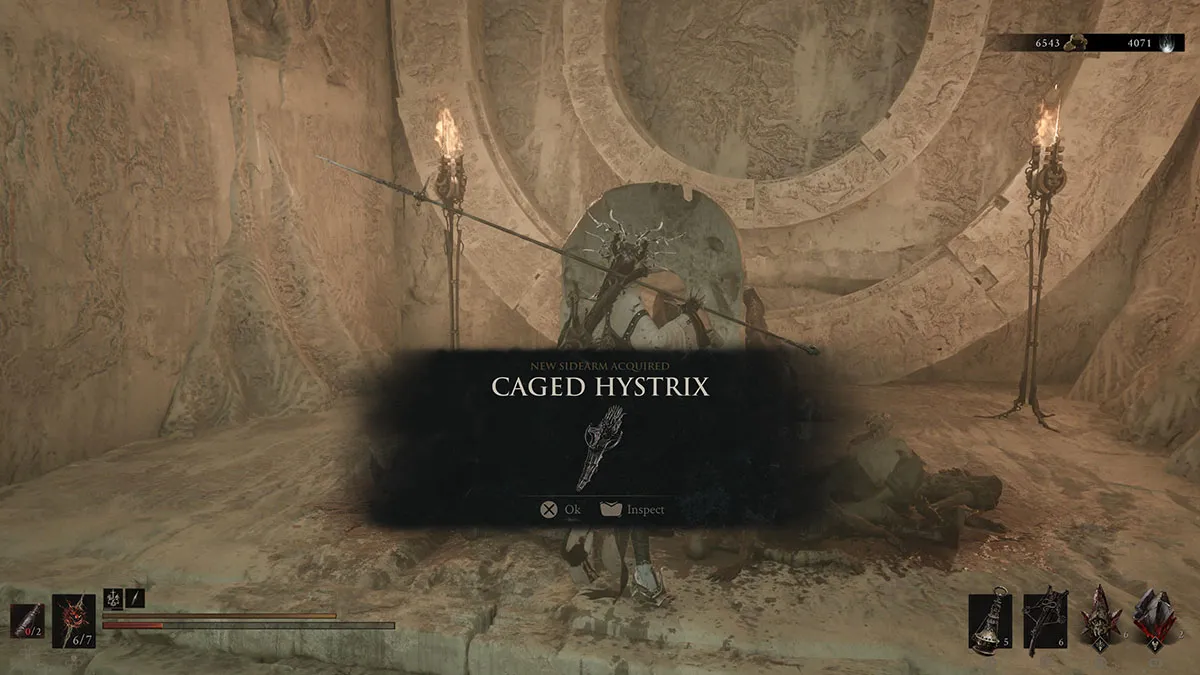
Prepare for repeated boss rounds. If Sariel’s patterns frustrate you, study his opening tells and punish the recovery windows—this is a test of patience as much as skill.
How to upgrade sidearms in Mortal Shell 2
You’ll spot players standing at benches trading scraps; those benches are progress shortcuts.
Sidearms upgrade at the Tarforge, but to access that option you must retrieve the Obsidian Lathe from the Martyr’s Tomb dungeon near the Widow’s Overlook beacon, across from the Great Arbiter of Flesh’s spawn arena. Bring the Lathe back to Franz at The Marrow Keep to start leveling ranged gear.
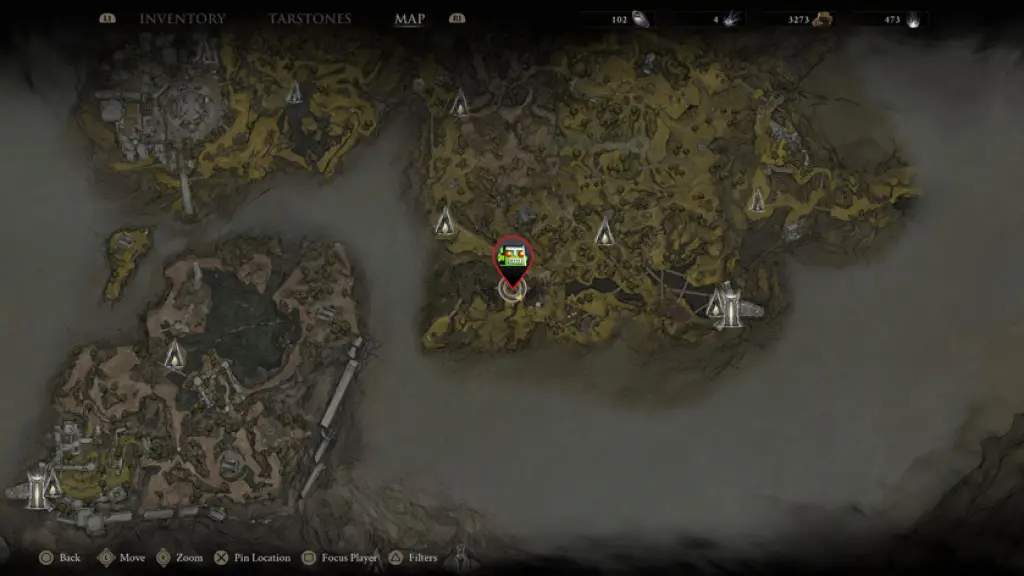
How do you upgrade sidearms in Mortal Shell 2?
Bring the Obsidian Lathe back to Franz at The Marrow Keep; he operates the Tarforge and will accept materials to raise weapon levels. Treat the process like a budget choice: don’t pour scarce resources into a weapon you only use for one boss fight.
If you want numbers and comparisons, pair this guide with resource trackers on Steam Community pages or check build threads on Reddit and the Moyens I/O forums—those communities test tradeoffs and list upgrade costs in detail. On consoles (PS5, Xbox Series X|S) the same rules apply; you’ll still hand materials to Franz in the same spot.
Finish strong: pick the sidearms that complement your Shell and playstyle, farm the Lathe when you’ve hit a comfortable loop, and don’t waste materials on a tool you’ll abandon at the first late-game spike—what will you spend your next Remnant on?