
I heard the convoy before I saw it — tires on wet asphalt, then the faint ping of a distant comms burst. My squad went silent as the red briefcase slid across the map and the clock in my headset started to feel personal. By the time we hit the overpass I was out of medkits and full of stubborn plans.
I write guides the way I play: practical, impatient, and a little picky. You and I will cut the noise — decode the hints, finish the tasks, and leave with better drops and fewer wasted runs.
The Division 2 Y8S3 Red Horizon Scout 3 guide
My coffee went cold while I chased a supply convoy the last time I tested this week’s Manhunt.
You get three tasks this week. Crack each hint, finish the objective, move on. I tested these on PC via Steam and Ubisoft Connect and cross-checked timings on Xbox and PlayStation builds maintained by Massive Entertainment, so the tips work whether you play solo or with a pickup squad.
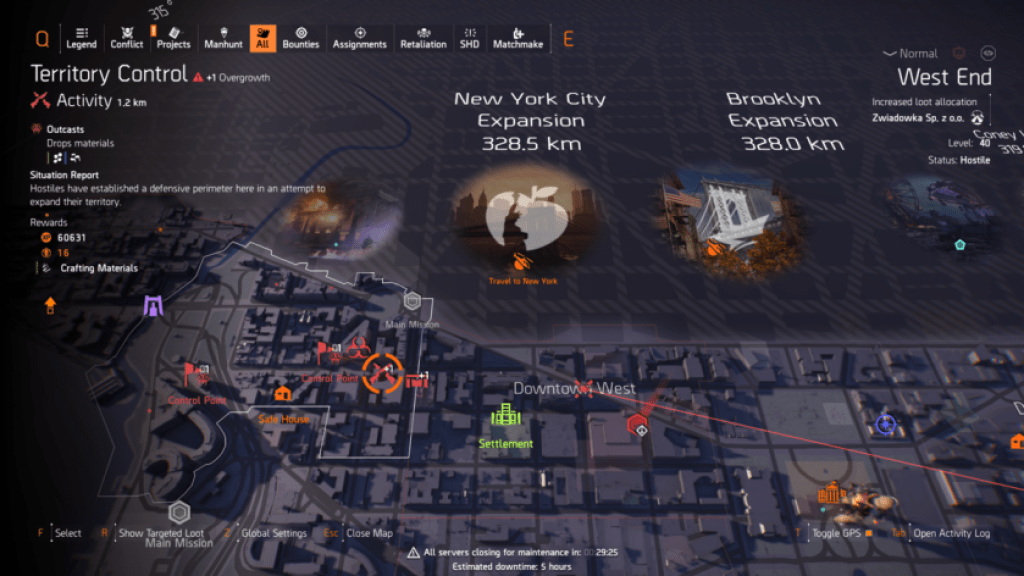
How do I complete 2 Territory Control activities in Foggy Bottom, West End, or West Potomac Park?
Territory Controls are the fast, forgiving capture events — think control points stripped of fuss. The requirement is location-specific: only Foggy Bottom, West End, or West Potomac Park count.
Method: open the world map, zoom into those neighborhoods, and hunt for blue or red territory icons. Drop in, clear the enemies, mop up reinforcements, then stand on the objective until the area flips. If you see NPCs grouped around vehicles or radios, that’s usually the control spawn.
Tactics I use: mark crowd-control skills (chem launcher, seeker mine), play aggressive flanks, and leave one teammate to hold the cap if you sprint to a secondary spawn. Capturing two of these in any combination finishes the task quickly.
Where do supply convoys spawn and how do I clear them?
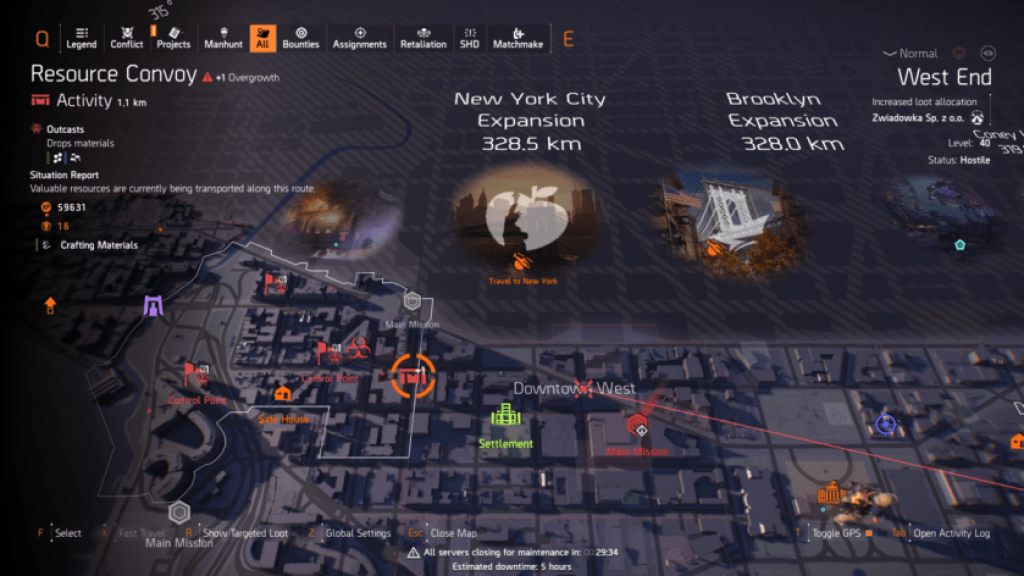
When a supply convoy appears, the red briefcase on your map pops like a flare.
Supply Convoys are dynamic — they aren’t pinned to one spot. Watch the world map for the moving briefcase icon. Once you intercept, expect elites and tech crates. Your objective: kill the attackers and destroy any tech modules or crates tied to the convoy.
Practical tips: approach from cover, slot a turret or drone for sustained damage, and prioritize tech pieces that pulse on the HUD; they count toward mission completion. If you want fewer wipes, run the activity at your current gear score and invite one partner rather than soloing high-difficulty spawns.
How can I kill 5 named enemies fast?
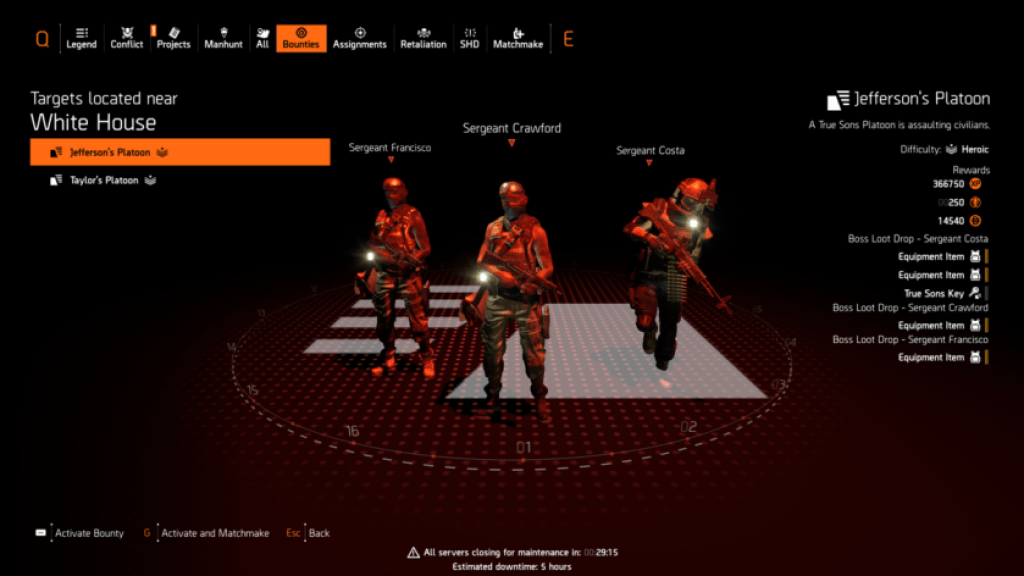
Named enemies pop as bounties, elite spawns, or inside strongholds — they’re the ones with unique armor and a suffix on their nameplate.
The fastest route is Bounties. Each bounty run almost guarantees at least one named target; pick a bounty route that cycles multiple target types. If you want fewer runs, raise the difficulty to get more named spawns per instance, but that raises the risk of a failed run.
Playstyle tips: bring status-cleanse tools, use a spotter scope or UAV to tag enemy types, and save crowd control for stagger windows. I like a high-damage sniper to pick off named marks while teammates bait their specials.
Quick summary of my workflow: chase Territory Controls in the three named zones, intercept any moving briefcase (prioritize the tech modules), and run bounties until five named enemies fall. If you play through Ubisoft Connect or Steam, sync your session with friends to cut solo failure rates; Massive’s Y8S3 changes are stable across platforms.
Clearing these tasks is technical but not mysterious — once you know what to watch for the week, you can treat manhunts like errands you finish faster than your opponents think; clearing a Territory Control feels like wiping chalk off a board. Which target will you hunt first?