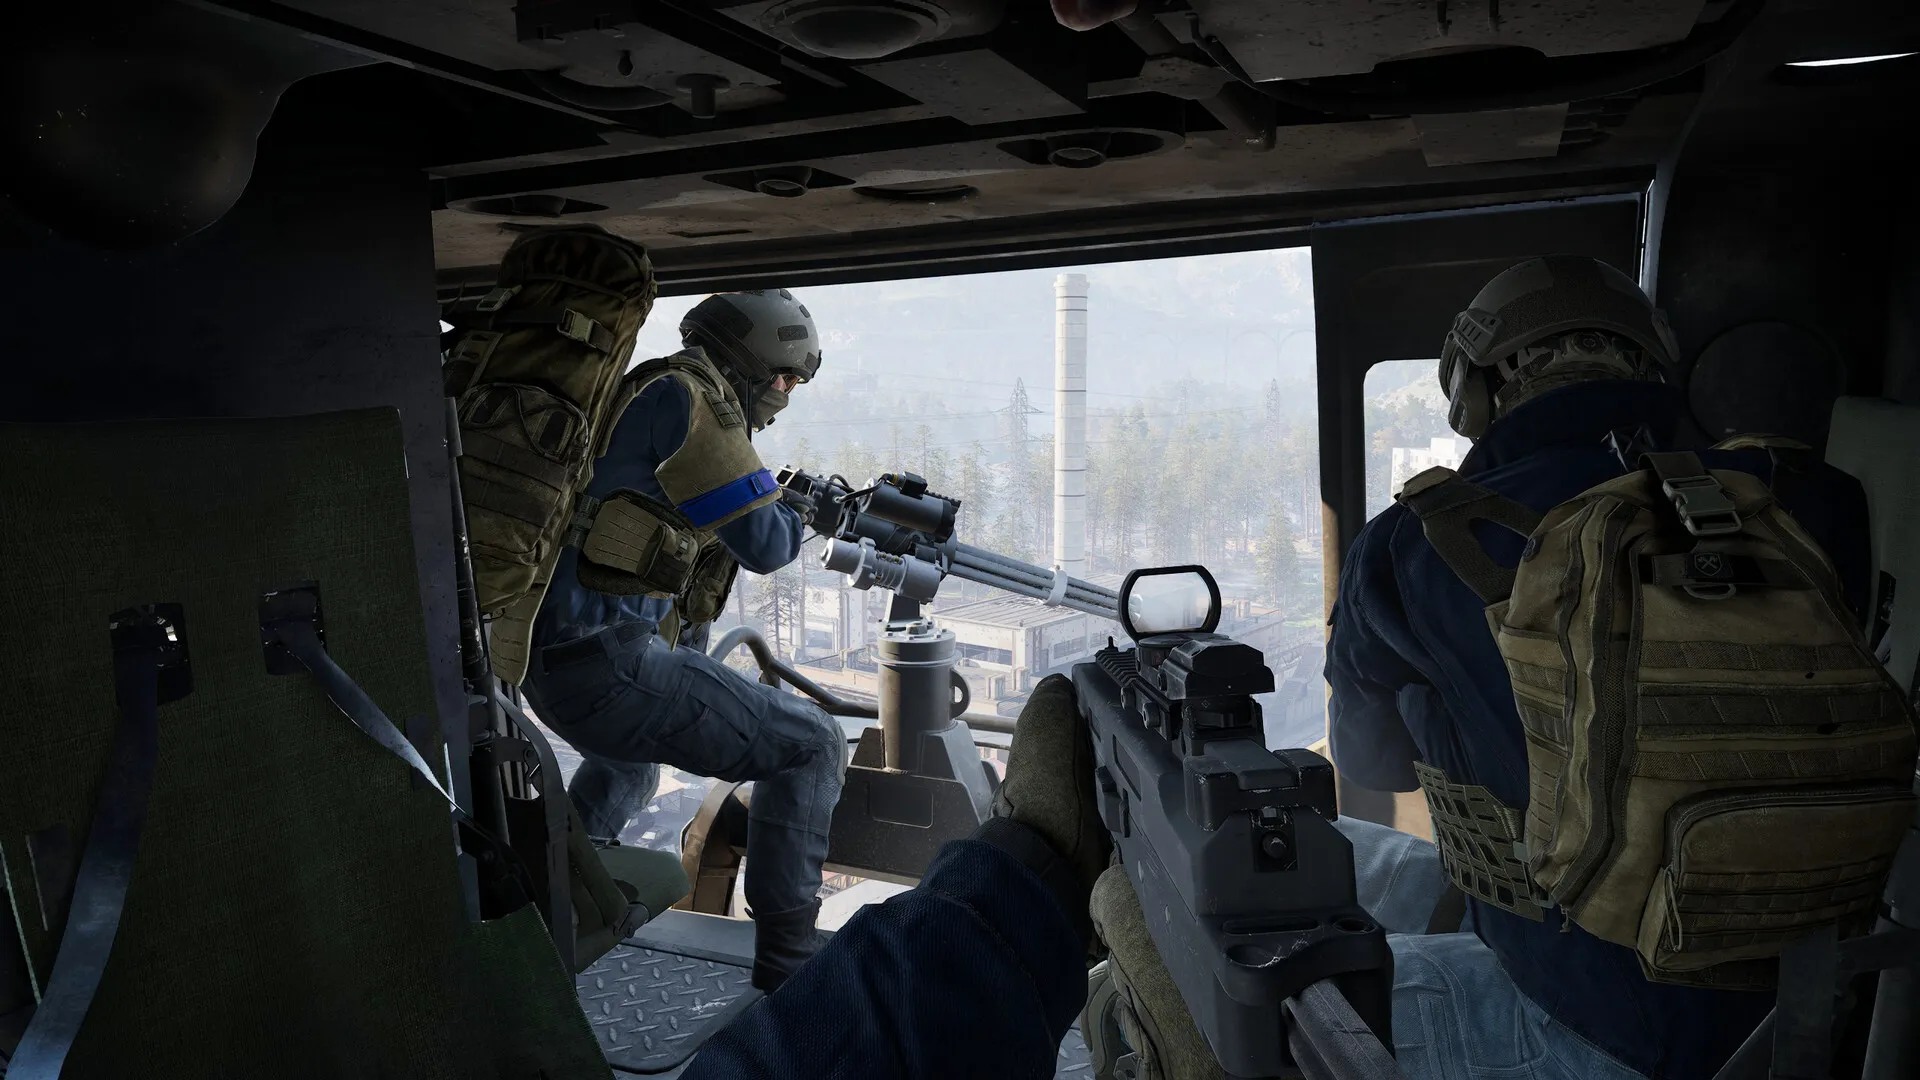
You dash through gunfire to the second floor, heart hammering, and the terminal blinks a single random digit. I tell you to spare a breath, call the number, then push to the other Towers while your team holds the line. Miss the code or the hold, and the Hot Zone slides away—your cash, your positioning, gone.
The second-floor terminal often sits under a blinking florescent—so you learn where to sprint before the match starts. How to capture a Tower in WARDOGS
I’m going to walk you through the exact routine I use when a Tower cooldown ends: where to stand, what to say, and the minimal mistakes that cost rounds. You don’t need fancy gear—just timing, radio discipline, and a simple code entry plan.
How do you activate a Tower in WARDOGS?
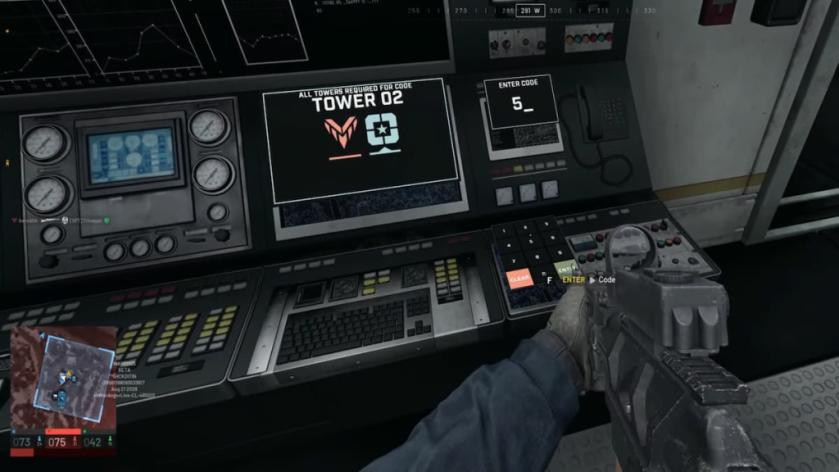
Step one: when the Tower cooldown ends, head straight for the second-floor terminal. Interact with the computer; it will begin a short capture animation and spit out a single digit when complete. That digit is the fragile key to the Tower: call it to your squad immediately, then move to clear and take the other Towers in the Control Zone.
- Find the terminal on the second floor and initiate capture.
- Wait for the capture to finish; a random digit will appear.
- Say the digit out loud to your teammates—no guessing, no mumbling.
- Capture every Tower inside the Control Zone while someone holds the main terminal area.
- Return to the main terminal and enter the code; activating the Hot Zone Magnet pulls the Hot Zone toward that Tower for a fixed time.
What happens when you enter the Tower code?
When you punch the number into the main terminal the map shifts: the Hot Zone magnetizes toward your Tower and stays there for a window that your team can exploit. That’s where the money and map control come together—the Hot Zone’s presence increases your team’s cash intake, which funds better loadouts and pressure plays. Small wins compound: holding a Tower for one cycle can swing team resources by measurable amounts—think $10 (≈€9) per cycle in practical earning terms during a typical match phase.
Towers give two forms of leverage. First, they are an armored perch: shielded lanes let you pick shots with less risk. Second, they move the economy. Control the Hot Zone and you make your opponents fight both position and purse—suddenly they’re balancing firepower and funds, and small mistakes snowball.
Most teams treat Towers like static objectives; the teams that win treat them like timed tools. How to use Towers and codes strategically
You need a playbook. I run simple roles: one person grabs digits and calls them, two clear towers, and one stays at the main terminal ready to enter the code. Communicate quietly and precisely—single-digit errors cost you the magnet and the cash swing. Use Discord or squad voice channels the way pro streamers and competitive teams do: short, fixed phrases, and confirmation after every step.
Tower fights are noisy and fast. Think of a Tower as a lighthouse in fog—if you can keep its light, the rest of the map becomes navigable. But you also need a clock: the Hot Zone magnet behaves like a chess clock, forcing tempo and punishing passive teams.
Expect resistance. Opponents will contest your captures and try to bait broken calls. The obvious counter is to keep staggered captures so one death doesn’t blow the whole sequence. If the main terminal is contested, fall back and contest lanes to keep the magnet from being entered by the enemy.
Tools that help: use the in-game map marker, cross-reference with a match overlay on Twitch or a party Discord channel, and study clips from top WARDOGS streamers for timing and positions. If you play on Steam or the Epic Games Store, review your match replays to find where your team lost the code chain.
Small habits win rounds: always read digits back, never assume a silent teammate heard them, and rehearse a fallback plan if a Tower is lost. Are you willing to treat every Tower like a timed advantage and force the other team to play catch-up?