
You land the last hit and the room goes quiet—then the camera lingers on your handiwork. I remember sweating over my first botched finisher, watching the enemy stagger away while I cursed myself. That final finisher lands like a period at the end of a sentence.
I’ve played Control-adjacent combat enough to know when a mechanic matters and when it’s flair. You want finishers to feel deliberate, not accidental. Below I’ll walk you through how to get them into your loadout, how to trigger them across PlayStation, Xbox and PC, and what each finisher actually does so you stop guessing and start planning.
How to gain access and upgrade combo finishers in Control Resonant
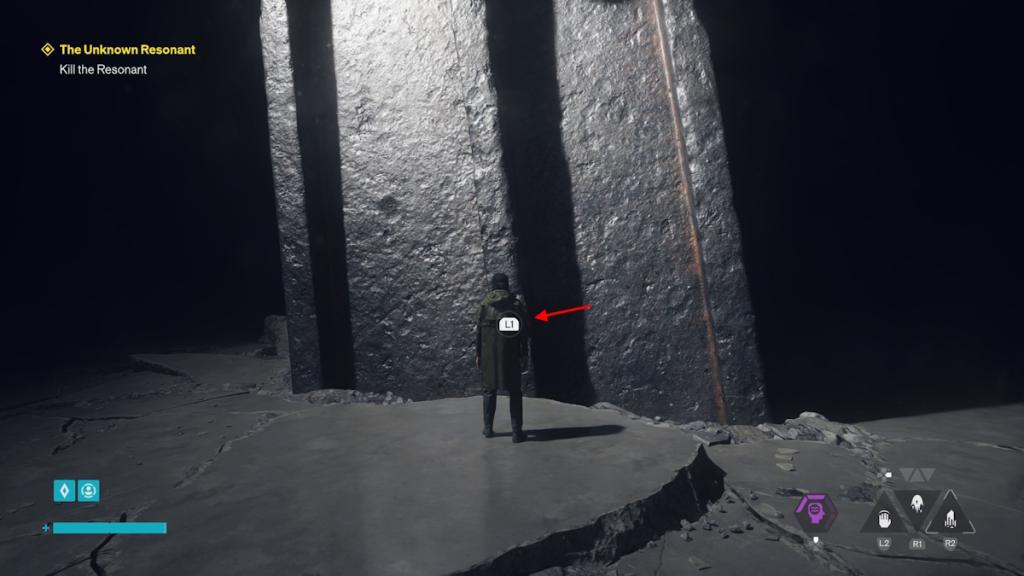
I’ve seen players stand before the monolith like someone sizing up a bank vault.
Finishers in Control Resonant are gated behind Aberrant Strength and an in-game item called a Living Shard. Here’s what you need to do to get a finisher into your hands—and what you spend to improve one:
- Reach Aberrant Strength 15. That’s the baseline to access the finisher menu.
- Hold the down button on the D-pad to enter The Gap.
- Approach the towering monolith and interact with it to open its menu.
- Choose the Combo Finishers tab from the list.
- Spend 1 Living Shard to acquire a finisher.
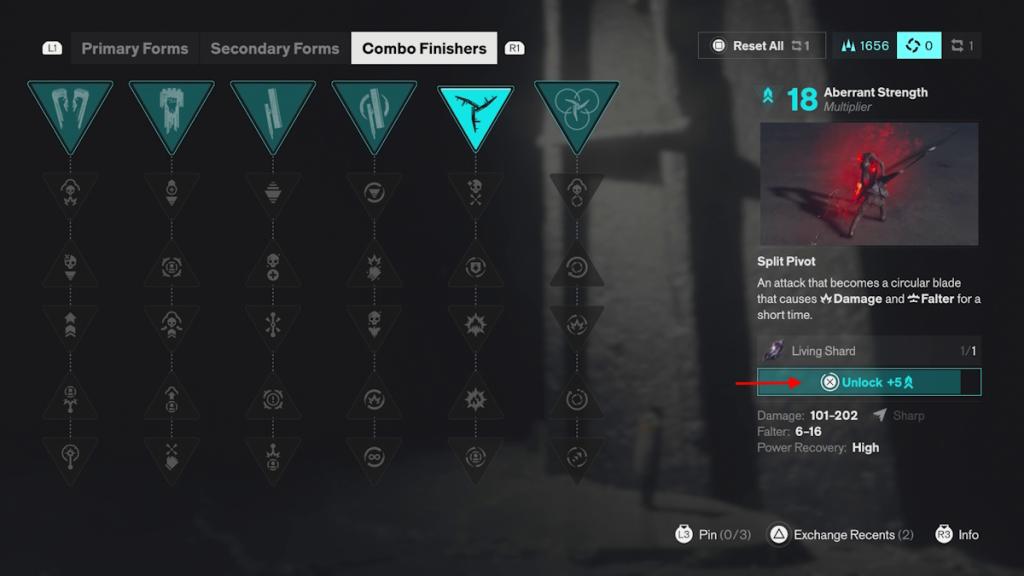
Living Shards drop from level bosses and are also sold by vendors in zones for 4,000 Source. Each finisher costs one shard to acquire. Upgrading a finisher branch requires additional materials you’ll find as you progress—improving a finisher also adds Aberrant Strength back to your total, so this system feeds itself as you play. If you’re on PC, Steam and the developer Remedy’s support pages list the system requirements if you want to check performance before farming.
Where can you get Living Shards in Control Resonant?
Living Shards are boss drops from level encounters and can be bought from vendors for 4,000 Source each. If you’re prioritizing a specific finisher, target zones with bosses that drop Living Shards and visit vendors between runs to top up using in-zone currency.
How to equip and use finishers in a fight
Players often forget a solid loadout habit: set it before the fight, not during a scramble.
After you acquire a finisher, you must place it into your loadout so it will trigger mid-combo. I’ll give you the button presses and a quick platform note:
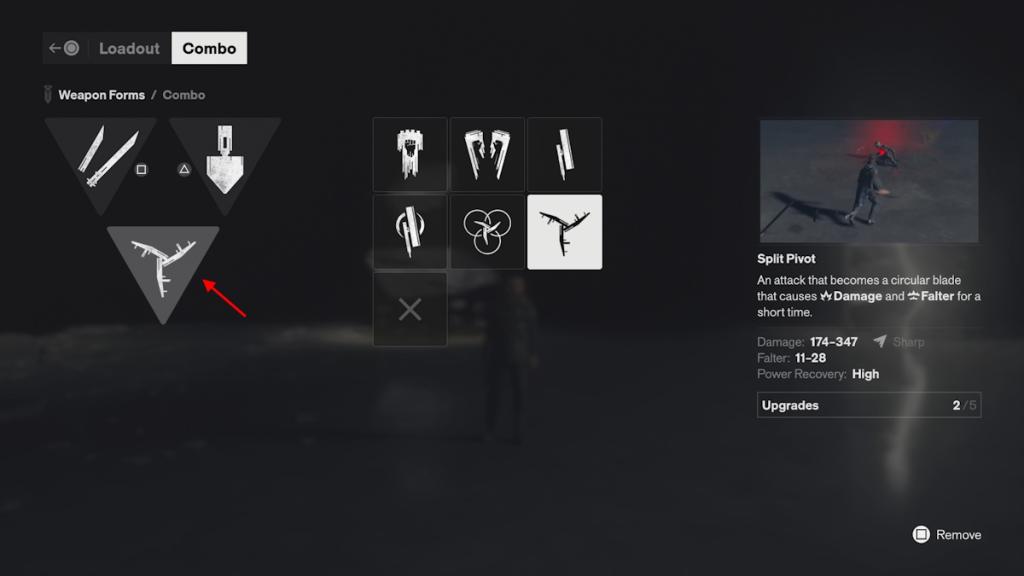
- Open your loadout and choose the Combo option.
- Select the finisher weapon you want from the menu on the right and assign it to the combo slot.
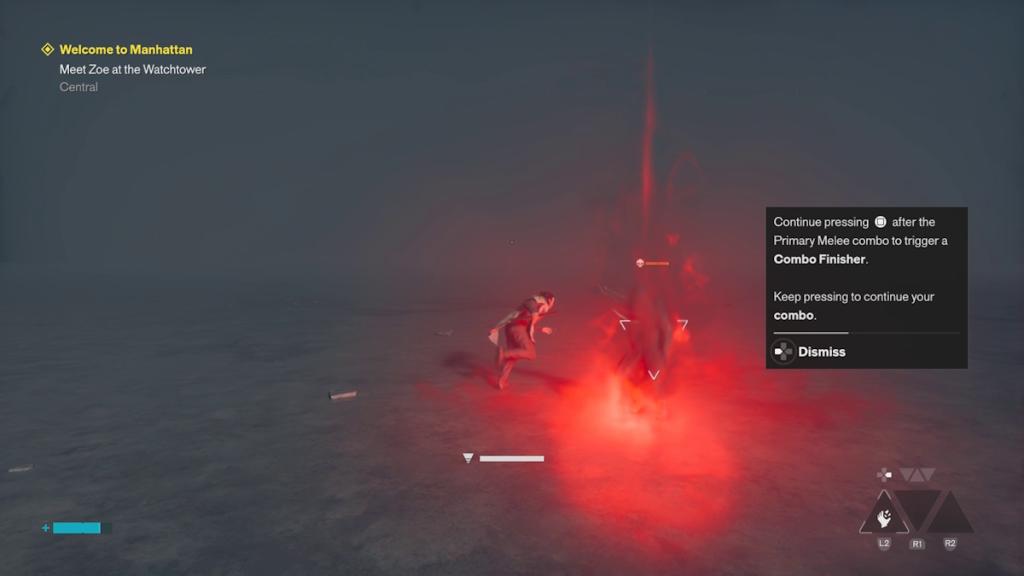
- In combat: perform your primary melee combo, then rapidly press the Finish button to execute the finisher. On PlayStation that’s Square; on Xbox it’s typically X; on PC it maps to your assigned melee/finisher key—check Controls in Settings or remap in Steam’s controller config if needed.
When do you get finishers in Control Resonant?
Finishers become available after you raise your Aberrant Strength to 15. Once you hit that threshold, access the monolith in The Gap to assign and acquire finishers.
All Control Resonant finishers and what they do
I hear players ask for a single line summary of every finisher before they spend a Living Shard—smart, frugal play.
There are six combo finishers, each with five upgrade tiers that adjust damage, Falter, Power recovery and special interactions. Below is the full table with each finisher and its five upgrade nodes so you can plan what to buy or upgrade first depending on your build.
| Finisher | Lvl 1 | Lvl 2 | Lvl 3 | Lvl 4 | Lvl 5 |
|---|---|---|---|---|---|
| Concussive Beatdown: A few quick strikes that deal damage and large amounts of falter | Drive Mauler: Adds +20% Damage and Falter against airborne enemies | One-On-One: Recover power from killing enemies | Strong Counter: Unlocks a follow-up attack after the Concussive Beatdown combo that knocks the target away from the player to deal Damage and Falter | Falter Jab: Adds +20% Falter to the last attack | Paranatural Knockdown: The last attack in the Concussive Beatdown combo sends out a shockwave that damages and pushes back nearby enemies |
| Uppercut Surge: Launches enemies and applies Lifted. Hitting Lifted enemies restores extra Power, while charging increases Damage and Falter | Reclaiming Strike: Charged Attacks recover +30% extra Power | Uppercut Stagger: Adds +30% Falter | Hover Break: Hitting an enemy also applies Lifted to all nearby Drone enemies | Prizefighter: Hitting Lifted enemies deals a significant amount of Falter | Imminent Knockout: Adds +10% Critical Chance |
| Wide Edge: A powerful wide attack that deals massive Damage and pushes enemies away | Power Slice: Adds +30% bonus Power to attacks | A Healthy Approach: Adds +10% chance of dropping Health Elements from each hit | Precise Delivery: Adds +5% Critical Chance for every enemy hit with Primary Combo attacks leading to Wide Edge | Brutal Edge: Adds +10% chance to instantly Falter a Drone enemy | Savage Accumulation: Adds +3% Falter for every enemy hit with the Primary Combo |
| Spin Edge: A continuous spin that deals Damage to all nearby enemies | Slash Synergy: Power recovery increases by +10% with each consecutive attack that hits an enemy | Forceful Authority: Adds +25% Damage and Falter during Dominance | Rousing Sabotage: Damaging enemies applies Empowered to Dylan. Empowered adds +25% Damage and Falter from Combat Abilities | Ravage Blade: Damage increases by +10% with each consecutive Spin that hits an enemy, up to a maximum of 50% | Deathly Trajectory: Allows Dylan to keep spinning forever |
| Split Pivot: An attack that becomes a circular blade, dealing Damage and Falter for a short time | Keen Opening: The first hit from Split Pivot has a very high Critical Chance | Shatter Spin: Spinning attacks build up Weakened, causing enemies to take more Damage and Falter from Combat Abilities | Explosive Concept: Split Pivot blades explode at the end of their lifetime, dealing Fire Damage to an area | Double Burn: When Split Pivot explodes, it deals two Burn build ups | Power Game: Adds +20% Falter to the spinning blades |
| Split Orbit: A short-range attack that becomes a blade that flies around Dylan for a short duration | Clear the Air: Adds +20% Damage and Falter against Airborne enemies | Double Recursion: Doubles the lifetime of Split Orbit | Ambitious Blade: Adds +5% Damage and Falter to Split Orbit’s attack every time it hits an enemy. Resets at the end of its lifetime | Hyper Orbit: Doubles Split Orbit’s rotation speed | Limitless Intensity: The Damage and Falter dealt by Split Orbit increase over time |
That’s the practical map: you earn Aberrant Strength to gain access to the monolith, spend Living Shards (or grab boss drops) to add finishers, and slot them into the Combo loadout to trigger with Square/X or your PC key. If you want one practical tip: prioritize finishers that supply Power recovery early if your build leans on charged attacks—Power is the fuel for most high-end plays. Which finisher will you pick first and why?