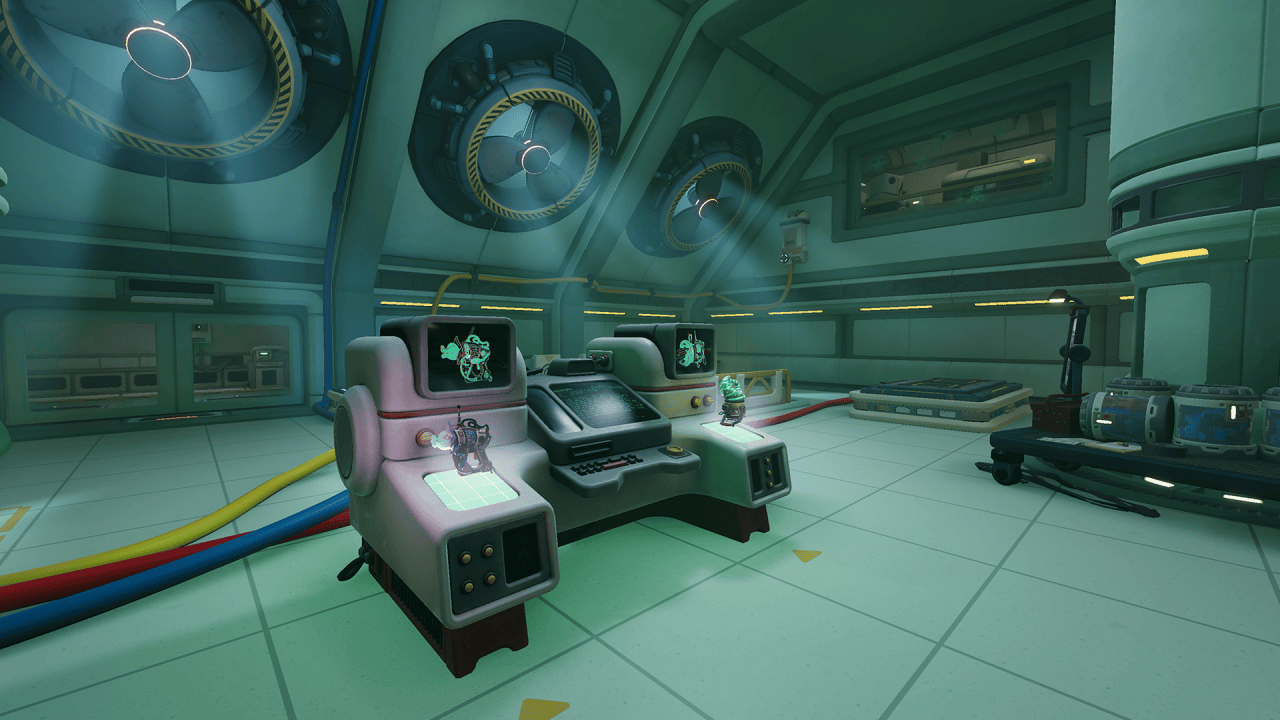
I froze as the red light blinked three times and the hatch sighed closed. My partner’s voice, calm and clipped, told me to trace the cables—no guessing. We had ten moves and one wrong turn would fold the whole plan back on itself.
I’ll walk you through the Cable and Battery puzzle in Chapter 3 so you and your teammate finish this room without shouting into a mic. You’ll get the rules, the clever trick that most players miss, and a ready-to-run order to input at the consoles.
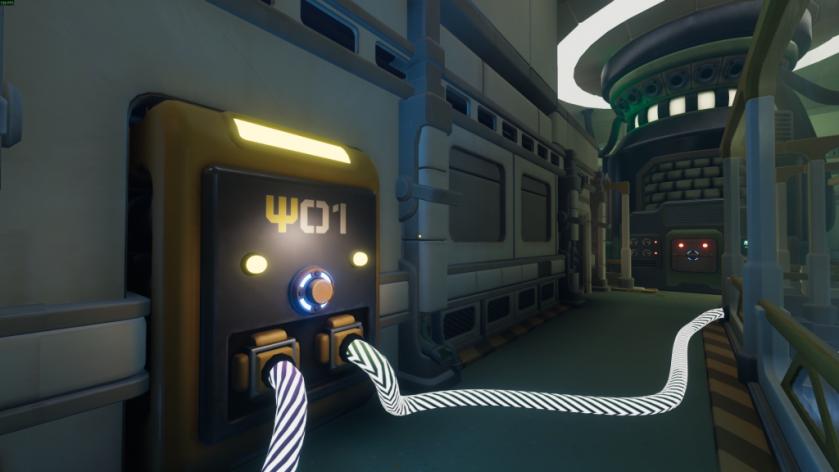
A bank of small, labelled consoles sits humming in the RD facility. How to solve the Cable puzzle in We Were Here Tomorrow (Chapter 3)
The modules are obvious: letters, numbers, a ring of ports. But the way they chain together is subtle. You are only allowed to activate a module if it is directly connected to the last module you activated — and you may visit each module only once after starting at GEN.
The whole setup is a chessboard of cables; read that line once and the room stops feeling random. There are three labeled doors—GRE, RED, and BLU—that are not modules themselves but gates that open when you trigger the right module.
- GRE: Activate Σ02 to make Θ01, Θ02, Θ03, and Θ04 available.
- RED: Activate Σ03 to make Δ01, Δ03, and Δ04 available.
- BLU: Activate Δ03 to make λ01, λ02, and λ03 available.
When a door opens, its associated modules become selectable, but the connection rule still applies — you can only jump to a module that has a cable to the module you just used. Your objective in Chapter 3 is to hit every module at most once while activating four key modules in this specific order: Ψ02 → Θ03 → λ03 → Ψ07. That order is the hairpin that makes the rest of the pattern fall into place.
How do you solve the cable puzzle in We Were Here Tomorrow?
Start at GEN. Follow connections instead of labels. If you and your partner map the physical links quickly on a piece of paper, the correct route reveals itself. The puzzle is not randomized — the same sequence works for every team — so memorizing the pattern saves time, and prevents frantic pinging in Discord or muttered searches on YouTube.
Is the battery-and-cable puzzle the same for every playthrough?
Yes. Total Mayhem Games used a fixed layout for this room, which means community guides on Steam, GameFAQs, and video walkthroughs are reliable. Use a second device or a shared Google Doc and split tasks: one person watches the map, the other traces connections in-game.
What order do I activate modules to open GRE, RED, and BLU?
Open the doors by triggering these modules in sequence as part of the full path. Don’t try to open every door first—follow the link constraints and the openings will come at the right time.
If you want the immediate, foolproof route, here is the complete activation sequence I used in every run that didn’t end in frantic backtracking:
GEN → Ψ01 → Ψ04 → Ψ02 → Ψ03 → Ψ06 → Σ04 → Σ03 → Σ01 → Σ02 → Ψ08 → Θ03 → Δ02 → Δ03 → λ02 → λ03 → λ01 → Ψ07
Small tips from my runs: call out the module IDs as you hover over them, keep a mental count of available moves, and use bright, simple labels on paper. The solution becomes a breadcrumb trail once you know which modules trigger doors.
Tools and communities that helped refine this guide: Steam workshop threads, Total Mayhem Games’ official pages, walkthrough videos on YouTube, and a few patient players in the We Were Here Tomorrow Discord.
Ready to test this order with your partner and see who blinks first under pressure?