Welcome to your next adventure in the enchanting world of Disney Dreamlight Valley. Now that you hold the second Crystal Key, it’s time to embark on the Crystal Caverns: Glamour Gulch quest located within Wishblossom Ranch. This quest is not for the faint of heart—get ready to solve intricate puzzles while navigating through fresh challenges. Don’t worry; we’ve prepared a detailed walkthrough to guide you every step of the way.
As a seasoned explorer in the realms of Disney games, I understand the thrill and the frustration that can come with navigating these intricate quests. With this guide in hand, you’ll be more than prepared to tackle the Glamour Gulch quest.
1. How to complete Crystal Caverns: Glamour Gulch in Disney Dreamlight Valley
Your objective here is clear: you will need to help the Wishblossom of Ambition, face the second trial, and ultimately free Khan. The mission ahead is challenging, so let’s break it down.
2. Bring Glamour Gulch’s Key to Tinker Bell
First things first! Now that you’ve acquired the second Crystal Key from Cruella, it’s time to return to Tinker Bell. You can find her just beyond the stone archway located between the bridge leading into the Wishblossom region and the Wishing Way area.
She’ll be floating near a colossal Wishblossom. Make sure to chat with her while you’re there, and then follow her around to the pink archway to activate the second Crystal Cavern challenge.
3. Progress Further into the Second Crystal Cavern
You’ve made it into the second trial! Continue along the path until you hit a sizable gap. If you haven’t already switched to Maximus, you’ll need to do it now—he’s the horse mentioned in the quest that can help you leap over this gap.
4. Interact with the Lever Base to Follow the Scent Trail
Approach the empty lever socket at the dead end to mount Maximus and activate the scent trail. Once you do, turn around and follow the red puffs of smoke to the corner. Here, you’ll spot the missing lever. Collect it and return to the elevator to progress further.
Flip the lever to bring down a platform bridging the gap. You can now leap across using Maximus and continue until you encounter the Ambition Wishblossom, a large flower suffering from Decay.
5. Remove the Decay Crystals to Assist the Wishblossom of Ambition
The Wishblossom of Ambition is in distress, similar to how the Wishblossom of Hope was during the Crystal Cavern: Wishing Alps quest. To help her, you’ll need to locate and destroy three Decay crystals scattered throughout the cavern. Here’s where to find them:
- In the blue area, on top of the mezzanine near the entrance.
- In the green flooded area to its right.
- In the pink area, behind the cluttered elevator to its left.
6. Remove the Crystal in the Blue Area
From the entrance, head left towards the missing lever by the bridge. While mounted on Maximus, interact with the red puff of smoke to activate the trail. After that, leap over the water, head toward the back wall, and retrieve the lever.
Take the lever back to the bridge and place it where it belongs. Flip the switch to lower the bridge, walk across it, and make your way into a new cavern. Here, head left to flip the first lever, lowering the first platform.
Next, go to the right side of the room. Switch your mount to a custom one since Maximus cannot push heavy objects. Push the rock forward twice, squeeze through the gap, and access the second switch to lower the second platform.
Return to the middle of the cavern and switch back to Maximus. Jump across to the first and then the second platform, leading you to the first red crystal. Take the nearby elevator back to the main room.
7. Remove the Crystal in the Green Flooded Area
Starting from the entrance, head right around the Wishblossom back to the corner. Traverse through the archway and down the path. In the open cavern, continue straight past the enormous stone and leap across the water with Maximus.
On the opposite side, approach the lever by the bridge to activate it. Head back across the water, push the large stone on the pressure plate, and walk onto the pressure plate near the half-open door to unlock it fully. Walk a bit further to locate the second crystal that needs destruction.
8. Remove the Crystal in the Pink Area
From the entrance, navigate to the back left side of the Wishblossom room. Look for the cluttered elevator and flick the lever next to it to raise the platform. Now, leap across to break the third crystal.
9. Talk to the Wishblossom of Ambition
With all the crystals shattered, return to the Wishblossom of Ambition and engage in dialogue. A short cutscene will reveal Khan, your new horse ally. Ready to ride? Get ready for the next part of your journey.
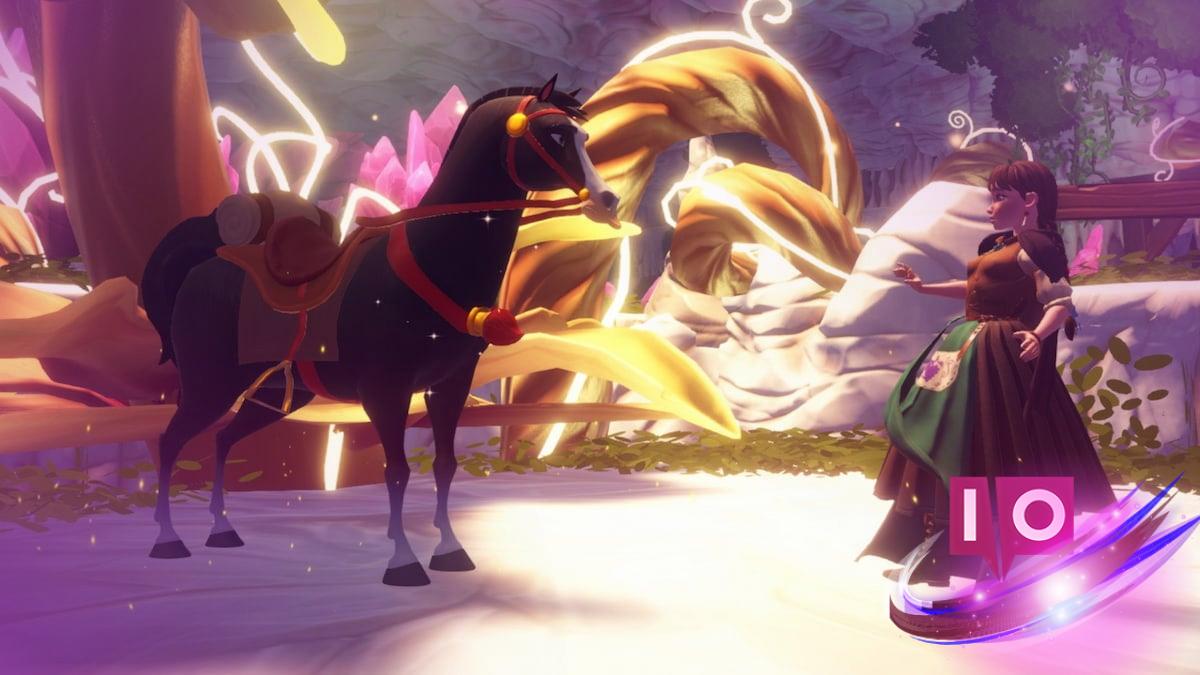
10. Interact with the Barrier
Approach the wooden barrier flanked by pink crystals. While riding Khan, interact with the barrier, utilizing his unique ability to kick it down. Continue down the path, breaking any other barriers in your way until you return to the main Wishblossom room to rejoin Tinker Bell.
Congratulations! You’ve successfully completed the Crystal Caverns: Glamour Gulch quest. Now it’s time to dive into the Bounce Up, Never Down quest as you explore Pixie Acres.
Curious to know more? Continue your explorations with related guides and tips at Moyens I/O.