I hit the dungeon spawn and the floor answered with a howl. The first boss turned the corridor into a pressure cooker. I froze long enough for you to understand: skill matters, but choices win matches.
Editor’s note: We update this tier list based on the release patch notes on April 30, 2026.
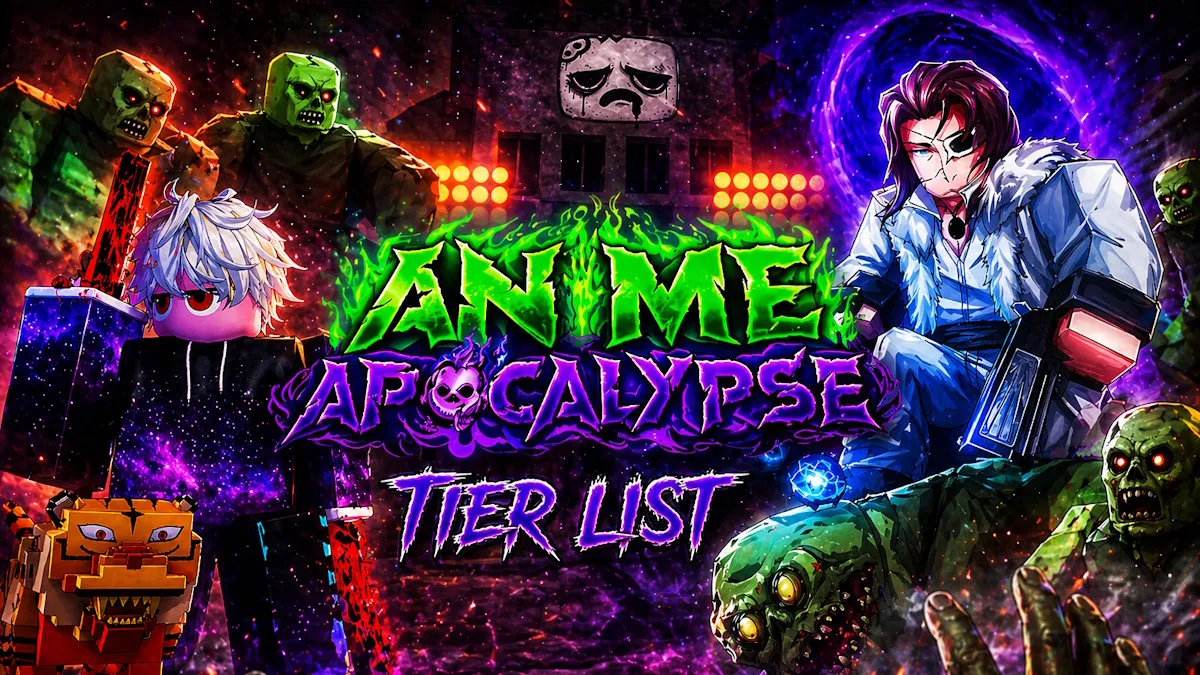
What is the best ability to aim for in Anime Apocalypse?
You want something that scales with mastery and carries late-game fights. Coyote becomes the single most dangerous pick once you reach level 100 and access its V skill; Pride sits beside it as a consistently powerful option at every mastery tier.
Which gadget provides the best crowd control in Anime Apocalypse?
If your plan is to stop a swarm from eating your team, bring Black Hole. It groups and damages enemies, turning chaotic rooms into predictable damage windows you can exploit with channelled abilities.
Who is the best pet in Anime Apocalypse?
If sustain matters and you want fewer forced restarts, choose Igris. It’s the only pet with Lifesteal and stacks combat and economic bonuses that keep long runs profitable and survivable.
Abilities: most players treat weapons like sports cars — they test them under fire
That real-world habit matters inside the dungeon: situational performance determines whether your ability carries a raid or limps out of Survival.
Abilities (the things you spin for when you use Anime Apocalypse codes) are the backbone of any build. Below is the ranked table used to prune bad rolls and chase the moves that actually win fights.
| Tier | Abilities |
|---|---|
| S Tier | Coyote, Pride |
| A Tier | Saiyan, Shadow Monarch, Destructive Fists |
| B Tier | Sosuke, Fire Fighter, King of Curses |
| C Tier | Nen Prodigy |
| D Tier | Zorro |
- Coyote (S Tier): Slightly shy at base mastery but transforms at level 100. Its V skill flips encounters — raid mechanics crumble if you time it.
- Pride (S Tier): Raw power at every stage. If you want reliability without curveballs, Pride is the pick that still performs when everything else falls off.
- Saiyan (A Tier): Incredible support value. The UI revive is a clutch safety net in punishing runs, and its base kit scales well for group content.
- Shadow Monarch (A Tier): The summon king for Infinite mode. It demands a grind to reach its stride, but at cap it creates windows other weapons can’t match.
- Destructive Fists (A Tier): Consistent, dependable DPS for Raids and Survival. Shorter range restricts its ceiling, but it’s rock-solid for most team comps.
- Sosuke (B Tier): A beginner’s carry. Massive reach and a Susano slash that surprises players out of the gate; excellent until Mythics and Legendaries outscale it.
- Fire Fighter (B Tier): Middle-of-the-road DPS that works everywhere but doesn’t dominate any single niche.
- King of Curses (B Tier): The weakest Legendary — solid against Epics and Rares but unremarkable when you compare it to higher rarities.
- Nen Prodigy (C Tier): A short-term upgrade that falls behind fast as you chase better rolls.
- Zorro (D Tier): Rare and underpowered. Replace the moment you can.
Gadgets: in real life, tools that move crowds are worth their weight in time saved
On Discord and YouTube you’ll hear the same mantra: control the field, and the rest follows. Gadgets are your battlefield managers.
| Tier | Gadgets |
|---|---|
| S Tier | Black Hole, Rage |
| A Tier | Infinity, Conqueror’s Haki |
| B Tier | Time Stop |
| C Tier | Beacon Taunt |
| D Tier | Medkit |
- Black Hole (S Tier): Pulls enemies into one target-rich area. That single grouping turns messy rooms into predictable damage frames for you and your allies.
- Rage (S Tier): A damage-and-speed steroid. When timed with your cooldowns, you clear rooms faster than most teams can react.
- Infinity (A Tier): Fifteen seconds of invulnerability — the ultimate panic button for aggressive plays or forced repositioning.
- Conqueror’s Haki (A Tier): Fast crowd thinning. It’s not a boss-slayer, but it cuts through low-level cannon fodder and buys you breathing room.
- Time Stop (B Tier): Pauses events. Useful for staging or escaping pressure, but it doesn’t create damage on its own.
- Beacon Taunt (C Tier): A simple aggro tool for narrow corridors. It helps with positioning but won’t win fights by itself.
- Medkit (D Tier): Small flat heals feel redundant in high-tempo runs; prevent-damage tools and damage windows outvalue this option.
Black Hole is a vacuum cleaner for zombies, and that difference in crowd control separates competent groups from the ones resetting runs.
Pets: outside the game, small perks compound into major advantages
Collectors on Reddit and Discord treat pets like passive income — the right one makes every run faster, safer, and more profitable.
| Tier | Pets |
|---|---|
| S Tier | Igris |
| A Tier | Kurama |
| B Tier | Panda |
| C Tier | Tiger |
| D Tier | Monkey |
- Igris (S Tier): Lifesteal plus wide bonuses to damage, drops, coins, EXP, speed, and HP. It turns long runs from gamble to routine.
- Kurama (A Tier): Highest raw damage multiplier. If you favor melting over sustain, this is the pet you grind for.
- Panda (B Tier): Balanced offense and bulk — a safe mid-game choice while you chase stronger companions.
- Tiger (C Tier): Beginner-friendly stat spread that loses punch quickly as content scales.
- Monkey (D Tier): Minimal perks; replace as soon as you can.
Titles: in the real world, a headline tells you what a person does — titles in the game do the same
Some titles change how you play; others just look good in screenshots. Prioritize those that move the numbers you care about.
| Tier | Titles |
|---|---|
| S Tier | World Five |
| A Tier | Fire Lord, Upper Moon, Fleet Admiral, Culling Winner, Wealthy, Infinite Champion |
| B Tier | Immortal, Monster Hunter, Dungeon Master, Boss Reaper, Zombie Slayer, Collector |
| C Tier | Parkour Legend, Survivor, Speedrunner, Golden Assassin |
| D Tier | Sin of Pride, Nen Prodigy, King of Curses, The Pirate Hunter, Shadow Monarch, Super Saiyan |
- World Five (S Tier): Massive universal boosts to damage, health, coins, EXP, cooldowns and drops — the clear stat crown.
- Fire Lord, Upper Moon, Fleet Admiral, Culling Winner, Wealthy, Infinite Champion (A Tier): High-impact titles that shift survivability, farming efficiency, or damage in meaningful ways.
- B and C Tier: Useful stepping stones depending on whether you want faster progression or a little more durability.
- D Tier: Minimal damage-only titles — swap these out when you have a better option.
Traits: my experience with rerolls is simple — you keep the ones that change fights
Traits are rarer than a clean 5-star run. Treat rerolls like limited currency and pick the rolls that actually alter how you approach rooms and bosses.
| Tier | Traits |
|---|---|
| S Tier | Flash |
| A Tier | Reaper |
| B Tier | Hunter |
| C Tier | Zombie, Fortune |
| D Tier | Swift, Timer, Power |
- Flash (S Tier): Massive speed, attack speed, cooldown reduction, lifesteal and sustain — it rewrites how fast you clear and how safe you are doing it.
- Reaper (A Tier): Highest raw damage multiplier with solid sustain and cooldown perks — brilliant if you prefer decisive burst playstyles.
- Hunter (B Tier): Reliable mid-game boost to damage and tempo.
- Zombie, Fortune (C Tier): Survival or progression-focused rolls. Useful for farming, weaker for high-pressure fights.
- Swift, Timer, Power (D Tier): Minor stat bumps — reroll if you can.
I track trends on Roblox, watch clips on YouTube, and read threads on Discord to spot what actually wins in live patches. Use this guide to focus your spins, rerolls, and grind on parts of the build that change outcomes instead of cosmetics or vanity stats. What setup are you willing to grind for next?