
I remember surfacing in an orange haze, my suit alarm screaming and the Tadpole’s lights guttering out. You’ve felt that sudden, small panic—tools in your hands, a map that no longer makes sense. I stayed, I mapped, and I learned which parts of Proteus will take your breath and which will give it back.
I’ve tracked these biomes across early access notes, Reddit threads, and on Steam forums while testing routes with the Tadpole and recording footage for YouTube. Below is a tight, practical guide to every Subnautica 2 biome you can explore now—what you’ll find, what will hurt you, and where the game’s story drops its fingerprints. Read fast; some of these places are not patient.
| Biomes | Key Resources | Points of Interest |
|---|---|---|
| Shallows | Coral Shavings, Fibrous Pulp, Acidic Ration Pouch, Lucifer Rotsac, Quartz, Titanium, Water Slug | Welcome Center, Lifepod |
| Plateaus | Deepwing Egg Clump, Cherimoya Rotsac, Copper, Silver, Titanium | Old Habitat |
| Graveyard | Deepwing Egg Clump, Gold, Salt, Sulfur, Titanium | Tailings Village, Tadpole Pens |
| Necrolei Hills | Deepwing Egg Clump, Copper, Necrolei Cyst, Titanium | Unknown |
| Dolerite Spires | Deepwing Egg Clump, Lithium, Titanium | Unknown |
| Lead Zone | Deepwing Egg Clump, Lead, Copper, Titanium | Atoll, Nook, Wreck |
| Anemone Hills | Acidic Raion Pouch, Cherimoya Rotsac | Angel Comb |
| Shallows Caves | Copper, Fibrous Pulp, Acidic Raion Pouch, Medical Gel Sac, Titanium, Water Slug. | Cave Networks |
| Plateaus Caves | Copper, Silver, Titanium | Cave Systems |
| Graveyard Caves | Gold, Lithium, Sulfur, Titanium, Water Slug | Hot Cave |
| Tar Cascades | Titanium, Copper, Quartz, Celestine, Dragon’s Scale Coral | Collector Leviathan |
| Observatory Island | Titanium, Copper, Lead, Salt, Quartz, Freesia Flower, Water Slug | Observatory, Alien Ruins, Ruby’s Blackbox, Rosetta Stone |
| Karakorum Power Plant | Quartz, Conduit Crystal | Angel Comb |
| Root Canyon | Celestine, Fulgur, Titanium, Quartz, Copper, Atacamite, Silver, Gold, Sulfur, Salt | Wrecks, Angel Comb, Control Room, Resonator Wreck, tech Sites, Blighted Wreck |
| Karakorum Metal Farms | Atacamite, Axum Bacterial Culture, Metal Farms, Troilite, Celestine | Collector Leviathan |
| Observatory Island Caves | Copper, Quartz, Titanium, Water Slug, Flash Slug | Angel Comb |
| Needler Nest | Creature Enamel, Celestine | Needler Habitat |
| Silver Mines | Silver | Mining Areas |
| Thermal Vent Clusters | Gold, Sulfur | Thermal Zones |
| Out of Bounds Terrain | None | World Tree, Spiff Island |
Shallows
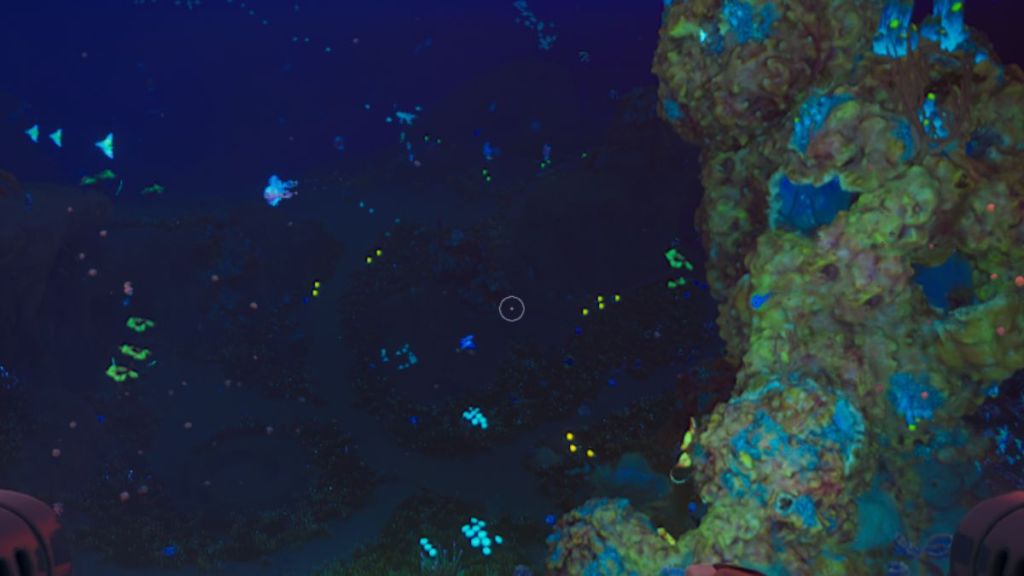
Sunlight fractures through shallow water; colors are bold and forgiving. The Shallows are your starter classroom: passive fauna, easy water-slug finds, and the materials you need to stop improvising and start building. Bring a scanner, pocket a few quartz and Lucifer Rotsacs, and you’ll turn this peaceful reef into a dependable supply run.
What is the safest biome in Subnautica 2?
The Shallows are the safest pick for early play. Few hostiles, creamy resource density for titanium and quartz, and quick access to the Welcome Center and lifepods make it the staging ground I use before pushing outward. Check Steam guides and the Unknown Worlds Discord for route updates if you want to follow my path.
Plateaus
Rock shelves break the surface into dropped plates and gullies. Plateaus are a step up in aggression: uneven terrain that punishes careless Tadpole driving and corridors that funnel you past silver veins and Deepwing nests. Pack a reinforced hull and watch for BFJs and Jelly Leis when you’re gathering Cherimoya Rotsacs.
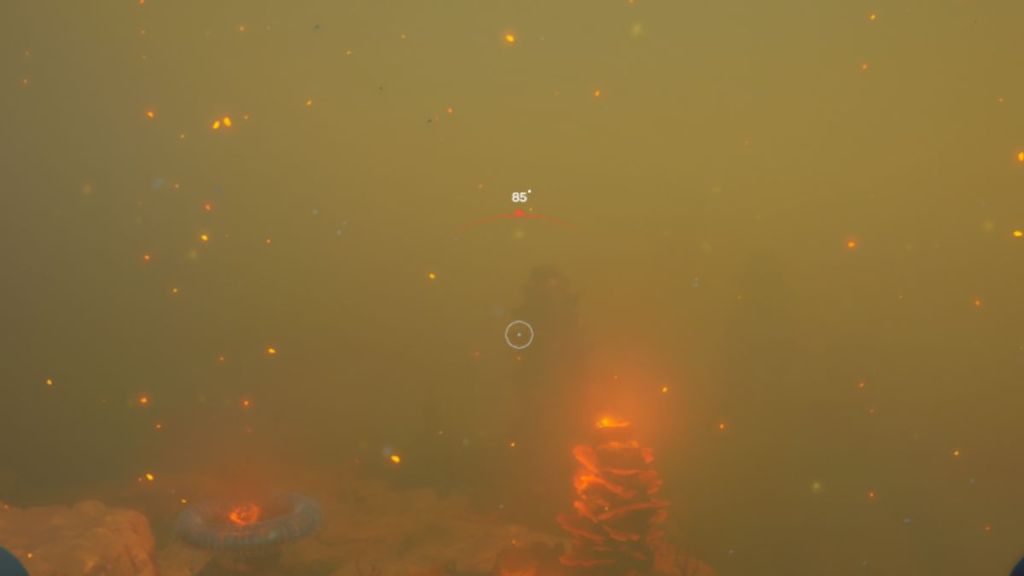
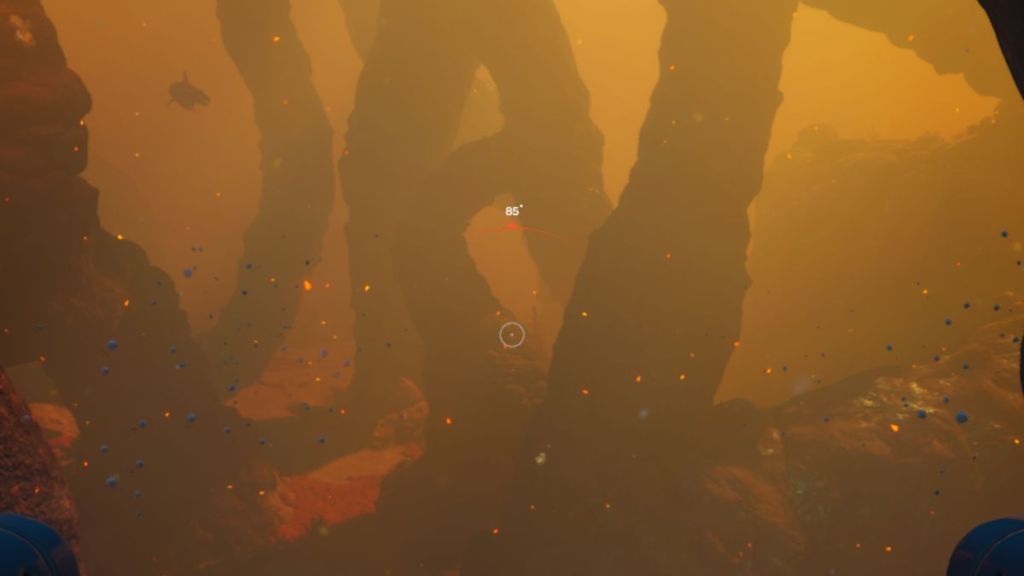
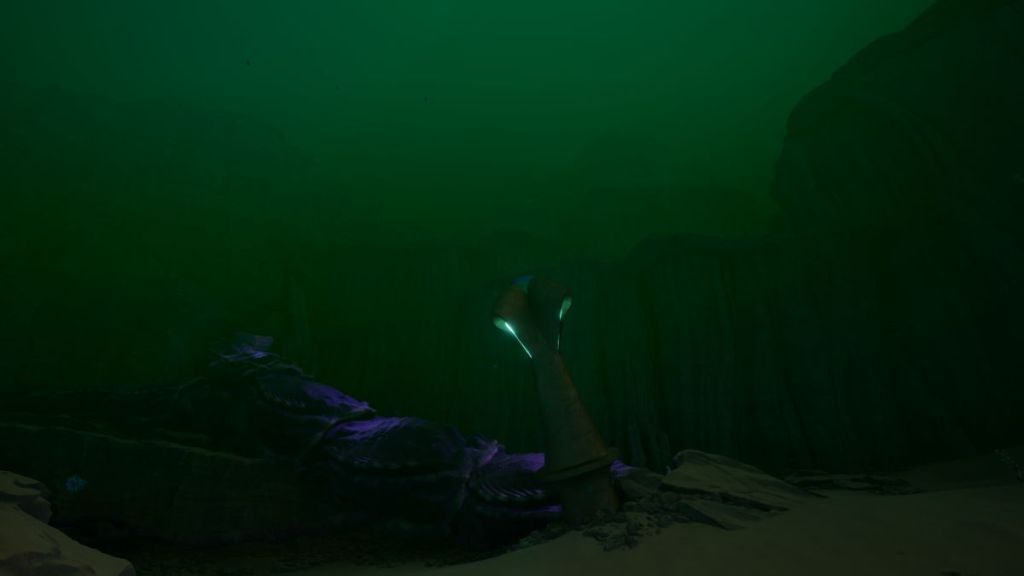
Graveyard
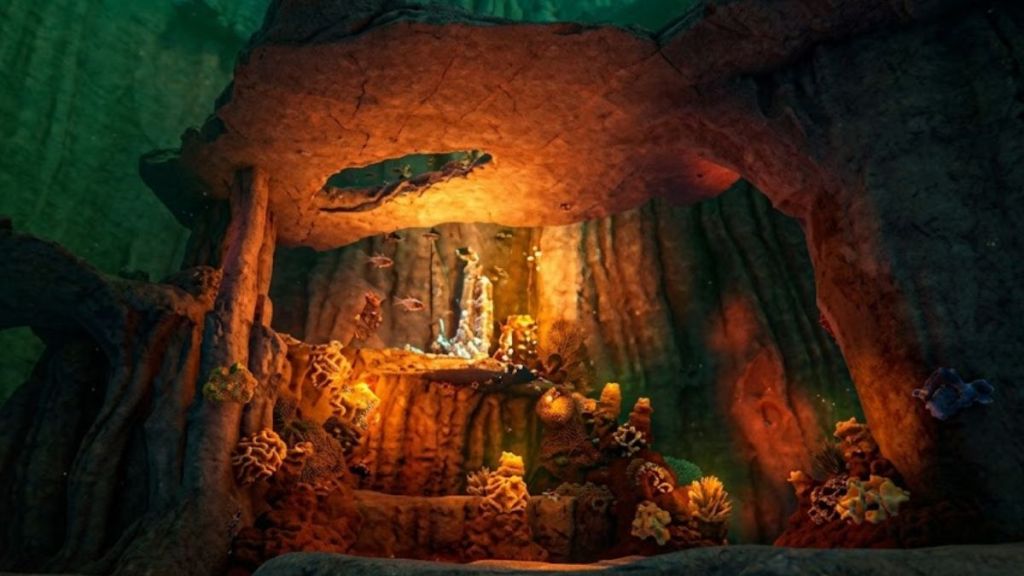
Sunset tones paint everything an unnerving orange here. The Graveyard is a furnace of orange light and slow rot. Expect richer returns—gold, sulfur, salt—and abandoned settlements that tell fragments of the Alterra story. I treat this area as my first real alarm bell: bring heat-resistant gear and a plan for extraction if your Tadpole takes damage.
Where to find gold in Subnautica 2?
Gold shows up often in the Graveyard, Graveyard Caves, Root Canyon, and Thermal Vent Clusters. If you’re farming for manufacturing—power modules, sensors—plot a route that strings those biomes together and use map pins from community tools like the Subnautica 2 interactive maps on Reddit and fan Wikis.
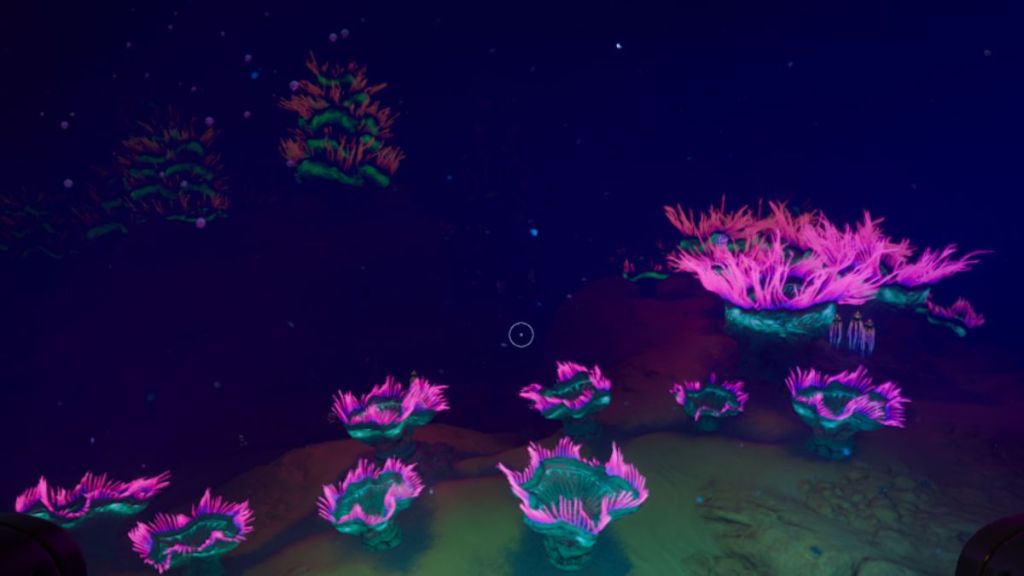
Necrolei Hills
Gravelly mounds and odd fungal forms crowd the seafloor here. Necrolei Hills produce Necrolei Cysts and a cluster of mutated fauna; this is where infection shows teeth. I go here when I need Strong Acids for mid-tier electronics, but I keep a quick-exit plan—the fauna is unpredictable and the visuals are unnerving.
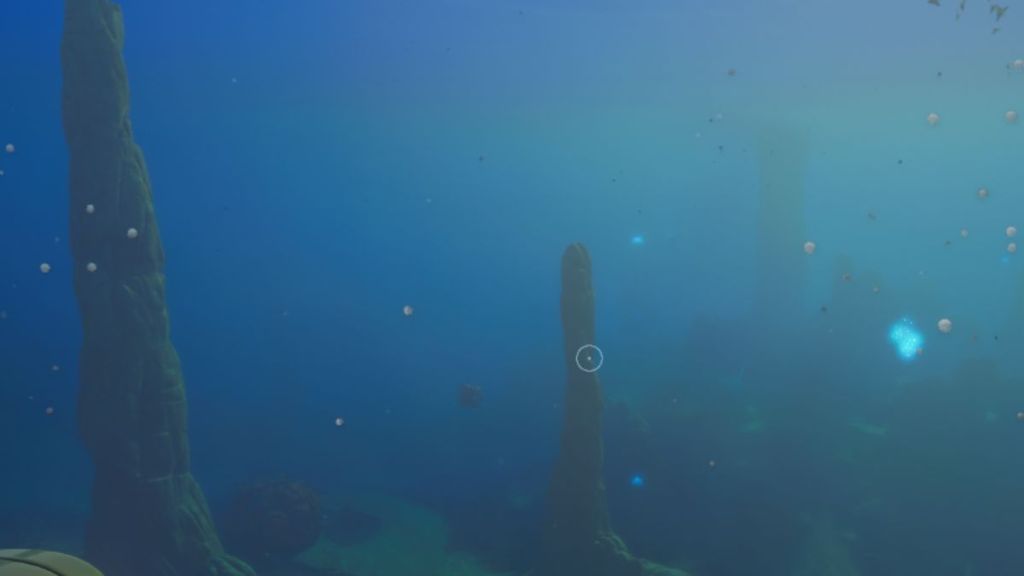
Dolerite Spires
Pillar after pillar rises from the seabed in dizzying rows. Dolerite Spires hide lithium and force you to navigate a vertical maze with limited sight. Bring lights and a tether plan; the geology here chews up unaided vehicles and your sense of direction.
Lead Zones
Flat sands and lonely rock bands define the Lead Zones. Sparse in life, heavy in deposits—this is where you grind for lead and avoid unnecessary fights. Mark the Atoll and the wrecks; they’re small but reliable pockets of gear and lore.
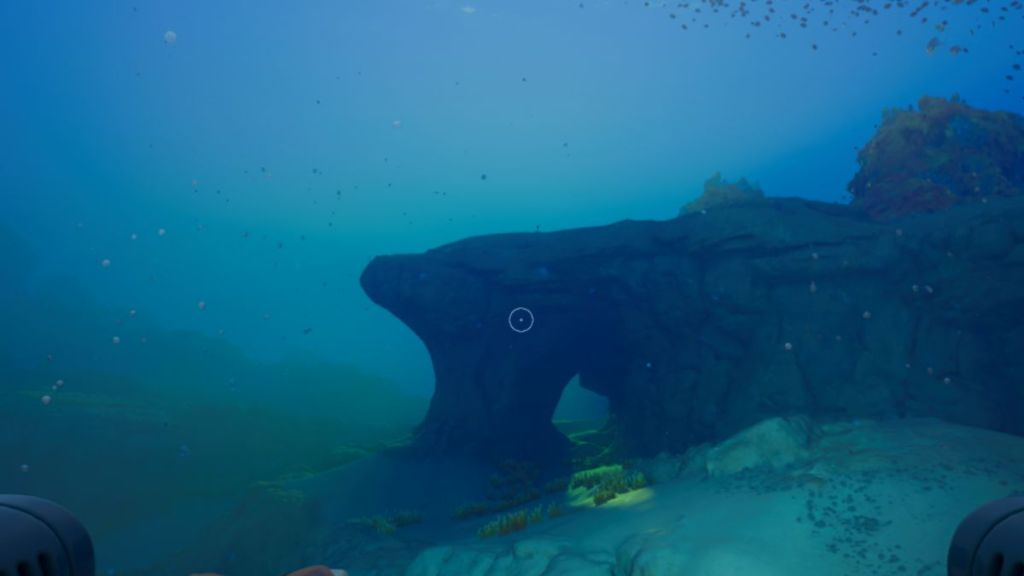
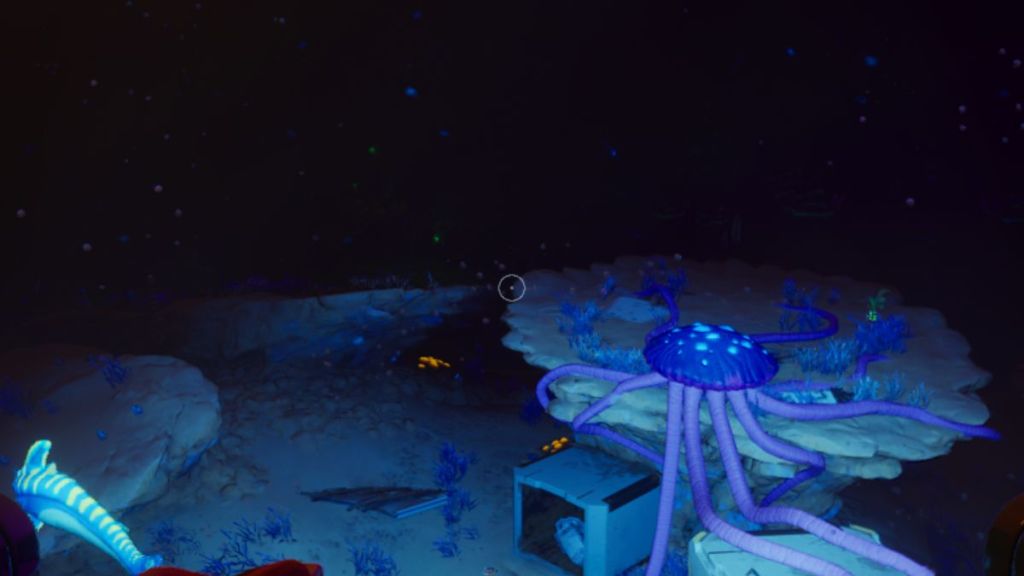
Anemone Hills
Massive sea flora curls and blooms across the seafloor here. Anemone Hills are loud—organics, wrecks, and blueprints—so they reward inspection. If you need crafting staples and lore fragments, this is one of the better multi-purpose stops.
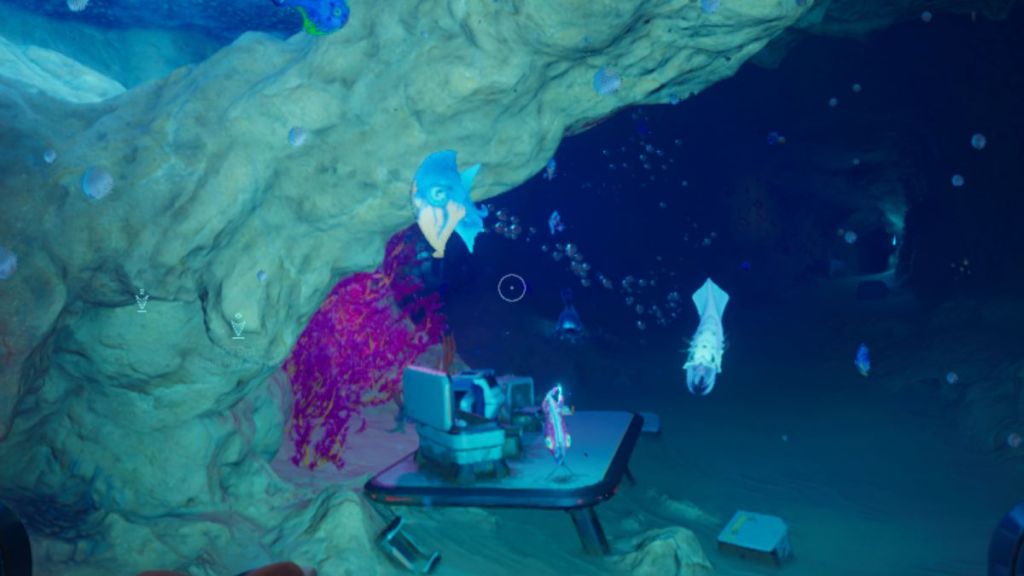
Shallows Caves
Light thins quickly beneath the reef; caverns open to tight channels. Shallows Caves are compact resource nodes: copper, medical gel sacs, and titanium pockets. Watch your oxygen timers—what looks like a quick run can become a corridor trap.
Plateaus Caves
Rock overhangs make for long tunnels and sudden drops. Plateaus Caves connect multiple regions and hide silver and copper veins that pay well if you can handle tight encounters. Bring lights, upgrade sonar, and consider community map overlays on fan Wikis to avoid dead-ends.
Graveyard Caves
Steam vents and mineral seams hint at heat far below. Graveyard Caves are hot and rewarding: gold, lithium, sulfur in caverns that go darker the deeper you go. I only enter these with an upgraded Tadpole and an exit plan; if community modders on Nexus or map threads flag an area, heed it.
Tar Cascades
Darkened crusts and slick surfaces rule here; the color palette is nearly monochrome. Tar Cascades hide Celestine, dragon-scale coral, and big deposits of titanium and quartz. This is one of the best grinding spots for mid-game crafting if you can avoid the Collector Leviathan patrols.
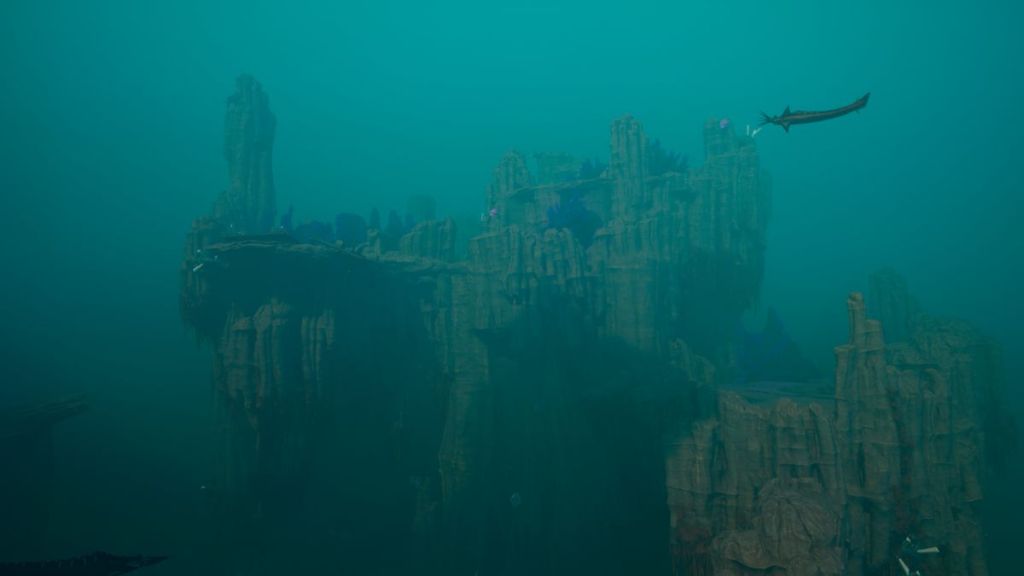
Observatory Island
A massive tower rises from the sea—an architectural needle you can see from afar. Observatory Island centers the Axum mystery: alien ruins, a Rosetta Stone, and tech caches that push the narrative forward. You’ll find titanium and lead here but, more importantly, narrative hooks that the community on Reddit and IGN discuss extensively.

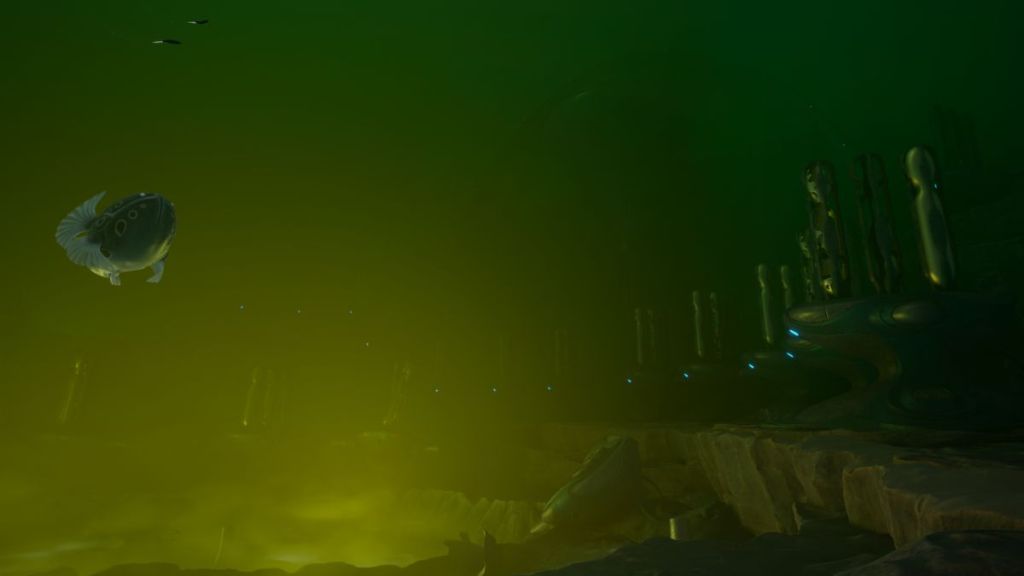
Karakorum Power Plant
You’ll notice heavy machinery and ruined turbines where energy once flowed. The Karakorum Power Plant brings Conduit Crystals and Angel Comb structures into the open; the architecture reads like industrial scripture. If you’re following Axum threads on PC Gamer or watching walkthroughs on YouTube, this is a frequent point of discussion for lore and puzzle items.
Root Canyon
Thick, root-like formations lace the canyon walls and swallow light. Root Canyon is one of the game’s deepest explorable sectors, rich in celestine, atacamite, gold, and blight nodes. Expect near-zero visibility; I log every wreck and tech site into my notes and use community mapping tools to plan exits before I go deeper than 400 meters.
Karakorum Metal Farms
Rows of alien metal processors punctuate this area, and the water hums with residual power. The Metal Farms are a rich source of troilite, celestine, and atacamite; they also attract the Collector Leviathan, so plan your harvest windows. If you’re tracking Leviathans, compare sightings on the Subnautica 2 Discord—players regularly post coordinates and footage.
Observatory Island Caves
Hidden tunnels weave beneath the island and trap shadows. These caves yield flash slugs, angel comb structures, and compact deposits that are worth the claustrophobic run if you don’t mind close-quarter encounters. Use the Observatory as a landmark; it helps orient you after a maze run.

Needler Nest
Dense clusters of barbed growths mark this micro-biome. The Needler Nest is hostile and compact; it’s a high-risk, high-reward spot for creature enamel and celestine. If you plan on farming here, I recommend the stun tools and a short, repeatable route.
Silver Mines
Hammer marks and tunnel mouths give these sectors an industrial look. Silver Mines are straightforward: rich in silver and connected to cave systems that extend to deeper biomes. Good for focused runs; not where you hunt lore.
Thermal Vent Clusters
Bubbles and hot steam flare from vents that pierce the seafloor. Thermal Vent Clusters are gold-and-sulfur rich but demand heat-resistant kits and vehicle upgrades; treat them like a short, expensive contract rather than a leisurely sweep.
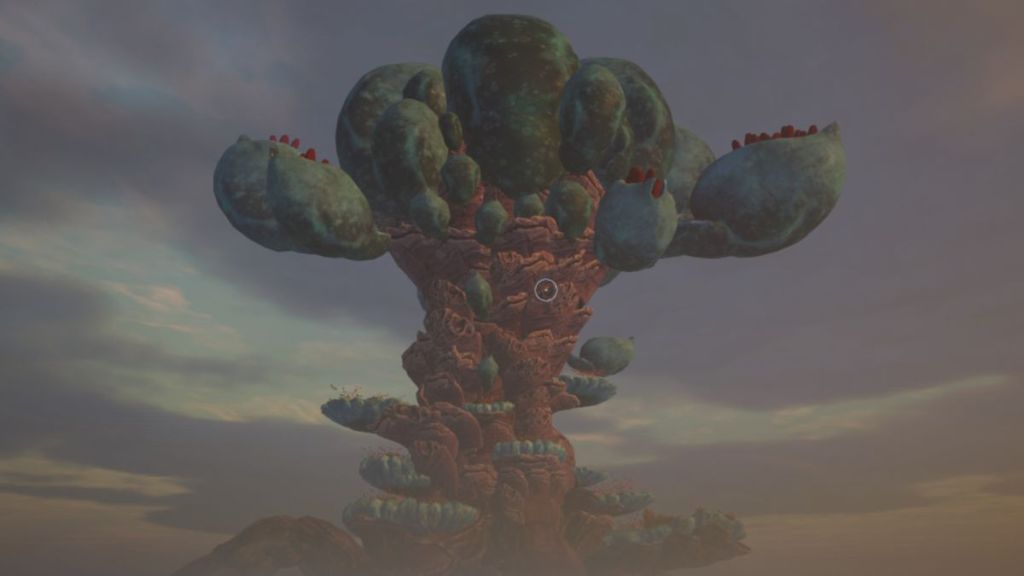
Out of Bounds Terrain
From a distance you can see a massive, impossible silhouette—its scale betrays an origin beyond simple biology. The World Tree is a locked vault of questions. The Out of Bounds area teases the story’s centerpiece—viewable but not touchable—and the community keeps speculation heated across YouTube breakdowns and Reddit threads.
There are more micro-biomes—Needler Nest, Silver Mines, Thermal Vents—and each rewards a specific fetish: enamel, silver, or sulfur. If you use community tools (interactive maps on Reddit, walkthrough channels on YouTube, fan Wikis), you’ll shave hours off blind searching and reduce the number of “oh no” moments when a patrol Leviathan appears.
I’ll leave the last choice to you: which biome will you push into first, and how will you prove you belong there?