
They cut power as you reach the reception. A crate clatters and a shadow slips through an open window — a single mistake and the mission derails. I remember my first failed run: five minutes of careful sneaking turned into a firefight that taught me where the level punishes hurry.
How to Complete 007 First Light All The Time in The World Chapter
Most players stall inside the hotel on their first pass; the layout rewards patience. I’ll walk you through the fastest, safest route I use on Steam, PlayStation, and Xbox — the same route I test with a controller and with mouse/keyboard so you can pick what fits your playstyle. If you bought First Light on Steam for $29.99 (€28), treat this as a mental map that pays back time.
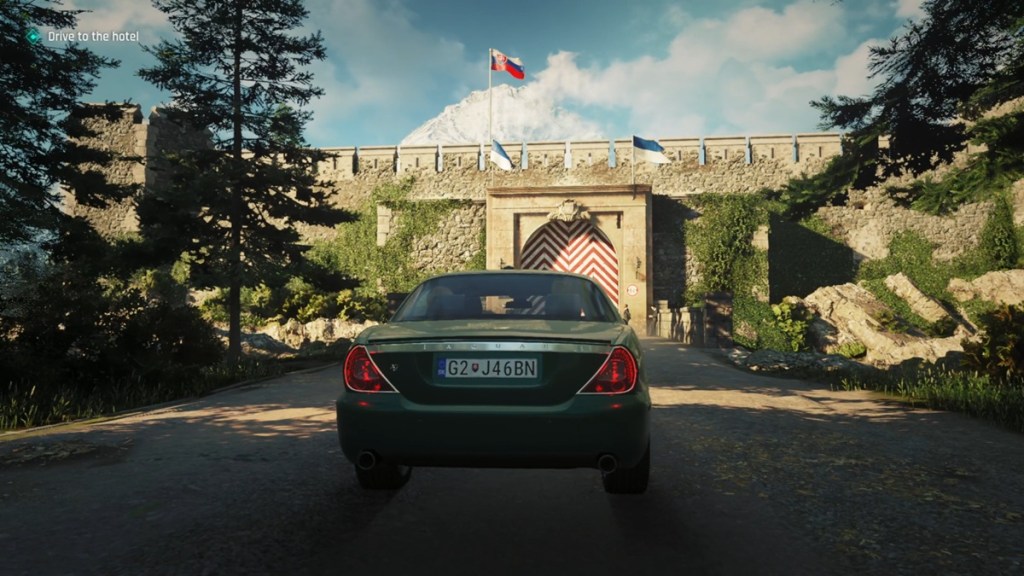
Part 1: Drive to the Hotel
Your car will take the first hits on the approach if you hug the curb. Keep your speed steady and avoid collisions — the mission flags progress as soon as you park in the designated slot. Drive in the center lane, nudge the brake twice before the turn, and park where the marker glows to trigger the next scene.
Part 2: Infiltrate the Hotel
Guards cluster near the main entrance more often than the side doors. You can enter three ways: bluff with a press pass, staff-route, or the sneaky window route I prefer. Light the leaves to distract the guard on the lower landing, vault the railing on the left, and climb to the second-floor window — the window route keeps your heat low and your timer tight.
How do I infiltrate the hotel quickly?
If you want speed, do the window trick: distract, vault, and climb. If you prefer minimal risk, pickpocket a press pass from staff using the Dart gadget — the animation is forgiving if you time the guard’s patrol.
-
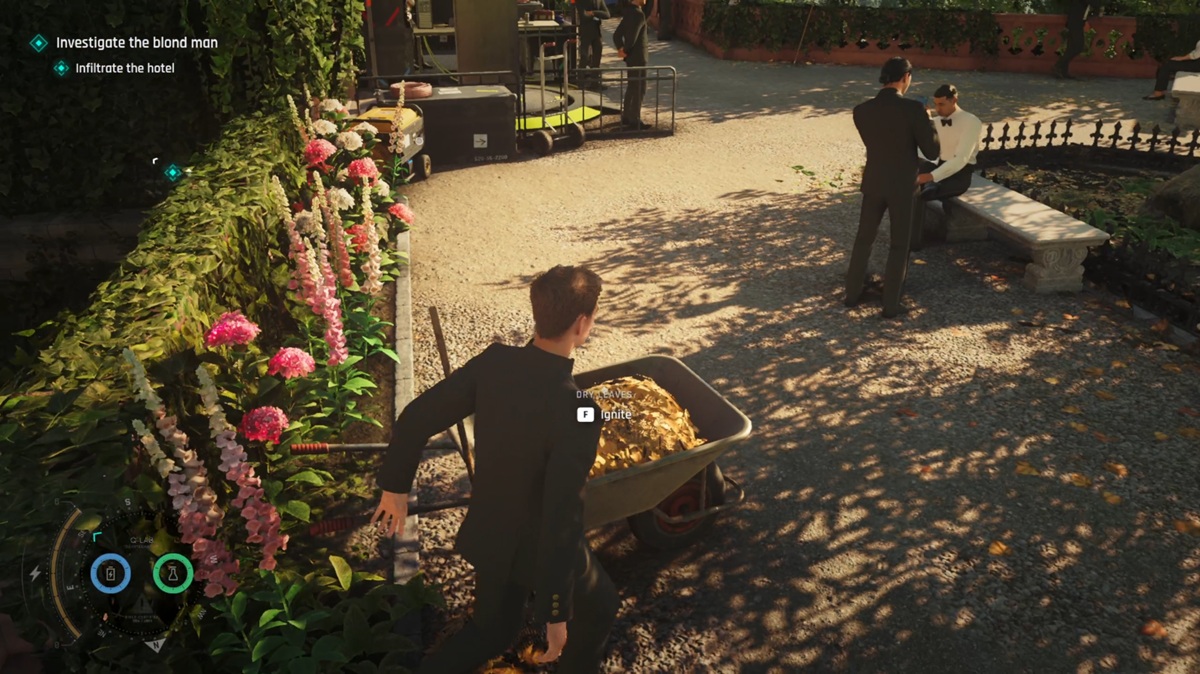
Image Credit: IO Interactive A/S (screenshot by Sanmay/ Moyens I/O)
Part 3: Search the Hotel for the Blonde Man
Staff chatter hides the fastest leads; maids gossip about missing briefcases more often than players notice. Move left down the stairs, shadow the staff, and use a Dart to disorient a single employee so you can lift the Staff Key. Eavesdrop on the reception — Mr. Prendergast points you toward the laundry — and that clue shaves minutes off aimless searching.
-
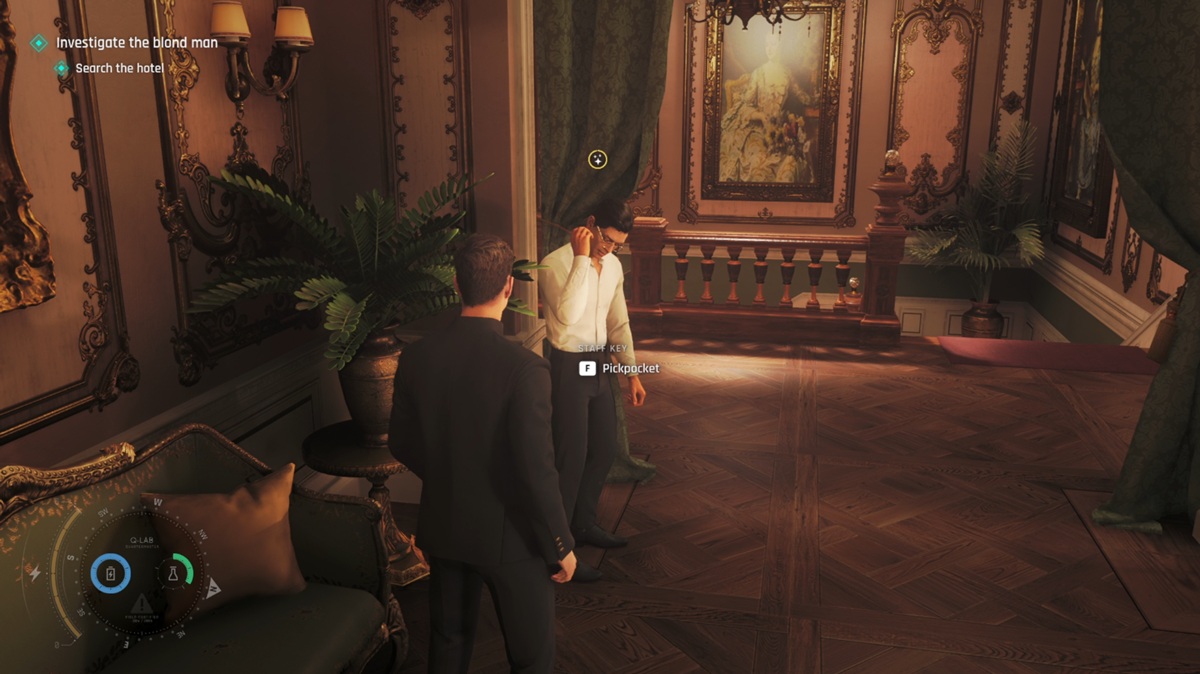
Image Credit: IO Interactive A/S (screenshot by Sanmay/ Moyens I/O)
Part 4: Get to the Laundry
The Study sits at the far end of reception and is quieter than the central lobby. Take the roundabout path behind the desks to avoid Ronson; inside the Study, listen for the staff who mention the Cellar key. When the staffer moves, hit them with a Dart, pick the Cellar key, then head through the far door and down to the laundry.
-
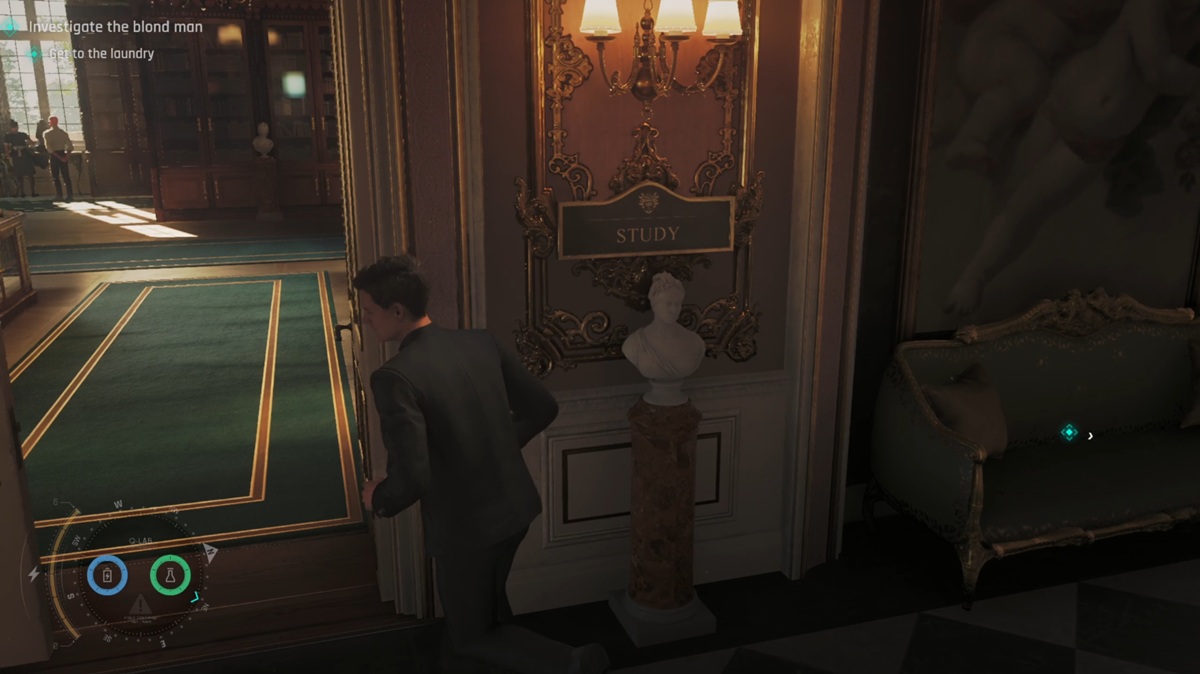
Image Credit: IO Interactive A/S (screenshot by Sanmay/ Moyens I/O)
Part 5: Get Through the Laundry
The laundry is loud and full of patrol routes that overlap more than a beginner expects. You can clear it with close combat, but silent passes keep reinforcements off your back. Take cover in the stacks, tag guards with Darts one at a time, and don’t let any single body fall where a camera can spot it — cameras escalate quicker than the AI’s voice lines hint.
Part 6: Investigate Room 206
Second-floor corridors have predictable guard loops; the phone call timing is repeatable. Eavesdrop near the maid with the phone, then pickpocket the 205 keycard with a Dart while she’s distracted. Enter 205, use the bathroom window, and crawl across to 206 — the hotel’s architecture makes this the safest lateral move.
-
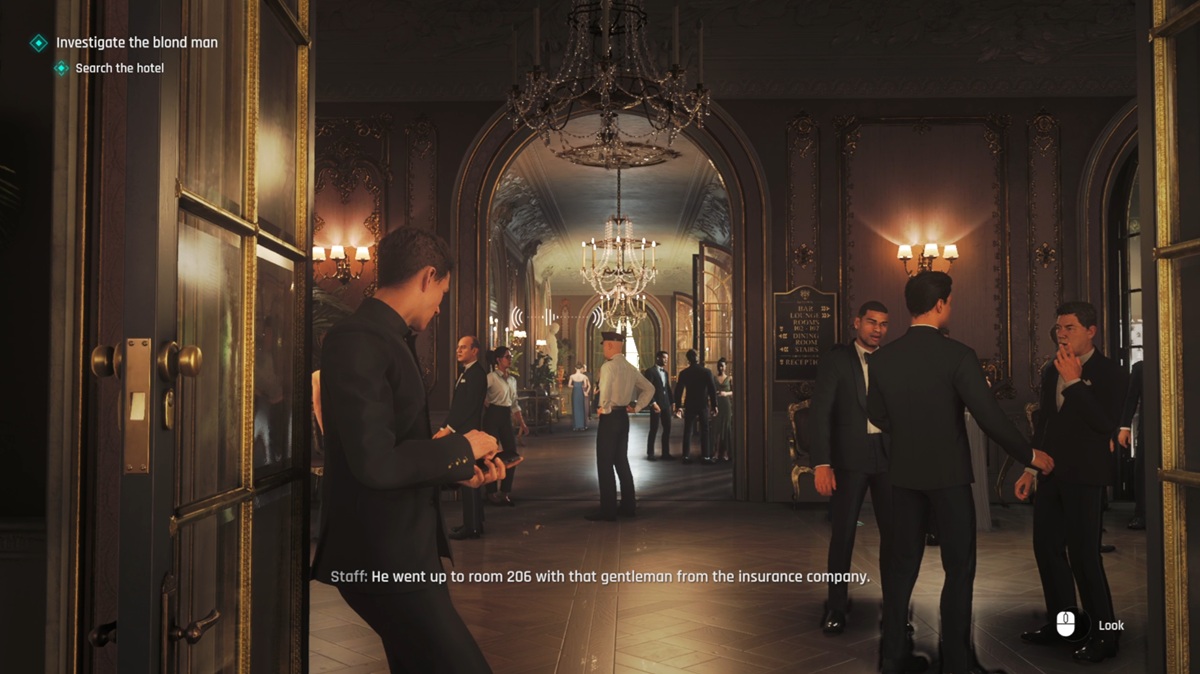
Image Credit: IO Interactive A/S (screenshot by Sanmay/ Moyens I/O)
Part 7: Search Room 206
The room hides its clues in plain sight; common placements repeat across missions. Check these spots first so you don’t waste time:
- Keycard Holder: foot of the bed.
- Security Protocol: desk to the right of the bed.
- Newspaper: left nightstand.
- Room Service receipt: trolley.
- Wallet: fireplace.
- Discarded Suit: behind the bathroom door — kick it open if needed.
Answer the knock to glimpse the maid. She moves faster than you expect — follow her trail before the blonde slips further into the backrooms.
-
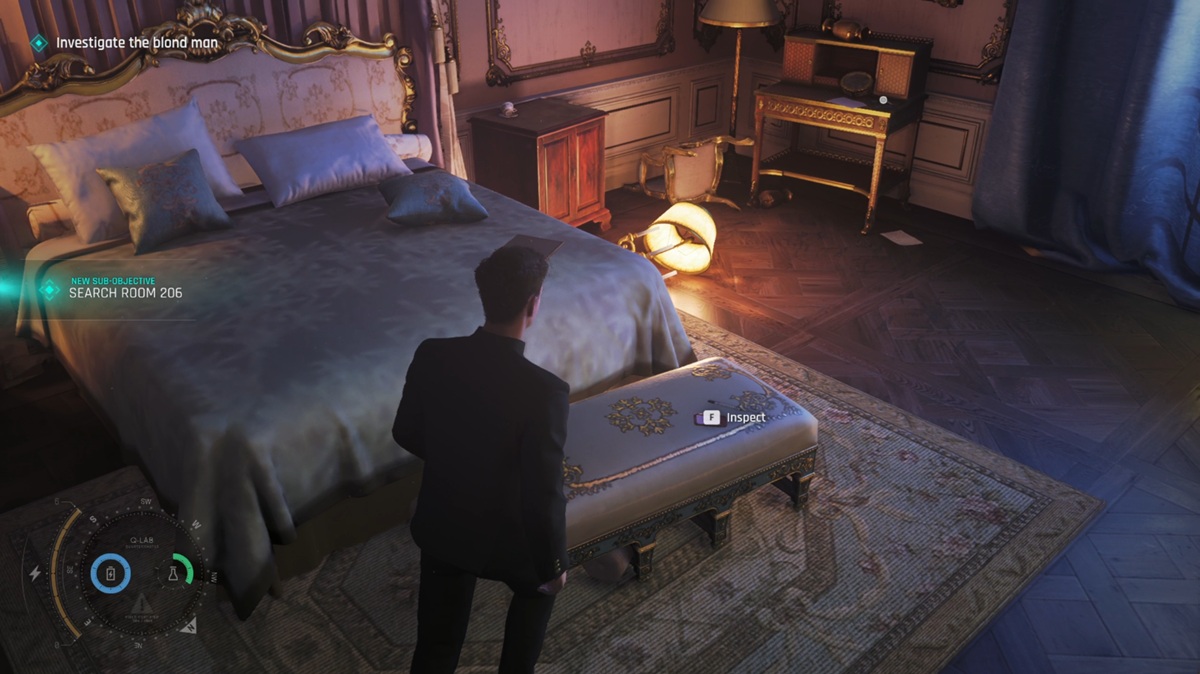
Image Credit: IO Interactive A/S (screenshot by Sanmay/ Moyens I/O)
Part 8: Pursue the Blond Man
Chases in First Light funnel you into predictable chokepoints more than elsewhere in the campaign. Vault over the crates in the kitchen back rooms, slip past the locked gate on the left, and keep your pace tight — the maid who isn’t a maid will reveal herself in a cutscene and then offer a car. Follow her lead but keep sights on 009 and the blonde; they double back in the dining area.
-
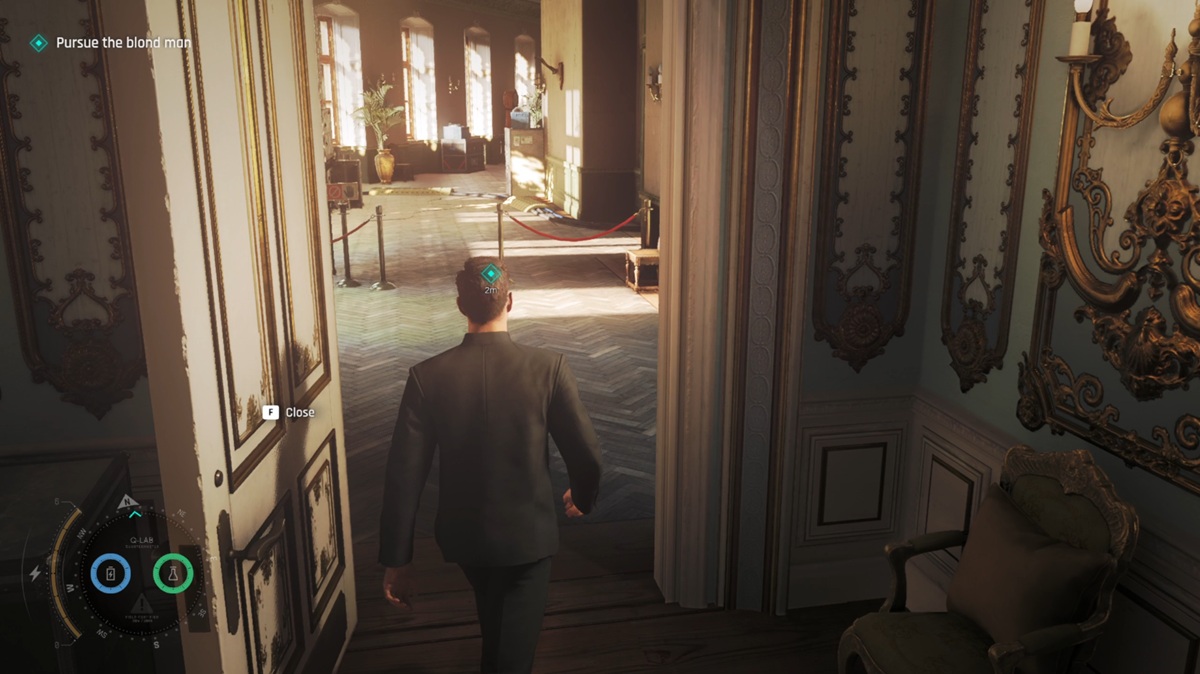
Image Credit: IO Interactive A/S (screenshot by Sanmay/ Moyens I/O)
Part 9: Investigate the Dining Room
The trolley clue appears exactly where the game teaches pattern puzzles. The Chimera note points to a fireplace puzzle: press Lion, then Goat, then Snake to unlock the secret passage. Push the wine rack, pull the lever on the wall in the winery, and a hidden room opens — that path leads straight to the next confrontation.
-
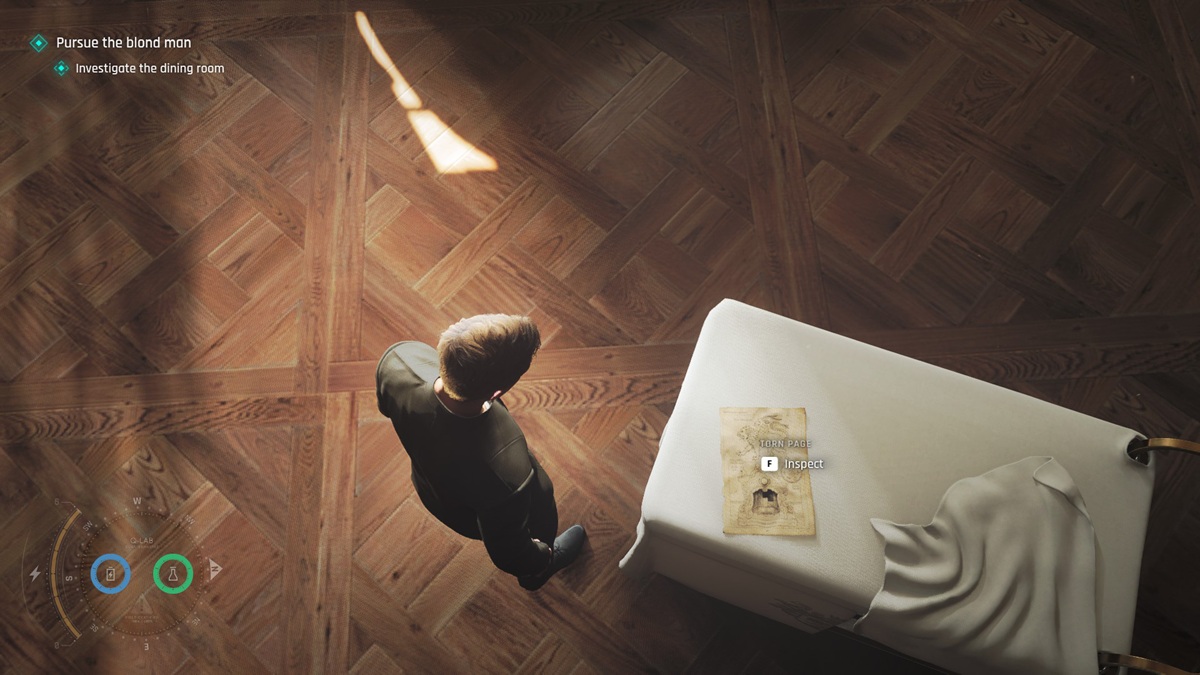
Image Credit: IO Interactive A/S (screenshot by Sanmay/ Moyens I/O)
Part 10: Neutralize the Blond Man and Defuse the Bomb
Close-quarters fights are where the game tests your parry timing more than aim. You’ll face two blond men; rely on parries and counters to avoid hits. When the bomb appears, choose in this order: Battery → Motherboard → Wires → Green. That sequence reliably disarms the device, though the room will still erupt into chaos after another device detonates.
-
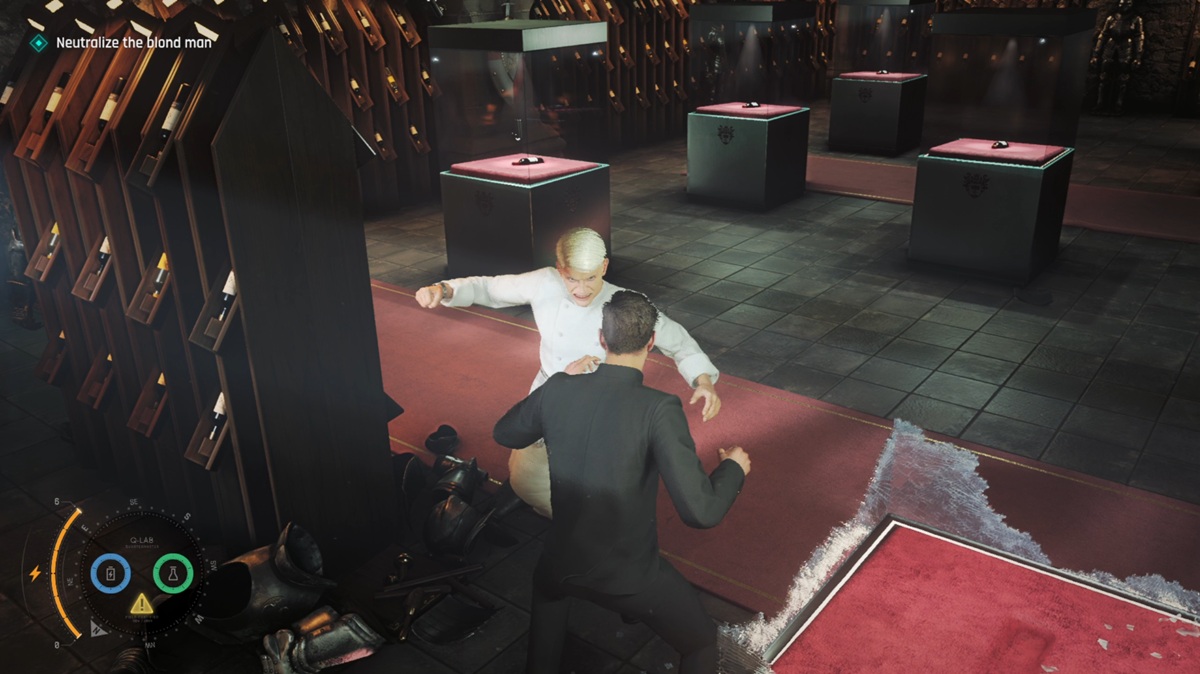
Image Credit: IO Interactive A/S (screenshot by Sanmay/ Moyens I/O)
How do I defuse the bomb?
Follow the listed order and don’t hesitate — each wrong selection accelerates the fuse. Use the pause and survey mechanic if you need a split second; the UI allows one breath before the timer forces a button press.
Part 11: Pursue 009
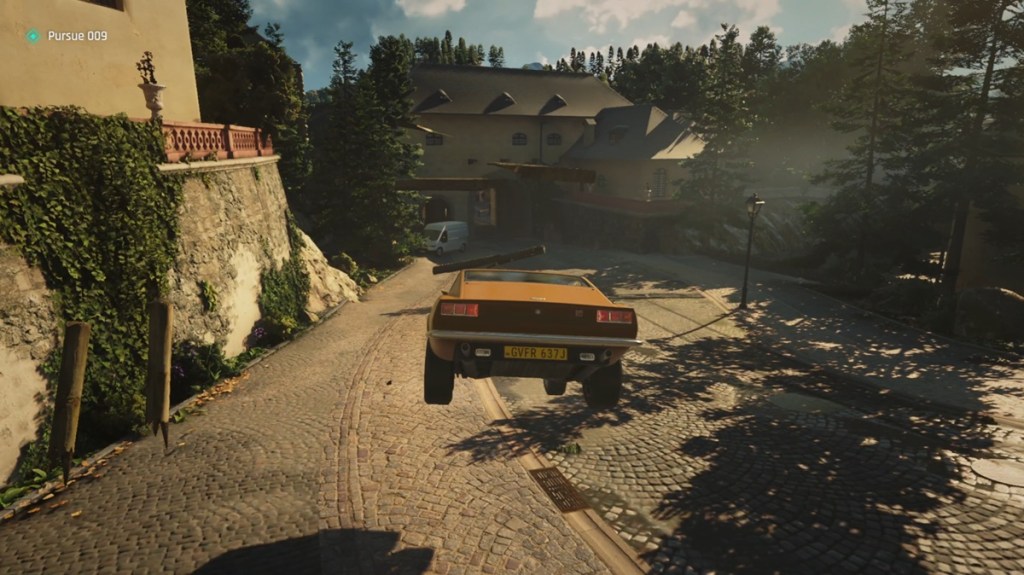
009 keeps moving toward the service exit; the mystery woman’s car is the fastest way to close the gap. Climb into the driver’s seat she offers, use the car’s momentum to cut corners tightly, and don’t waste shots: the driver AI is aggressive but scripted, so predict where 009 will exit.
Part 12: Catch the Plane
The plane sequence flips the mission into an action set piece where cover is temporary more than permanent. The mystery woman gives you a gun; use red-barrel shots for instant takedowns and conserve ammo by baiting enemies onto the plane’s wing walk. When the plane pulls away, drive close, latch onto the cables, climb aboard, and clear the top before entering the fuselage.
Once inside, hack the flight control, swing the aircraft left and right to unbalance pursuers, then prepare for a free-fall exit. During descent, dodge debris and grab parachutes from the two nearby guards to land safely — timing here is everything.
-
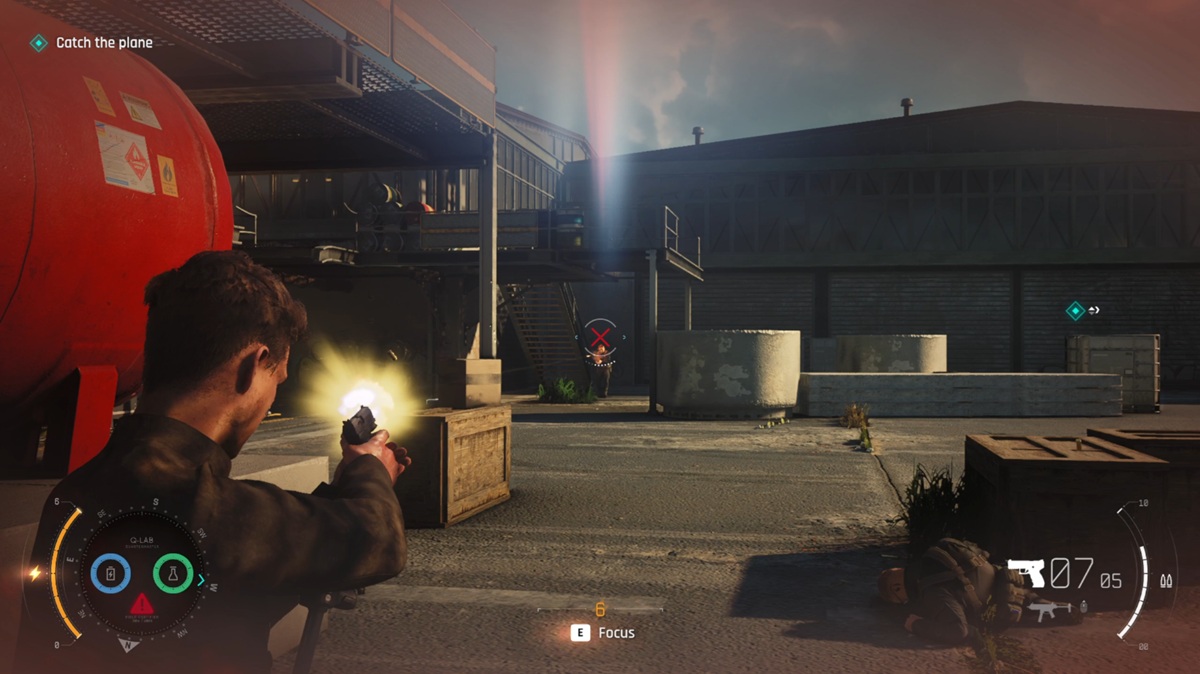
Image Credit: IO Interactive A/S (screenshot by Sanmay/ Moyens I/O)
Where should I aim my practice runs — stealth or combat?
I run two clean practices: one that uses only stealth gadgets (Dart, pickpocketing, misdirection) and one that uses full combat loadouts (pistol, parry practice). The stealth run teaches sightlines; the combat run drills timing and parry rhythm. If you want a tight score on timed missions, split your sessions between both styles.
Final Notes from a Field Tester
Every objective here is a predictable puzzle once you’ve seen the trigger points. The level flows like a precision watch — each event clicks into place if you pace correctly. The chase sequences, by contrast, snap tight like a coiled spring; when they break loose, they want your full attention.
I test these routes on Steam, PS5, and Xbox Series X and recommend adjusting your control sensitivity before the laundry room fights. IO Interactive built predictable beats into the mission; once you spot them, the run becomes resource management and timing rather than guesswork.
If you want a hand with a specific encounter — which trick did you miss in room 206 or are you convinced IO Interactive hid something else in plain sight?