
I was crouched next to the Tarforge, breath fogging the iron, as a priest’s chant echoed down the Marrow Keep halls. You suddenly realize one wrong choice here can lock you into hours of resets. I’ll walk you through the parts that matter and where to grab them so your next run doesn’t sting.
I’m writing from dozens of runs across Steam and PS5 test sessions, and I’ll speak plainly: some upgrades change weapons; some change the way you build. If you want fewer surprises and more clean power, read on.
Most players glance at the Tarforge and call it a black box. The Tarforge’s modules shape your options: choose the right one and your weapon becomes a statement.
The Tarforge at Marrow Keep gives you four primary modules and one late-game install. Each completed module enables a new class of enhancements for arms and sidearms, plus one path to push gear to the absolute cap.
| Tarforge Module | Enables |
|---|---|
| Muradean Actuator | Weapon enhancements |
| Obsidian Lathe | Sidearm enhancements |
| Etching Needles | Tarstone tempering |
| Foundry Stone | Smelting |
| Endless Core | Installs on weapons and sidearms to push them to +20 |
Where can I find the Muradean Actuator?
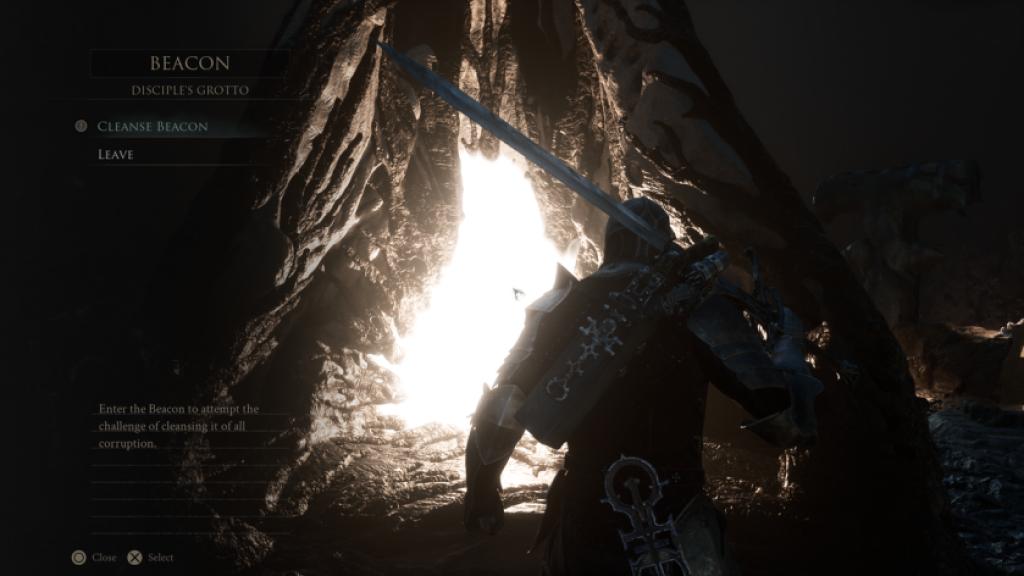
Start small: the Muradean Actuator sits in the tutorial loop for many players. If you cleanse the first beacon and open the Village Outskirts, you might already have it. If it slipped past you, gather at least seven Ova, activate Mether’s Breath, and return to any beacon that opens Village Outskirts to finish the short chain.
Finding a missed Actuator feels like finding a spare key in a junk drawer—annoying the first time, a relief the second.
Where is the Obsidian Lathe?
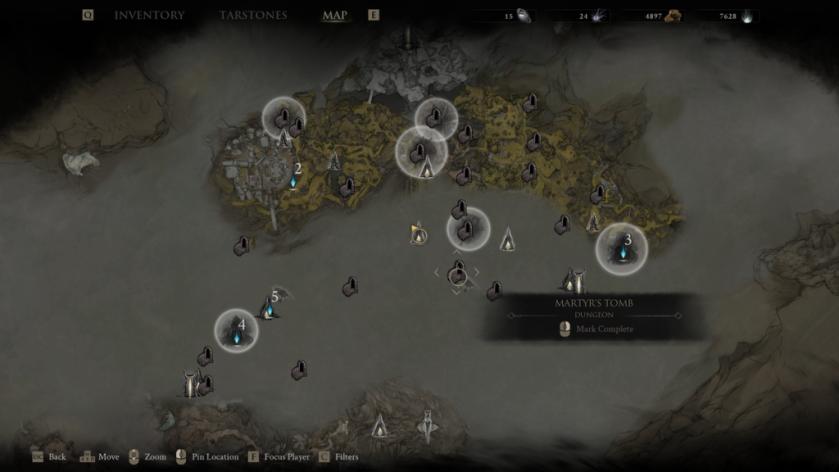
The Obsidian Lathe sits behind one of the game’s subtler locks: Martyr’s Tomb. Fast travel to Widow’s Overlook, push past the arena where the Great Arbiter of Flash shows up, and continue into the tomb’s final chamber. You’ll run a gauntlet of priests guarding a chest—beat them and the Lathe is yours.
You’ll find most materials in obvious hotspots, but a few hide behind enemies or story beats. Knowing where to go saves you repeated runs and wasted Ova.
Some parts are chest drops; others require a story trigger. Below I break each location down so you can plan a route that fits a quick session or a completionist sprint. I tested these on Steam and PS5; results match community reports on Reddit and YouTube guides from veteran players.
Where are the Etching Needles and Foundry Stone?
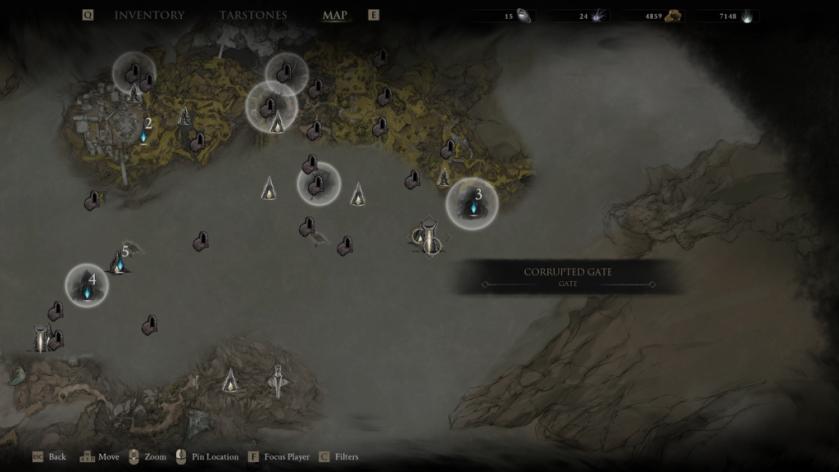
Etching Needles: Head to the Corrupted Gate by the Mushroom Village beacon. You’ll encounter the Tarblighted Shepherd—avoid or fight him—then squeeze through the fence beside him and cross the wooden bridge toward Ruk. The chest beneath Ruk holds the Etching Needles.
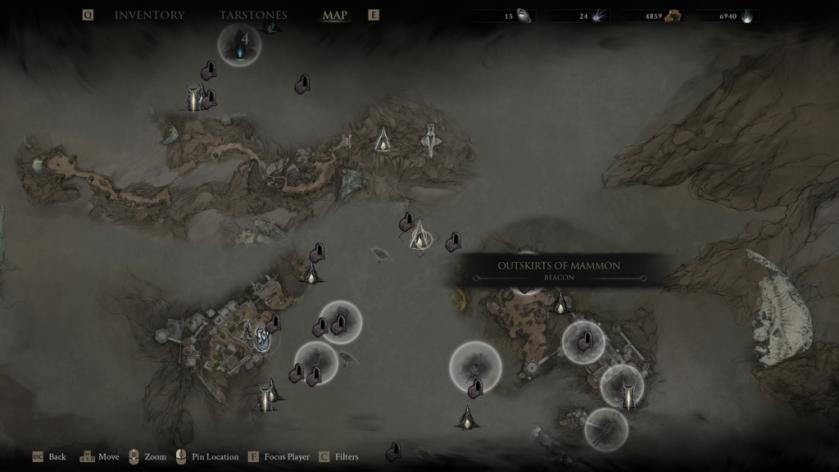
Foundry Stone: From the Outskirts of Mammon beacon, head south into the battlefield. Keep to the wall fortifications until you spot a chest tucked beside the fort—open it and the stone is inside.
How do you get the Endless Core?
Endless Core is not a simple chest drop; it’s tied to the late-game route. Push through the initial boss gates until you trigger the Zmei encounter. Defeating the early bosses and reaching Zmei opens the Hidden Knave beacon—cleanse it and check the nearby chest for the Core. This part is the final step if you want gear that scales all the way to +20.
Endless Core is a lighthouse in a storm for late builds: it guides a finished weapon to the absolute cap.
Quick tips from my runs: save Ova for Mether’s Breath when you’re missing one module, clear the nearby priests and chests before taking on mini-bosses, and cross-reference your route with Steam guides or YouTube clips to avoid needless backtracking. Want to push a favorite weapon to +20 first, or would you rather shore up a sidearm for PvP—what’s your move?