
I thought the hunters’ laughter would save the pup. Five minutes later the camp was silent and I was kneeling beside a small, trembling creature under a torn tent. You can feel the game shift in a single conversation.
I’ve run every thread in Mortal Shell 2 so you don’t have to guess which step breaks a chain. You’ll get Shells, trophies, odd trinkets, and one secret ending if you make the right choices — and miss nothing. Read the short beats, follow the rest points, and keep the screenshots on Steam or YouTube handy for quick reference.
All NPC quests in Mortal Shell 2 — how this guide is laid out
The smell of smoke always marks a nearby camp.
I’ll point you straight to each NPC, the one-sentence trigger that starts the quest, the resting points that advance dialogue, and the precise items you must hand over. I rely on Moyens I/O screenshots, Steam threads, and the odd Reddit map pin when directions get fuzzy. Use this in-game map, or pair the guide with a Fextralife walkthrough or a short YouTube clip while you play.
Grisha Pup
The low whine of a trapped animal is hard to ignore.
Where to find him: From the first Mushroom Village Beacon, head west until you find a hunter camp by the Shrine of Trials. Talk to the lead hunter at the table to open his shop.
- Buy the Cage Key for 250G (also pick up the Grisha Remnant and 3x Common Moonshine).
- Open the cell; interact with the Grisha Pup to receive the Sheephead Totem.
- Rest at a beacon and return — the hunters will be dead and the pup will be beside its parent (they won’t attack you).
- Talk to the pup to get one Glimpse and one Ventrium.

Gorf and Hilga
The croak of the frog echoes across a cliffside like a metronome.
Start at Widow’s Overlook — Gorf sits in a crevice by the beacon facing the Trial. This is a slow, multi-step chain that rewards patience.
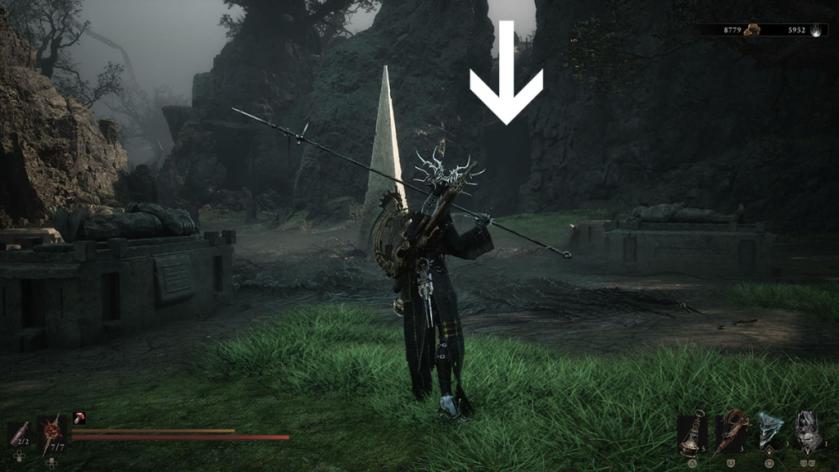
Core loop:
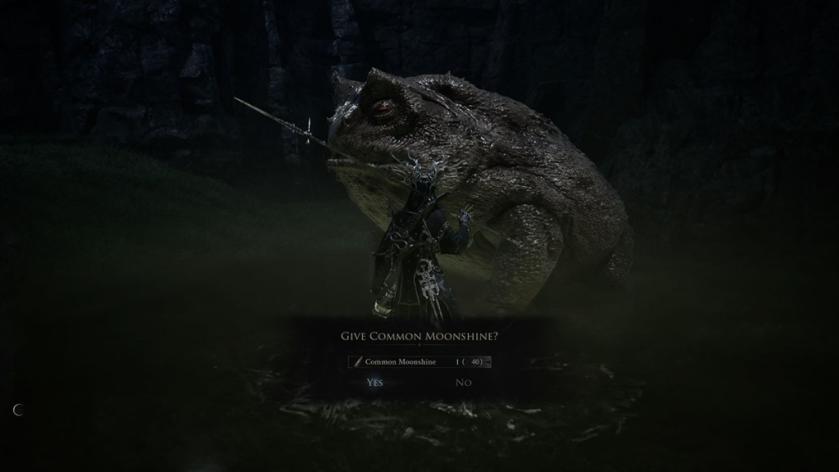
- Give Gorf one Weltcap to receive a Marsh Pearl. Rest and repeat three more times (one Weltcap + two Common Moonshine across visits).
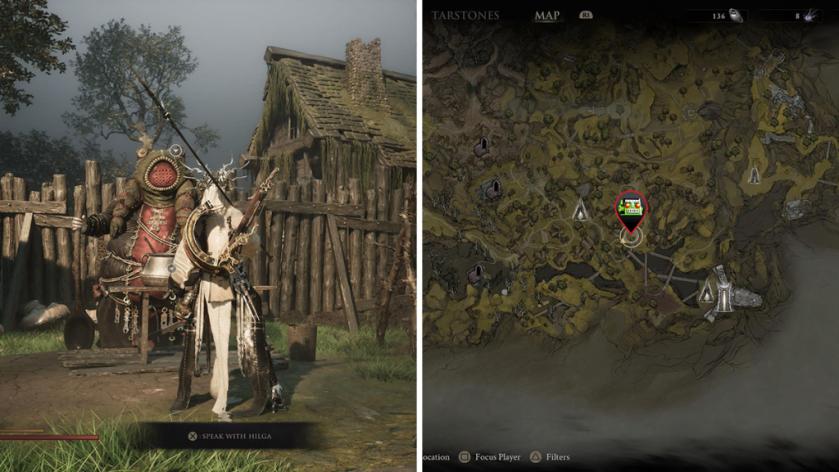
- Go to Backridge Hamlet (use the gust of wind by the Shrine of Trials past the corruption) and find Hilga with Grom and Harwald.
- Drink Hilga’s brew to restore HP and rest to progress dialogue.
- Return to Gorf to find him harmed; interact to remove the Poisoned Dagger and then give it to Hilga.
- After a few rests and dialogue checks, give Gorf another Common Moonshine bottle to wrap the chain.
Gragu
The tavern’s piano has a sticky key that never sounds quite right.
Find Gragu at the One Legged Wolf Tavern west of the Mushroom Village Beacon. Exhaust his dialogue; he’ll mention the Heart of Vatra.

How to finish it: travel west to the Temple of Vara and take the Heart of Vatra from the altar at the far end. Expect statues to animate — kill or avoid them, get back to the tavern, and hand the Heart to Gragu to witness his memory and close the quest.
Baghead
The cultists’ lit candles smell of wax and old promises.
Baghead’s chain is one you’ll want if you aim for the secret ending. Find his cult on Desolate Peak via the Citadel of Penance or Prophet’s Rest traversal portals.
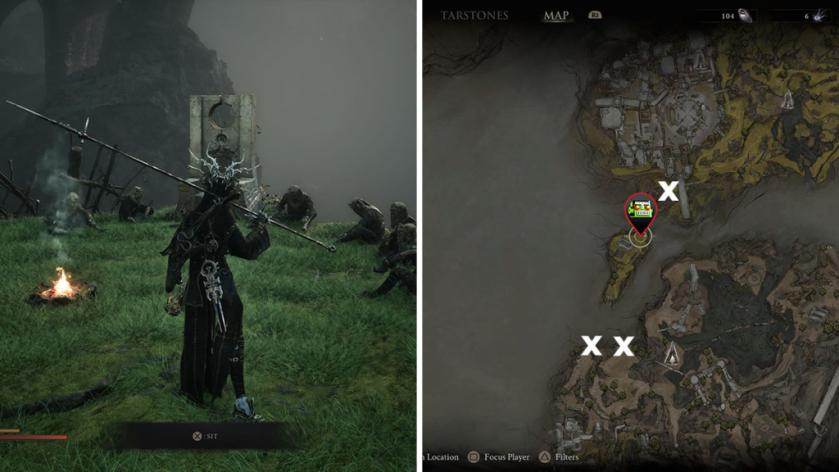
- Sit with the cultists and talk to Baghead to receive his request.
- Grab the Special Moonshine Bottle in the Illusionist’s Cache at the peak entrance and give it to him.
- After his refusal, place the bottle back and tell him you give nothing; stand firm when he questions you.
- Talk to Baghead again to finish his thread — this choice is required for the secret ending and persists after credits.
Vlas
The creak of a broken cart wheel tells you how close someone fell.
Find Vlas wounded beside a tipped cart on the Road to Absolution (drop from the bridge for the easiest approach). Inspect the nearby cage to pick up a Coin of Mammon.
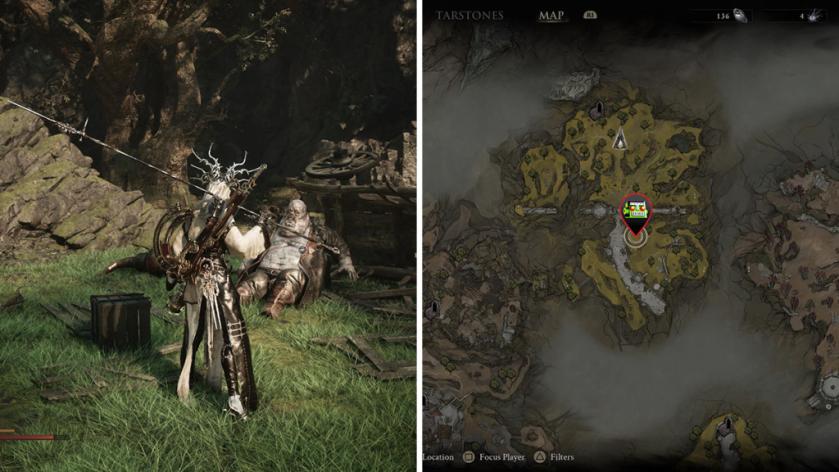
Next steps:
- Rest and talk to Vlas; he’ll say Mutton was kidnapped.
- Go to Lonesome Spire (ride the lift west of Gate of Mammon Beacon) and find the bandit camp where Mutton is caged. You cannot harm the bandits—buy an extra Glimpse from their merchant if needed.
- Exhaust Vlas’ dialogue at the cage, then pick up the Unremarkable Key from a hut by the camp entrance (you passed it after leaving the lift).
- Give the Unremarkable Key to Vlas and then head back to his first spot later to find his letter.
- Return to Marrow Keep; Vlas and Mutton will be near Merrick’s shop. Talk to the merchant to collect another Coin of Mammon.
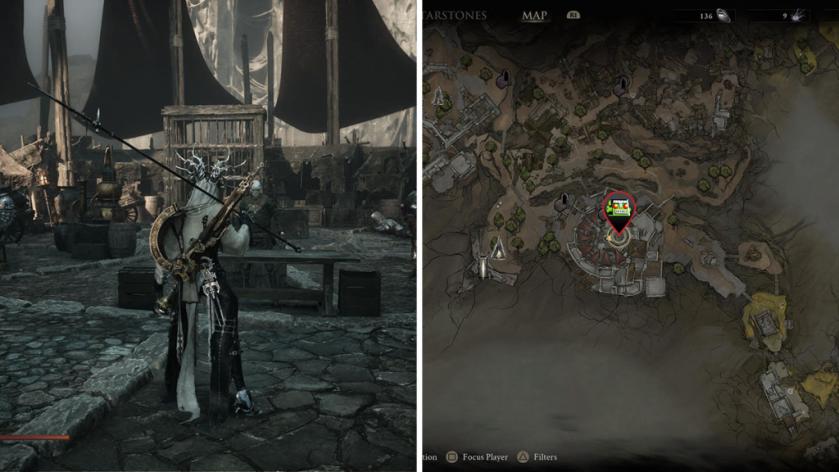
Sester Genessa
The clang of sparring steel sounds like rain on a metal roof.
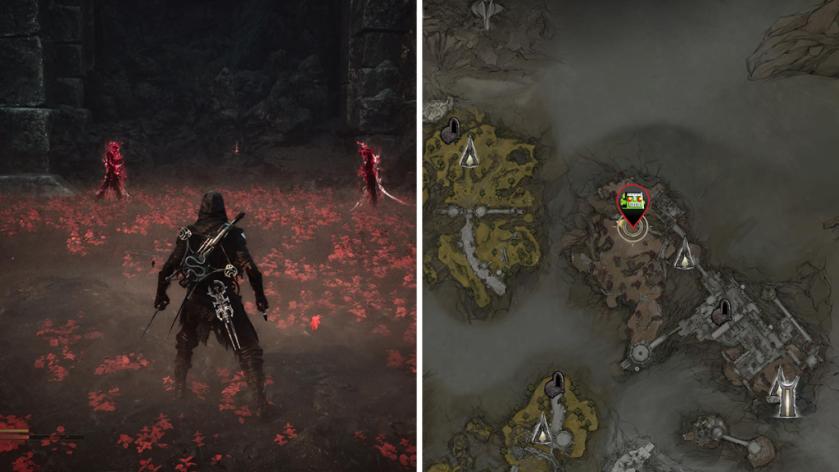
Genessa’s thread gives you high-value rewards: the Infinite Seal (parry-focused) and her Shell. Meet her at Marrow Keep and finish her sparring trials to obtain the seal.
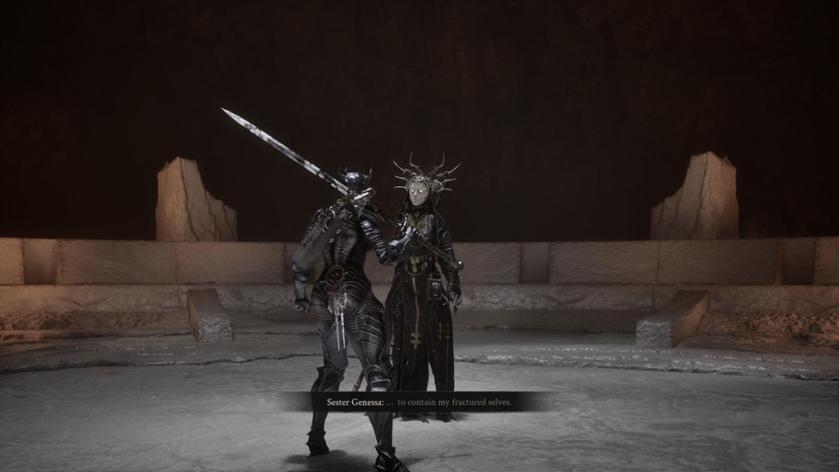
After the trials, exhaust her dialogue once, then again after the first tower for extra context — approaching her while wearing the Tiel Shell triggers a touching moment.
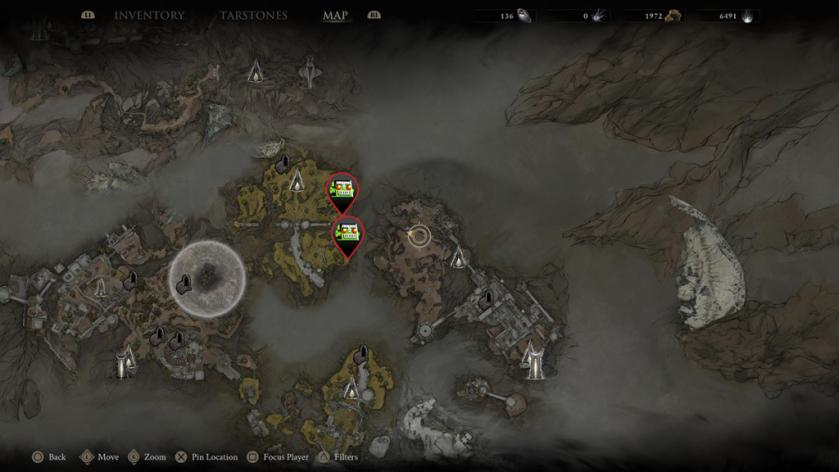
Go to Revenant Graves (west of Outskirts of Mammon via Traversal Gates). At the marked spot, Genessa’s fragments circle the Sester’s Censer — interact to trigger the Sester Secundus fight. Win, then return to Genessa with the censer to finish her story and claim her Shell.
Egon
The echo in Castigator’s Keep makes every word feel heavier.
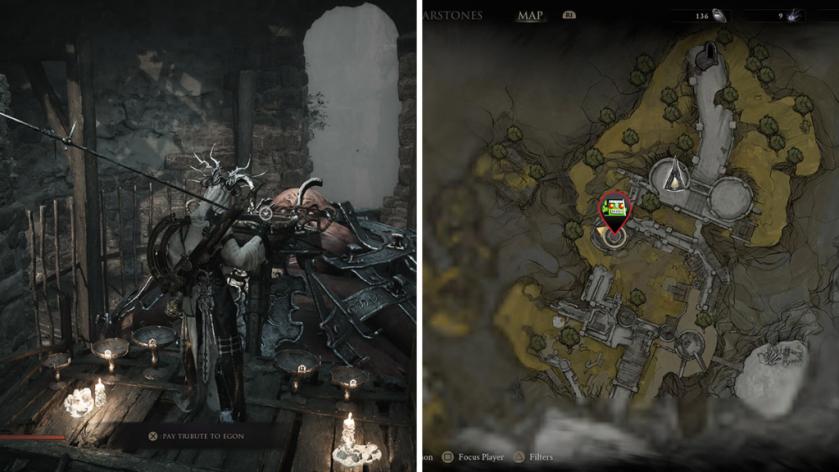
Find Egon along the main path from the beacon at Castigator’s Keep. Exhaust his dialogue and offer 10K Gloom as tribute; he will accept, then pass away and leave over 36K behind. That choice grants the Feed Me trophy/achievement.
How do I start NPC quests in Mortal Shell 2?
Talk, rest, and repeat — most chains advance only after you rest at a beacon and return. If a character freezes or disappears, consult Steam threads or a YouTube clip; sometimes a small detour (a key, a censer, a moonshine bottle) is the missing link.
Can NPC quests affect the ending?
Yes. Baghead’s choices directly influence the secret ending; Genessa, Vlas, and Egon give story closure and tangible rewards. Cross-check your decisions on Reddit threads or Steam guides if you plan a second run.
Where should I pair this guide with external tools?
Use Steam’s overlay for screenshots, YouTube clips for tight navigation, and Fextralife’s tables for item locations. Moyens I/O provided many of the images here; I used community maps from Steam and pins on Reddit to cross-verify coordinates.
If you want the fastest route through every NPC thread, follow the one-liners, rest between major beats, and save before awkward choices — I treat the map like a clock and the choices like gears, and it keeps me from losing time. Would you rather chase every reward or let a few mysteries wait for a second playthrough?