
Turn three. The boss had an absurd stack of energy and my last Brainrot missed its window. I watched the run slip away and vowed not to waste another raid.
I’m the writer who grinds the spreadsheets so you don’t have to. Read this and you’ll stop guessing movesets and start forcing wins in both PVP and PVE.
I watched a raid where a single move swung the run — Catch a Brainrot Tier List
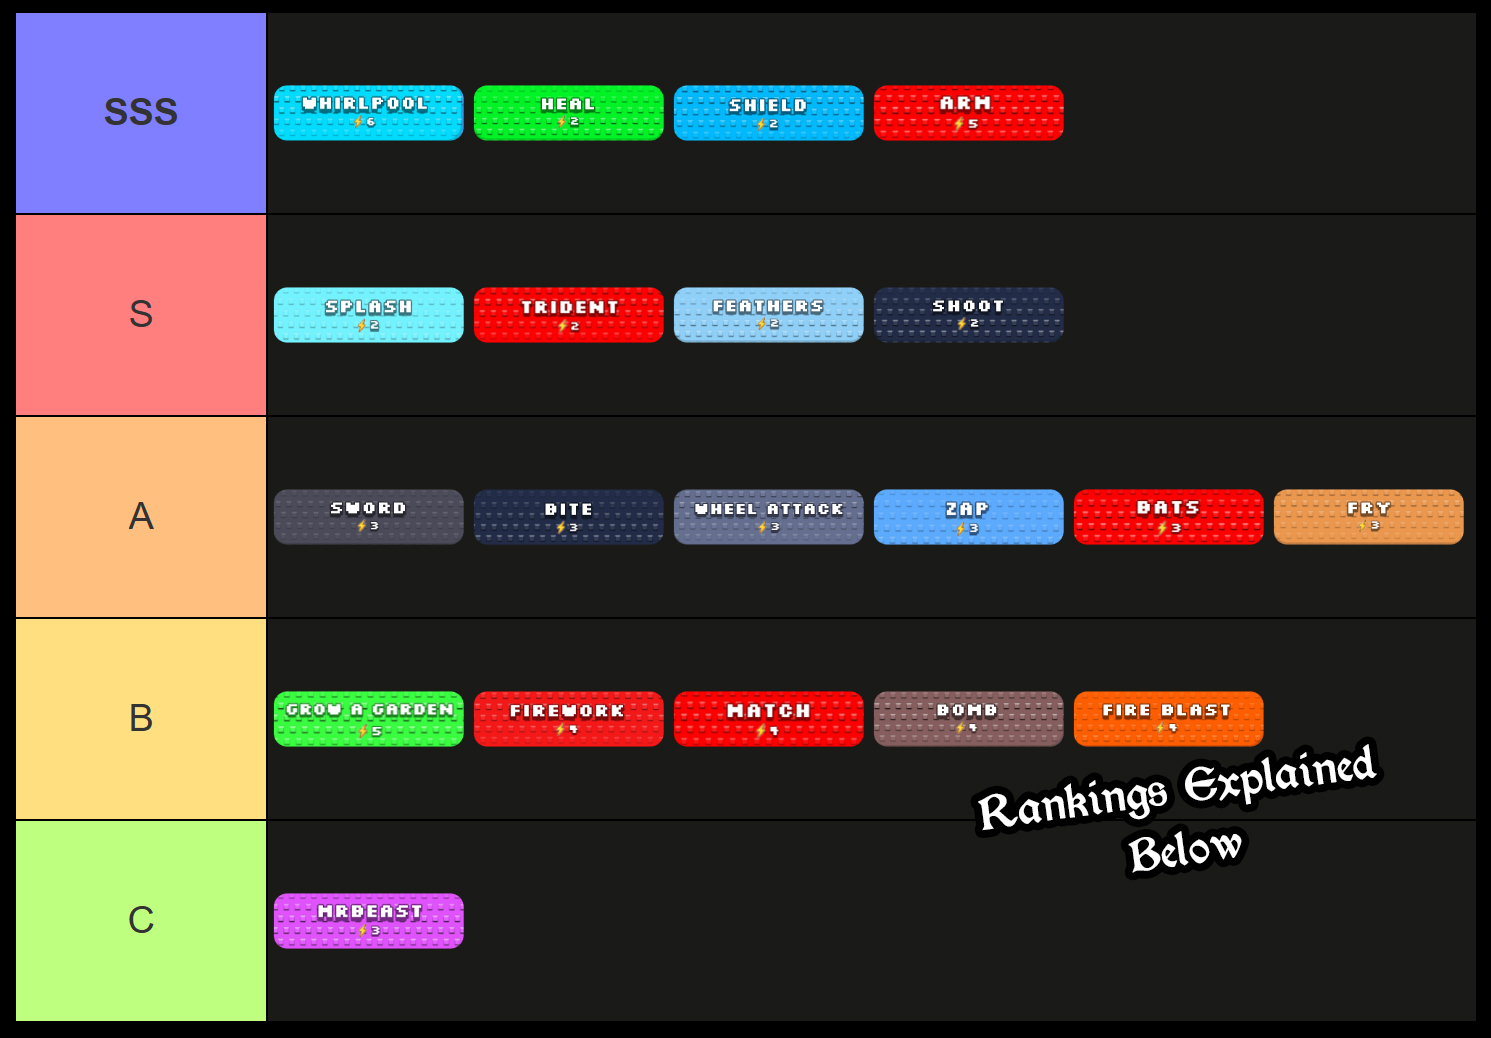
You don’t pick Brainrots for personality. You pick them for moves. Higher level and rarer Brainrots simply give bigger numbers and a better shot at rolling the moves this guide names as essential. If you want to clear end-game bosses, aim for several Level 60+ Brainrots and at least a handful of Insane rarities — quality compounds fast.
Here’s the operating idea: moves define value, not the mascot. I’ll break moves into tiers, explain why energy costs matter, and hand you the set builds I’m running in ranked and raid runs. Think of this as the parts list; the chassis (your Brainrot levels and rarity) only makes those parts work harder.
- SSS-Tier: Moves you slot in regardless of build; they win fights on their own merits.
- S-Tier: High-impact energy economy moves; one of these is often mandatory.
- A-Tier: The reliable 3-costs that pair cleanly with 2-costs and higher-cost finishers.
- B-Tier: Solid 4-cost options that feel stronger early and situational later.
- C-Tier: The low value per energy; avoid when you can.
How I ranked things: I ranked moves by damage-per-energy, utility in PVP trading windows, and how they slot into common three-move cost curves. You should farm the highest-level zones you can for the moves you want — the rarer the Brainrot, the better the stat ceiling and the more likely you are to roll S/SSS-tier moves.
Best moveset shapes (numbers = energy cost)
- Defensive PVP: 2, 2, 3/4 — put Shield or Heal in a 2, with a 2-cost DPS and a secondary DPS as the third slot. Shield forces initiative and wins clutch trades.
- Offensive PVP: 2, 3, 6 — spam 2-costs for economy, use a 3 to tempo, and finish with Whirlpool when you can chain energy from kills.
- PVE (boss/farming): 2-3-4 or 2-3-6 (Whirlpool) — or 2-2-X where one 2 is Heal and X is your high-cost finisher. Energy variety beats three identical costs every time.
Bad set patterns
- Three equal-cost moves: poor economy and fewer meaningful trade breakpoints.
- No 2-cost moves: you lose the backbone of damage tempo; always have at least one 2-cost DPS.
- Late-game Grow a Garden sets: the heal and damage don’t justify a 5-cost slot once you can field Arms/Whirlpools.
Elemental interactions: currently broken — Ice trait doesn’t work and same-cost moves behave interchangeably. The exception is MrBeast, which under-performs other 3-costs.
Does rarity matter? Yes. Insane/Exclusive Brainrots have higher stat growth and a better chance of rolling the moves you covet.
How does combat work in Catch a Brainrot?
Combat is a tug-of-war of energy and initiative. You spend and charge moves across turns; 2-costs are your daily bread, 3-costs tempo, and 5/6-costs are finishers. Master the rhythm: steal energy off kills, bait big moves with Shield, and prioritize moves that let you act after an enemy spends theirs.
Which moves should I use for PVP vs PVE?
PVP rewards initiative, prediction, and energy breakpoints. Shield is a game-changer there because it forces initiative and can nullify a boss swing. PVE favors controlled burst — Whirlpool is the end-game finisher for bosses and farm runs when you can chain energy from kills.
Does rarity affect move rolls and performance?
Yes — higher rarity increases max stats and the odds of rolling rarer moves. If you’re farming for a niche build, target high-level areas and trade time for Insane or Exclusive spawns. You’ll see raw numbers rise and moveset RNG become more forgiving.
SSS-Tier
| Brainrot Move | Ranking Reasons |
|---|---|
 Whirlpool6-Cost Move Whirlpool6-Cost Move |
• Highest single-target burst for end-game bosses and efficient brainrot farming. • Best used off an energy gain from killing a Brainrot — it converts that pickup into a one-shot style swing. • Don’t sit charging Whirlpool unless the energy math guarantees you’ll use it next turn. |
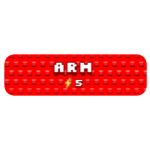 Arm5-Cost Move Arm5-Cost Move |
• A cheaper finisher that shines after energy pickups. • Use it without overcharging; its marginal returns drop if you waste turns building charge. • Good damage/slot when Whirlpool isn’t available. |
 Shield2-Cost Move Shield2-Cost Move |
• Best skill-play in PVP: forces you to act first and can deny heavy counters. • Short duration but perfect for predicting a large incoming hit. • Mix Shield into defensive 2-2-3 sets to flip trades. |
 Heal2-Cost Move Heal2-Cost Move |
• The best sustain option — pair it with a 2-cost DPS for better returns than Grow a Garden. • Heals scale with Brainrot rarity, so prioritize higher rarities if you want a truly effective heal. |
S-Tier
| Brainrot Move | Ranking Reasons |
|---|---|
| Shoot, Trident, Feathers, Splash2-Cost Moves | • The workhorse 2-costs: spammy, efficient, and the backbone of every DPS build. • Always keep at least one reliable 2-cost; they pair with everything from 2-3-4 to 2-3-6 curves. |
A-Tier
| Brainrot Move | Ranking Reasons |
|---|---|
| Sword, Bite, Wheel Attack, Zap, Bats, Fry3-Cost Moves | • Solid tempo pieces that slot into most builds. • Easier to fit than 4/5-costs and pair naturally with 2-cost spam for steady damage. |
B-Tier
| Brainrot Move | Ranking Reasons |
|---|---|
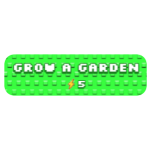 Grow a Garden5-Cost Move Grow a Garden5-Cost Move |
• Decent utility but weak damage/heal for five energy. • Falls behind Arms/Whirlpool in late-game slot efficiency. • Acceptable early or when you lack 5/6-cost alternatives. |
| Fireworks, Match, Bomb, Fire Blast4-Cost Moves | • Strong early-to-mid options and useful in 2-3-4 builds. • They lose relative value once you field consistent 5/6-cost finishers. |
C-Tier
| Brainrot Move | Ranking Reasons |
|---|---|
 Mr Beast3-Cost Move Mr Beast3-Cost Move |
• Underperforms against other 3-costs in raw damage. • Keep it only if you lack better 3-cost options; it’s a filler, not a cornerstone. |
Two practical metaphors to lock these points in: Whirlpool is a thunderclap — massive, instantaneous, and best used when everything lines up. Shield is a surgeon’s scalpel — it doesn’t do damage, but it wins exchanges when you use it precisely.
If you want to compare theories and builds, hit up the Catch a Brainrot Discord or the Reddit community where I scrape logs with tools like OBS and export numbers into Google Sheets for testing. You’ll find helpful threads on Steam and YouTube creators posting set examples — cross-reference those, and you’ll shorten your learning curve.
Want the short checklist before you farm: focus on Level 60+ spawns, prioritize Insane rarities for heals or Shields, and always roll until you have at least one reliable 2-cost DPS on a key Brainrot. That’s how you replace guesswork with pressure play.
That’s the tier list and what I actually use in matches — what move are you targeting first and why?