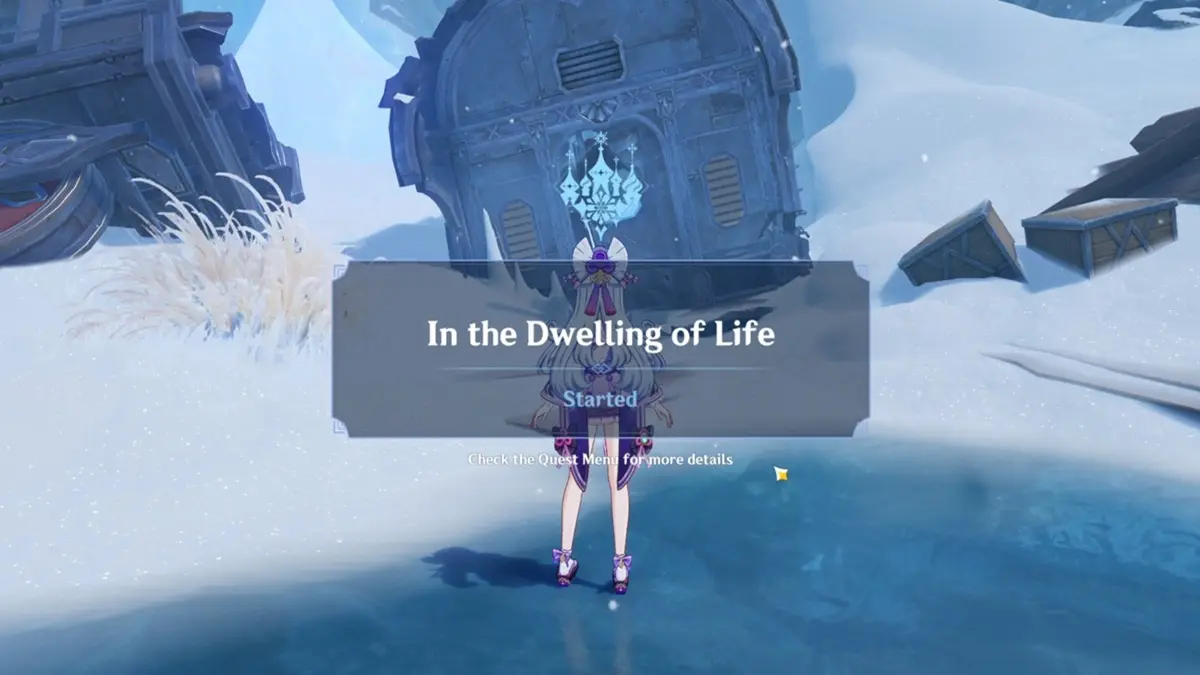
The cart stuck at the mine mouth trembled under my boots, and the cold statue of the Seven stared like a judge. I remembered how the little girl vanished down a shaft and I realized I had an hour of puzzle-solving ahead—and no map would spare me the blind turns. You’re about to run the same gauntlet; I’ll guide you through the parts that trip up most players.
I’ve played through this World Quest on PlayStation, PC (Hoyoverse launcher), and mobile, so I’ll tell you what matters in the moment: which item to craft, when to pull a lever, and what tricks the game’s puzzle tools expect you to use. Read fast, follow the cues, and you’ll save time and frustration that otherwise feels wasted.
There’s a rusted mine cart by the Statue of the Seven — how to start the quest and why it matters
Find the Statue of the Seven southwest of Morepesok City on the Snezhnaya map to begin In the Dwelling of Life. Approach the statue and the quest prompt appears; that single visit flips open a long chain of rooms, NPCs, and mechanics tied to the Eye of Graeae.
How do I start the “In the Dwelling of Life” world quest?
Go to the Statue of the Seven near Morepesok City (west of Central Station). Interact, accept the quest, then head toward the blocked mine that sits on the marker. You’ll use the Eye of Graeae immediately to dismantle a Grappling Gun and send the cart into the cave—this clears the first obstacle and starts the sequence.
A leaning roof and a creaking hatch — the opening sequence and the first steps
Once the cart clears the mine, step inside the tunnel and craft a Grappling Gun next to the left hook to open the latch. Inside you’ll find an unconscious girl; talk to her and escort her to Okurov. Small scripted beats matter here: follow her path; don’t sprint ahead and miss the interact prompts.
The assembly hall smells of oil — what to do during the “Transplanted from Yesterday to Tomorrow” section
At Okurov, head to the assembly hall and create a Grappling Gun near the marked window to open it. Leap through, pull the lever behind the counter to clear one gate, then climb to the roof and use the second lever to let the girl through. If you get stuck, trace the water flow in the barrier area—following the waterfall often reveals the opening.
Enemy note: Leshy awaken in the next chamber. A single character with consistent Stellar Glimmer reactions, like Odette in a proper build, makes short work of them. Treat this combat as a time window; it’s a bridge, not a boss fight.
Where does TPS mode start and what does it change?
When you fall into the cavern, elemental abilities stop and the Eye of Graeae grants access to the TPS mode. That mode alters movement and camera perspective—think of it as switching from using tools to using positioning. Adapt: craft the small devices the quest asks for and use the environment instead of elemental combos.
Damp pipes and a missing control wheel — moving through the sewers
The sewer entrance looks ordinary until you find the first closed door and the control wheel missing from its panel. After opening the initial door with the control wheel, sprint-slide under the lifted door (press the sprint button twice). Use the Pyro setting on your Grenade launcher to blow the blocking boxes, then craft a Grappling Gun to traverse the floating plank and progress.
A rack of terminals and three keycards — how to coordinate them without losing time
The next room contains the Sewer Entrance/Exit Guide and the three keycards you’ll need to reach the surface. Pick up the Gunstock blueprint while you’re there—crafting gear pays off later.
Procedure that saves time: take the Blue key from the control panel, use it to lift the left door, then craft a cube to hold that door open so you can remove the key and reuse it. Use the Blue key again to lower water at the terminal and rush to the downstairs door before the water rises. Retrieve the White key inside the adjacent room by crafting a Grappling Gun, and then go up the pipes to claim the Red key.
After you collect Blue, White, and Red, return them to the main terminal and open the final door. Inside, wake the Leshy sealed in a tube, defeat it, and take the control wheel from its head to progress upward.
Chimneys, basements, and a little girl’s footsteps — returning to the surface
Climb to the roof of the closed house and jump down the chimney to access the basement. Use Pyro grenades to clear crates and craft a Grappling Gun to open the secret wall that hides the next lever. Slide under a raised door by pressing sprint twice again. Outside, follow the girl to the Assembly Hall, but be ready—Furiosa appears along the path and must be dealt with using sustained gunfire.
A broken platform and a timing cue — the Forbidding Doors of Melancholy puzzle
The blocked door with a small hole is where patience pays better than brute force. Observe the girl slip through the hole first—that’s your trigger to intervene. Use a Grappling Gun on the nearby platform to pull it toward you, then remove the gun to ride it up.
Key mechanic: the wall lever only activates when Paimon says ONE. Pull it before or after and nothing happens. Treat Paimon’s cue like a metronome—wait for the beat. Build a launching platform, jump, craft a Grappling Gun on the upper ledge, and repeat the sequence to reach the other side. Before the giant wheel, craft a Grappling Gun on the left platform and place a cube in the wheel’s broken space to progress via the elevator.
Notes on the safety mechanism — protecting the girl under fire
Investigate two notes on the ground floor and a third on the second floor; once you collect the third, the safety system triggers and waves of enemies spawn. Stand at range and protect the girl until she reaches you—this is a cover-and-hold moment, not a DPS race. Use long-range characters or the grenade launcher to keep pressure off the escorted NPC.
The final stretch: a scorched field and the Immortal Firebird
The path to the girl’s home passes through a small open field where Zala, the Immortal Firebird, appears. Defeat Zala with your gun mechanics and pattern reads—this boss responds predictably to ranged pressure and movement. After the fight you meet Aksinya and claim a piece of the Eye of Graeae.
How do I defeat Zala the Immortal Firebird?
Treat Zala like a turret with phases. Keep moving, maintain distance, and use your gun to interrupt big openings. When Zala charges an obvious telegraph, sidestep and counter; when flame orbs appear, destroy them to prevent chained damage. Healing support is helpful but not mandatory if you keep mobile and prioritize interrupts.
You’ve just moved through seven sections: mine, assembly, cavern, sewers, key rooms, the house, and the final field. The quest ties a lot of object-crafting—Grappling Guns, cubes, launching platforms—with simple combat checks. Think of those items as keys on a piano: hit them in the right order and the door opens. Treat timing cues like a tide; if you miss the moment, you wait for the return.
Quick checklist before you play: bring a reliable ranged DPS, a healer or shield, a character that benefits Stellar Glimmer reactions (Odette works well), and a grenade launcher set to Pyro. Play on PlayStation or through the Hoyoverse launcher on PC and mobile for consistent behavior across platforms. Want to argue which fight in this quest is the most irritating and why?