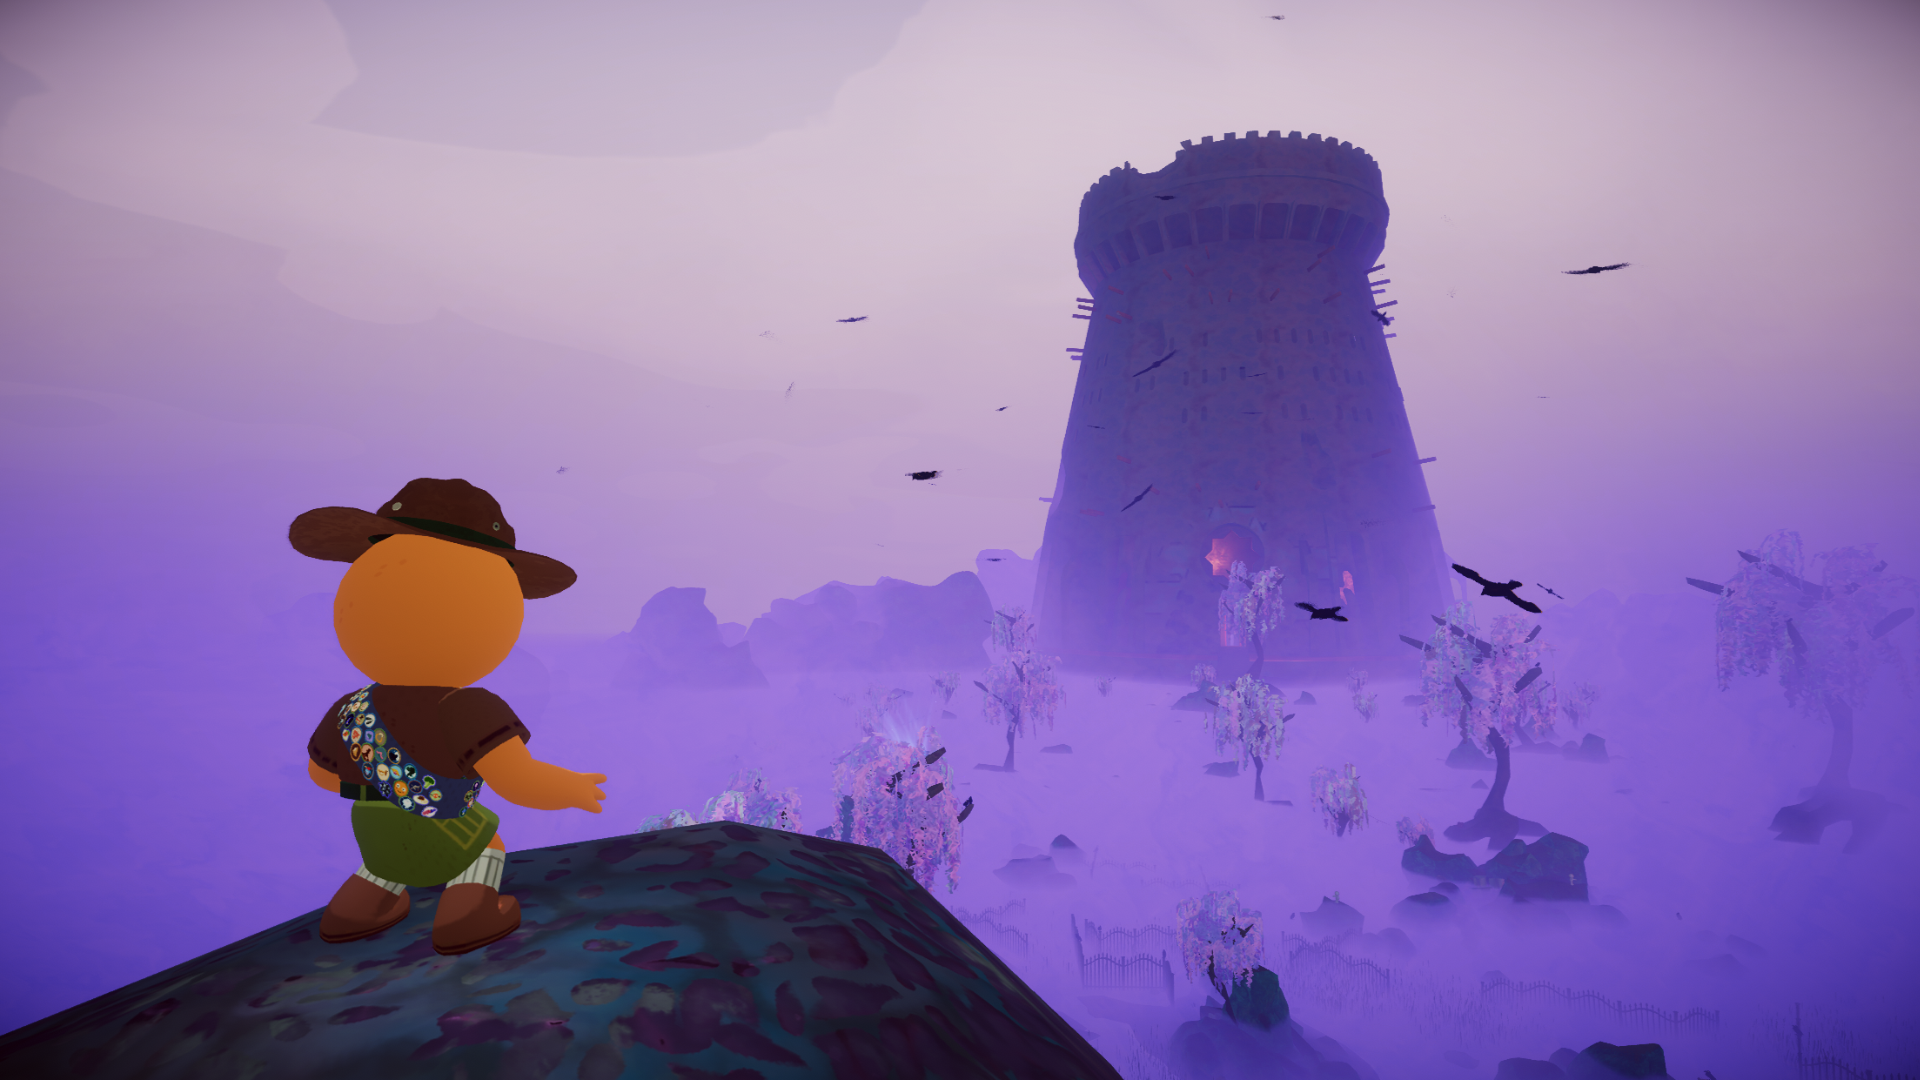
I froze on a thin ledge as the mist rolled up, the world going soft at the edges. You can hear the bell start to toll somewhere down the slope, and for a moment I imagined the climb ending in sleep. I learned the hard way that light is not optional in the GLOOM.
On a wind-scoured ridge — How to move and climb the GLOOM in PEAK
I’ve run dozens of runs through The Final Ascent’s new GLOOM, and you’ll want to treat each step like a decision in a poker game: risk a little, lose everything if you mistake the signals. The mist in the GLOOM isn’t theatrical fog; it deals sleep damage that stacks until you blackout. Your movement choices — when you sprint, drop, or reach for a ledge — determine whether you finish a climb or start over at a checkpoint.
Keep movement tight. Use ridgelines and higher ground where mist thins, and avoid long dashes through unknown pockets of white. When you have to cross a shrouded valley, do it in short bursts and prioritize carrying a light source.
At the Belltower — How to use the Bellringer badge and light sources
The concrete truth: five Belltowers are spread across the biome, and they change how the space behaves. Activate a Belltower and it creates a circular safe zone where sleep damage stops and the big ghost gets singed if it wanders in. Hit all five in one run and you earn the Bellringer badge, but the towers are anchors, not escorts.
If a tower is your lifeline, a candlestick is your compass. Candlesticks spawn in luggage stashes dotted around the GLOOM; light one and it makes a portable hearth that blocks sleep damage for a short time. Treat the candlestick like fuel for decisions: light it to buy a window to climb or to sprint to the next tower. The candlestick’s charge is limited, so don’t burn it while you’re safe — save it for crossing wide mist fields.

On the cliff face — Practical climbing tips and hazard management
When I’m climbing, I make two rules: move with purpose and keep a fallback. That means plotting a route that stitches together visible light sources and natural cover. Use ledges to bait enemies into predictable paths — the big ghost hates flame and will reposition or burn, which you can exploit.
Watch small threats. Frogs and crows chip away at your health while you’re preoccupied climbing. They don’t change the strategy, they shape the timing: pause on safe platforms, clear nearby luggage for a candlestick, then push onward.
Think of a Belltower like a lighthouse in a graveyard — it doesn’t chase you, it tells you where to go. And treat a candlestick like carrying a match into a cavern: short-lived but capable of swinging a moment in your favor.
How do I stop sleep damage in the GLOOM?
Stop it with light. Stand inside an active Belltower zone or light a candlestick from luggage. The tower’s circle is permanent while active; the candlestick is temporary. If you’re low on light, backtrack to the nearest tower rather than sprinting blind.
Where are the Belltowers in the GLOOM?
They’re spread purposefully across the map to create chokepoints and routes. I mark them early in a run: two near high ground, one guarding a valley, and the rest around clusters of loot. Use the in-game map and community resources on Steam or Reddit to memorize spawn patterns — players on the PEAK Discord will post locations after each update.
Can I carry light with me while climbing?
Yes — candlesticks are portable. They won’t last forever, so plan climbs in segments that line up with candlestick burn time. If you’re trying speed runs, prioritize towers first; if you’re exploring, keep a candlestick in reserve to reach hidden ledges safely.

I test these routes with both controller and keyboard on Steam; the feel changes, but the rules don’t. If you’re chasing the Bellringer badge, treat route planning like a relay: activate a tower, move to the next light, and keep your candlestick ready as the gap-maker. The community on Steam and Discord will trade shortcuts and spawn tips fast — use them to tighten your runs.
What tactic will you try on your next climb through the GLOOM?