You’ve discovered the Crystal Key for Tinker Bell, unlocking the door to the Crystal Cavern in Disney Dreamlight Valley. This is your ticket to dive deeper into the enchanting Wishblossom Heart through the Crystal Cavern: Wishing Alps quest. Exciting, isn’t it?
This quest is a significant challenge, testing your navigation skills through a series of puzzles and obstacles. If you’re finding it difficult, don’t worry—this guide provides a complete walkthrough for the Crystal Cavern: Wishing Alps quest in Disney Dreamlight Valley.
How to complete Crystal Cavern: Wishing Alps in Disney Dreamlight Valley
Your main objective here is to negotiate your way through the first Crystal Cavern in the Wishblossom Heart. This area is filled with challenges that require both wit and skill. Let’s unravel it step by step.
Bring the Crystal Key to Tinker Bell
Start your journey by meeting Tinker Bell in the Wishblossom Heart cave. This is the same cave from the Tales of a Broken Heart quest, and if it has slipped your mind, here’s a quick refresher:
The cave is located between the bridges connecting Wishblossom Ranch and Wishing Way. Look for a rocky archway to enter a secret path leading to the cave. Once inside, head to the center to engage with Tinker Bell.
Enter the First Crystal Cavern in the Wishblossom Heart
After your chat with Tinker Bell, follow her to the right side of the Wishblossom Heart and converse with her again near the Crystal Cavern entrance. A staircase will materialize, giving you access to the Crystal Cavern.
Use the weight of your horse and large objects to activate the pressure plates on the ground
The initial room in the Crystal Cavern features a puzzle that challenges you to activate pressure plates using your horse’s weight and large objects. Here’s how to tackle it:
Head to the large stone block at the room’s right end. While mounted, push it forward onto the pressure plate. This only opens the door halfway, so you’ll need more weight.
Next, go to the pressure plate on the left end of the room and stand on it with your horse. This unlocks the door, allowing you to continue your exploration of the Crystal Cavern.
Help the Wishblossom of Hope
Deep within the cavern lies the Wishblossom of Hope, but it’s in distress and requires your assistance. To stop its decay:
- Check the blue area by its right root.
- Explore the green area located behind it.
- Visit the pink area to its left.
Remove the crystal in the blue area by its right root
Begin your mission by heading to the right side of the Wishblossom of Hope, where there’s a blue light overhead. Enter a small cavern to solve another pressure plate puzzle. Ascend the hidden staircase on your right, and you’ll find a large stone to push.
Push this stone forward three times, then adjust its position to fit on top of the pressure plate. Once that’s done, approach the other plate and unlock the door to find and destroy the first crystal.
Remove the crystal in the green area behind it
Now, navigate to the back side of the Wishblossom of Hope and activate the elevator switch on your left. Follow the path until it culminates at a dead end with another crystal to smash.
Remove the crystal in the pink area to its left
Your last stop is the pink area on the left side of the Wishblossom. Upon entering, turn left and activate the elevator to descend.
At the bottom, you’ll find yet another stone to move. Push it forward three times and then maneuver around to push it another two times. Go back to the main level using the elevator.
As you delve deeper into the pink cave, turn right just before the halfway-open door. Continue along this path until you reach a bridge. Interact with the lever to lower it, cross over, and activate the pressure plate on the other side to open a previously blocked door.
With both pressure plates activated, return across the bridge and approach the newly opened doorway. Interact with the red crystal to break it.
Talk to the Wishblossom of Hope
With all three crystals eliminated, go back to the main cavern to check on the Wishblossom of Hope. Engage in conversation to uncover the issues afflicting Wishblossom Ranch.
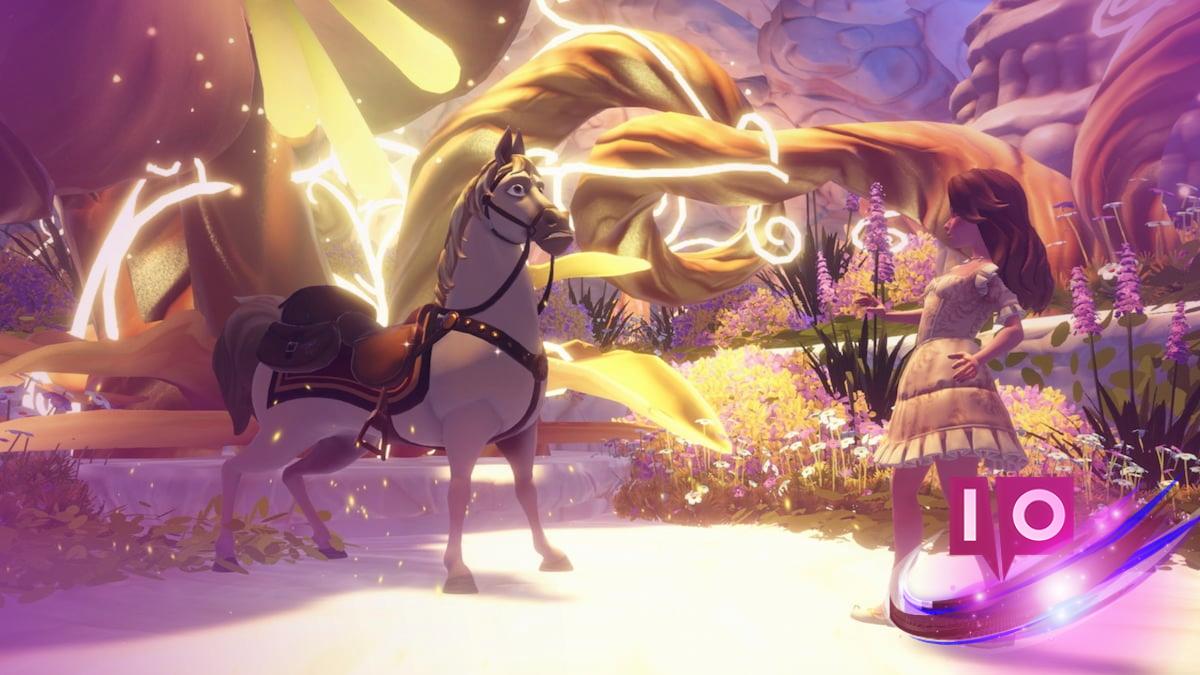
Ride Maximus
By revitalizing the Wishblossom, you’ll liberate Maximus, the beloved steed from Tangled. He’s the first Disney horse on your adventure, now ready to join you. Approaching Maximus and mounting him will lead you to the next phase.
Reach the Crystal Archway behind the Wishblossom of Hope
With Maximus, head to the back side of the Wishblossom and locate the orange section of the room. Gallop towards the pool and utilize Maximus’s super jump ability to leap over it.
Keep following the path, jumping across gaps until you exit the cavern and reunite with Tinker Bell in the main cave area. Chat with her, and you’ll have successfully completed the Crystal Cavern: Wishing Alps quest. Now, it’s time to dive into The Decay of Fashion mission!
What challenges did you face during this quest, and how did you overcome them? Don’t hesitate to share your experiences. For more tips and detailed guides, explore other resources from Moyens I/O.