
He drops the last iron ingot on the workbench and realizes the boss fight is tomorrow. You can hear the inventory click and feel the cooldown between decisions. I watched a run where one missing material turned a clear win into a scramble.
I’ve played these gear trees enough to read the patterns; I’ll walk you through every upgrade, what each level asks for, and how to think a few steps ahead so you don’t waste rare parts. This is practical: short, exact, and built to keep you from backtracking when it matters.
All clothing equipment enhancements in Onimusha: Way of the Sword
On a real tailor’s bench you can see how small threads add up into armor — that’s exactly what the clothing proficiencies feel like in practice.
Clothing upgrades are split across four separate proficiencies, each with ten levels. Each bump adds passive bonuses and edges you closer to the Dressed to Kill trophy, so plan which fabric and leather you’ll hoard.
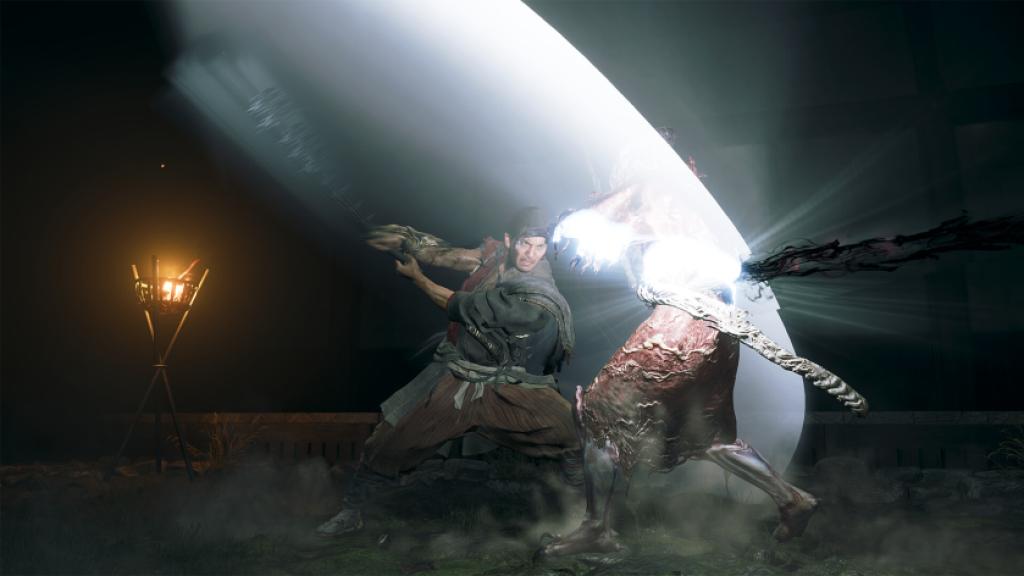
Proficiency Level 1
| Level | Requirements |
|---|---|
| 1 | Default |
| 2 | 1 Hempen Cloth1 Cotton Cloth |
| 3 | 2 Hempen Cloth1 Cotton Cloth |
| 4 | 2 Hempen Cloth1 Cotton Cloth |
| 5 | 2 Hempen Cloth1 Cotton Cloth |
| 6 | 1 Fine Silk Cloth |
| 7 | 2 Hempen Cloth1 Cotton Cloth1 Leather |
| 8 | 2 Hempen Cloth1 Cotton Cloth1 Leather |
| 9 | 2 Hempen Cloth1 Cotton Cloth1 Leather |
| 10 | 2 Hempen Cloth1 Cotton Cloth1 Leather |
Proficiency Level 2
| Level | Requirements |
|---|---|
| 1 | 2 Cotton Cloth1 Leather |
| 2 | 2 Cotton Cloth1 Leather |
| 3 | 2 Cotton Cloth1 Leather |
| 4 | 2 Cotton Cloth1 Leather |
| 5 | 2 Cotton Cloth2 Leather2 Fine Silk |
| 6 | 2 Cotton Cloth1 Leather |
| 7 | 2 Cotton Cloth1 Leather |
| 8 | 2 Cotton Cloth1 Leather |
| 9 | 2 Cotton Cloth1 Leather |
| 10 | 2 Cotton Cloth1 Leather |
Proficiency Level 3
| Level | Requirements |
|---|---|
| 1 | 2 Cotton Cloth2 Leather |
| 2 | 2 Cotton Cloth2 Leather |
| 3 | 2 Cotton Cloth2 Leather |
| 4 | 2 Cotton Cloth2 Leather |
| 5 | 2 Cotton Cloth2 Leather4 Fine Silk Cloth |
| 6 | 2 Cotton Cloth2 Leather |
| 7 | 2 Cotton Cloth2 Leather |
| 8 | 2 Cotton Cloth2 Leather |
| 9 | 2 Cotton Cloth2 Leather |
| 10 | 2 Cotton Cloth2 Leather |
Proficiency Level 4
| Level | Requirements |
|---|---|
| 1 | 2 Hempen Cloth2 Cotton Cloth2 Leather |
| 2 | 2 Hempen Cloth2 Cotton Cloth2 Leather |
| 3 | 2 Hempen Cloth2 Cotton Cloth2 Leather |
| 4 | 2 Hempen Cloth2 Cotton Cloth2 Leather |
| 5 | 2 Hempen Cloth2 Cotton Cloth2 Leather1 Fine Silk Cloth |
| 6 | 2 Hempen Cloth2 Cotton Cloth2 Leather1 Fine Silk Cloth |
| 7 | 2 Hempen Cloth2 Cotton Cloth2 Leather1 Fine Silk Cloth |
| 8 | 2 Hempen Cloth2 Cotton Cloth2 Leather1 Fine Silk Cloth |
| 9 | 2 Hempen Cloth2 Cotton Cloth2 Leather1 Fine Silk Cloth |
| 10 | 2 Hempen Cloth2 Cotton Cloth2 Leather1 Fine Silk Cloth |
To reach the final clothing upgrade you’ll need: 2 Hempen Cloth, 2 Cotton Cloth, 2 Leather, and 1 Fine Silk Cloth. The early levels are cheap; the last tiers ask you to budget silk and leather, so don’t burn those on throwaway pieces.
All Sword equipment enhancements in Onimusha: Way of the Sword
On the forge, you can see how a single whetstone can change the edge — sword proficiencies act the same way in battle calculations.
You have five sword proficiencies. Each requires a mix of Whetstone, Iron variants, and rare Tamahagane for the final ranks. Planning which sword tree you push first prevents a late-game scramble for Tamahagane.
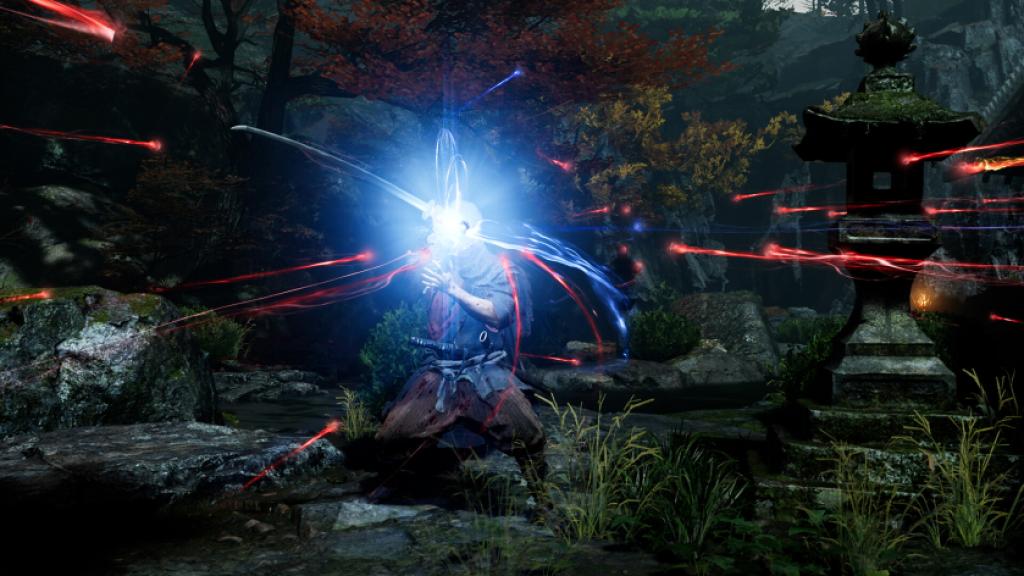
How do I upgrade equipment in Onimusha: Way of the Sword?
If you’re asking that, focus on gathering base materials early — Whetstone and Iron for weapons, Hempen and Cotton for clothes. Use stores and enemy drops; the platforms (PlayStation, Steam) all offer achievements tied to equipment progress, so check trophy lists on PlayStation or guides on GameFAQs and IGN for farming spots shared by the community.
What materials are needed for sword upgrades in Onimusha: Way of the Sword?
Sword trees ask for Whetstone, Iron, Tempered Iron, and Tamahagane in the late tiers. Treat Tamahagane like a raid reward: rare, high-value, and often saved by seasoned players for only the best upgrades.
Proficiency 1
| Level | Requirements |
|---|---|
| 1 | Default |
| 2 | 1 Whetstone1 Iron |
| 3 | 2 Whetstone1 Iron |
| 4 | 2 Whetstone1 Iron |
| 5 | 2 Whetstone1 Iron |
| 6 | 1 Tamahagane |
| 7 | 2 Whetstone1 Iron1 Tempered Iron |
| 8 | 2 Whetstone1 Iron1 Tempered Iron |
| 9 | 2 Whetstone1 Iron1 Tempered Iron |
| 10 | 2 Whetstone1 Iron1 Tempered Iron |
Proficiency 2
| Level | Requirements |
|---|---|
| 1 | 2 Iron1 Tempered Iron |
| 2 | 2 Iron1 Tempered Iron |
| 3 | 2 Iron1 Tempered Iron |
| 4 | 2 Iron1 Tempered Iron |
| 5 | 2 Iron2 Tempered Iron2 Tamahagane |
| 6 | 2 Iron1 Tempered Iron |
| 7 | 2 Iron1 Tempered Iron |
| 8 | 2 Iron1 Tempered Iron |
| 9 | 2 Iron1 Tempered Iron |
| 10 | 2 Iron1 Tempered Iron |
Proficiency 3
| Level | Requirements |
|---|---|
| 1 | 2 Iron2 Tempered Iron |
| 2 | 2 Iron2 Tempered Iron |
| 3 | 2 Iron2 Tempered Iron |
| 4 | 2 Iron2 Tempered Iron |
| 5 | 2 Iron2 Tempered Iron4 Tamahagane |
| 6 | 2 Iron2 Tempered Iron |
| 7 | 2 Iron2 Tempered Iron |
| 8 | 2 Iron2 Tempered Iron |
| 9 | 2 Iron2 Tempered Iron |
| 10 | 2 Iron2 Tempered Iron |
Proficiency 4
| Level | Requirements |
|---|---|
| 1 | 2 Whetstone2 Iron2 Tempered Iron |
| 2 | 2 Whetstone2 Iron2 Tempered Iron |
| 3 | 2 Whetstone2 Iron2 Tempered Iron |
| 4 | 2 Whetstone2 Iron2 Tempered Iron |
| 5 | 2 Whetstone2 Iron2 Tempered Iron1 Tamahagane |
| 6 | 2 Whetstone2 Iron2 Tempered Iron1 Tamahagane |
| 7 | 2 Whetstone2 Iron2 Tempered Iron1 Tamahagane |
| 8 | 2 Whetstone2 Iron2 Tempered Iron1 Tamahagane |
| 9 | 2 Whetstone2 Iron2 Tempered Iron1 Tamahagane |
| 10 | 2 Whetstone2 Iron2 Tempered Iron1 Tamahagane |
To reach the final sword proficiency you’ll need: 2 Whetstone, 2 Iron, 2 Tempered Iron, and 1 Tamahagane. Think of Tamahagane like a small bank reserve — spend with intent.
All Gauntlet equipment enhancements in Onimusha: Way of the Sword
At a gem counter you see clusters of stones that catch the light — gauntlet upgrades operate around a small set of rare components that feel precious by design.
Gauntlets lean heavily on Malicite and unique talismans. They run through five proficiency sets; the later ranks ask for multiple rare items, so if you pick a gauntlet build, track drops early.
Proficiency 1
| Level | Requirements |
|---|---|
| 1 | 1 Malicite |
| 2 | 1 Malicite |
| 3 | 2 Malicite1 Byakue’s Talisman |
| 4 | 2 Malicite1 Byakue’s Talisman |
| 5 | 2 Malicite1 Byakue’s Talisman |
Proficiency 2
| Level | Requirements |
|---|---|
| 1 | 3 Malicite1 Byakue’s Talisman |
| 2 | 3 Malicite2 Byakue’s Talisman1 Dohatsu-ten’s Horn |
| 3 | 3 Malicite2 Byakue’s Talisman1 Dohatsu-ten’s Horn |
| 4 | 4 Malicite2 Byakue’s Talisman1 Dohatsu-ten’s Horn |
| 5 | 4 Malicite2 Byakue’s Talisman1 Dohatsu-ten’s Horn |
Proficiency 3
| Level | Requirements |
|---|---|
| 1 | 4 Malicite2 Byakue’s Talisman1 Dohatsu-ten’s Horn |
| 2 | 4 Malicite2 Byakue’s Talisman1 Dohatsu-ten’s Horn |
| 3 | 4 Malicite2 Byakue’s Talisman1 Dohatsu-ten’s Horn |
| 4 | 5 Malicite2 Byakue’s Talisman1 Dohatsu-ten’s Horn |
| 5 | 5 Malicite2 Byakue’s Talisman1 Dohatsu-ten’s Horn |
Proficiency 4
| Level | Requirements |
|---|---|
| 1 | 5 Malicite2 Byakue’s Talisman2 Dohatsu-ten’s Horn3 Malicite Mass |
| 2 | 5 Malicite2 Byakue’s Talisman2 Dohatsu-ten’s Horn3 Malicite Mass |
| 3 | 5 Malicite2 Byakue’s Talisman2 Dohatsu-ten’s Horn3 Malicite Mass |
| 4 | 5 Malicite2 Byakue’s Talisman2 Dohatsu-ten’s Horn3 Malicite Mass |
| 5 | 5 Malicite2 Byakue’s Talisman2 Dohatsu-ten’s Horn3 Malicite Mass |
To reach the final gauntlet proficiency you’ll need: 5 Malicite, 2 Byakue’s Talisman, 2 Dohatsu-ten’s Horn, and 3 Malicite Mass. The gauntlet tree rewards patience—farm with intent and swap to the build when you have the pieces.
The upgrade lists above are pulled from in-game tables and community verification on forums like GameFAQs and threads on Reddit and are consistent with Capcom’s patch notes; if you want efficiency, use an online checklist or a spreadsheet and sync it to your platform playtime. The materials line up like a crowded toolbox, and if you map your priorities early you’ll skip needless grinding.
Which route through the upgrade trees will you swear by?