You’re staring at a line of empty ocean and a single cramped beach. A new Mii wants a shop and there’s nowhere to put it. The island feels smaller by the hour.
I’ve pushed houses around until my thumb hurt. Here’s the clean path to more land, how the game signals expansion, and the exact steps I use to stretch that coastline without wasting space.
You’ll notice an outline around the island the moment you need more room. How to increase your island size in Tomodachi Life Living the Dream
Short answer: you don’t buy space or trigger it with items—your island grows as your village population rises. That means creating more Miis is the only reliable way to make the island physically expand.
When population milestones are hit, the game plays an expansion cutscene and the outline pulls back. There’s no extra menu to press, no fee to pay—just more faces moving in and the map breathing outward.
How do I make my island bigger in Tomodachi Life Living the Dream?
Create more Miis. Use the in-game Mii editor or import favorites from your Nintendo account if the game supports it. Each new resident nudges your village closer to the next expansion milestone.
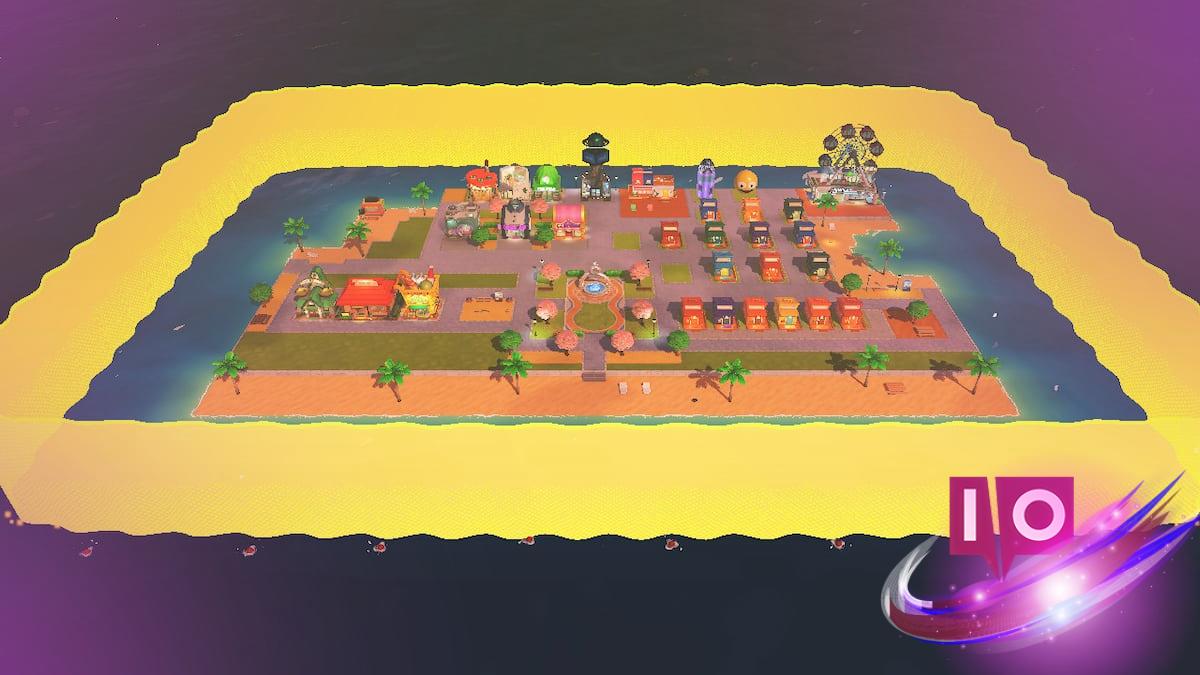
When your village fills in, the map visibly breathes outward. How many times does your island grow in Tomodachi Life Living the Dream?
The island expands three times as you add residents. Each expansion gives you more buildable edge, but the new area often arrives as open ocean that you must convert into land.
- The first expansion happens at 8 Miis.
- The second expansion arrives at 20 Miis.
- The third and final island growth triggers at 35 Miis.
How many Miis until the island expands?
It’s 8, 20, then 35. The final expansion leaves you room for the complete set of features and shops and supports up to 70 Miis on the island—so you get breathing room long before you hit the overall Mii cap.
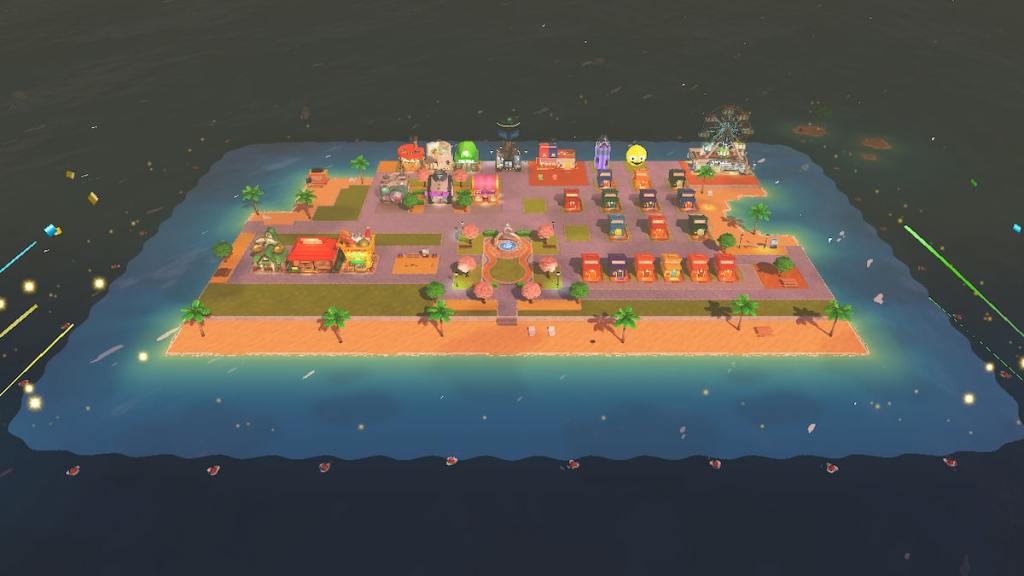
A fresh expansion often hands you nothing but blue sea to work with. How to expand your island in Tomodachi Life Living the Dream
That extra area won’t accept houses until you convert ocean tiles into land. Think of expansion like adding new pages to a scrapbook: the space exists, but you still have to paste things down.
Here’s the exact sequence I use every time:
- Press X to open the menu.
- Scroll to the Island Builder.
- Switch to the Landscaping tab (third from the right).
- Choose the paintbrush and swap sea tiles for any land tile you want.
Once you paint land, houses and shops can be placed immediately. If you overdo it, switch back to the sea tile and add water to reshape bays and beaches. The Island Builder lets you edit shape and terrain freely, so you can experiment without penalty.
Can I change the island’s shape after expansion?
Yes. The Island Builder is the same tool you use to add land, and it lets you erase, repaint, and refine coastlines whenever you want. That makes the island feel like a living layout you can edit as your village’s needs change.
I recommend spacing out shops and homes after each expansion; treat new land like a blank canvas waiting for paint and avoid crowding the center so your Miis have room to roam.
Want to plan ahead? Make a simple checklist: build extra plots near beaches, keep room for public facilities, and reserve one block for any new shop that shows up in future updates. Nintendo’s design choices keep things forgiving, so experiment with layouts until your island reads the way you want it to.
If you’re tracking tips, follow community hubs like the Moyens I/O coverage and Nintendo forums for creative Island Builder ideas—players are already sharing efficient layouts and Mii-import tricks that save time.
Are you going to cram your island full of cafés and houses, or give your Miis room to breathe and argue about the Ferris Wheel?