
I heard thunder roll over the Abandoned Tower and knew the waiting game had begun. You and I both felt the same tug — resource queues piling up while workbenches sat idle. One lightning strike later, the problem stops being a problem and starts being a workforce.
I’m going to walk you through how I make reliable zombies and how you get them to pull real weight in Graveyard Keeper 2. I’ll point out the tricks I’ve learned, the traps to avoid, and the one resource players forget until it’s too late. Read fast, act faster — you want your base humming before grief turns productive hours into scavenging runs.
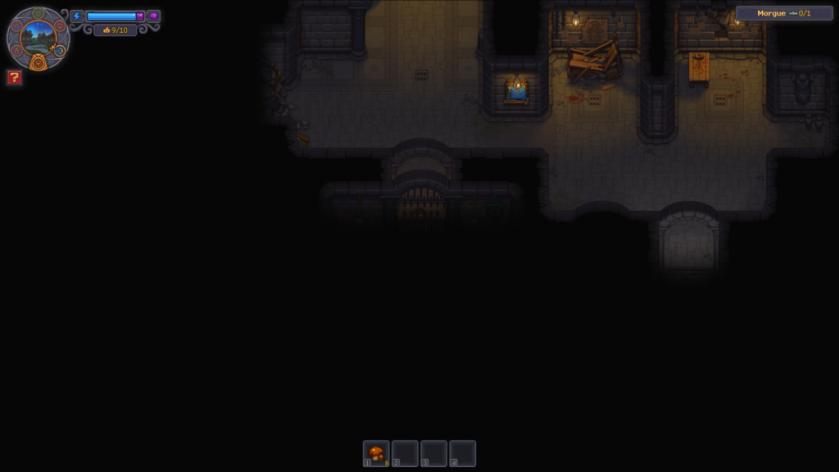
The morgue door was jammed and smelled of rot: How to create zombies in Graveyard Keeper 2
Early on the game will hand you a decision point: clear the blocked room in the Morgue and reveal the Resurrection Lab, or keep using manual labor. Clear it. The Resurrection Lab is where your automation begins.
How do I create zombies in Graveyard Keeper 2?
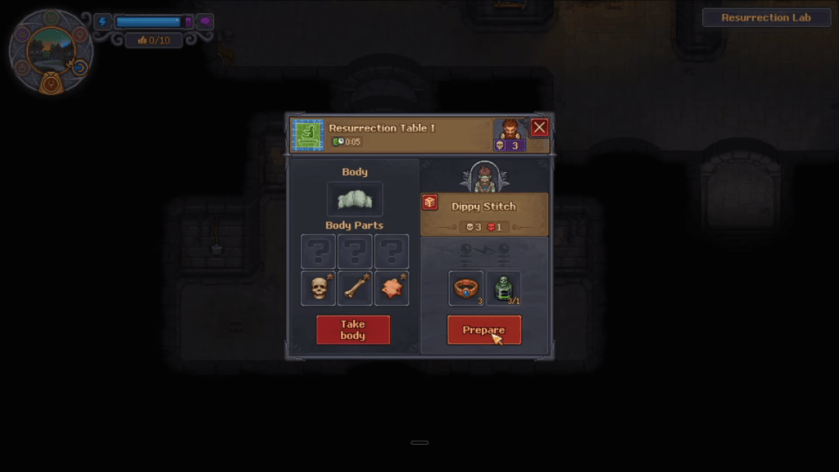
Step one: choose your body. I prefer fresh corpses because the process is straightforward, but if you want perks then seek out bad corpses with high Red Skull counts — the more skulls, the stronger and more numerous the Perks the zombie spawns with.
Inspect the corpse on the autopsy table. Remove Fat and Flesh if you need raw materials, but don’t strip the organs you’ll need to resurrect the body: Brain, Guts, Heart, Bones, Skin, and Skull. If any are missing, the corpse won’t revive unless you transplant replacements — a technique I haven’t favored.
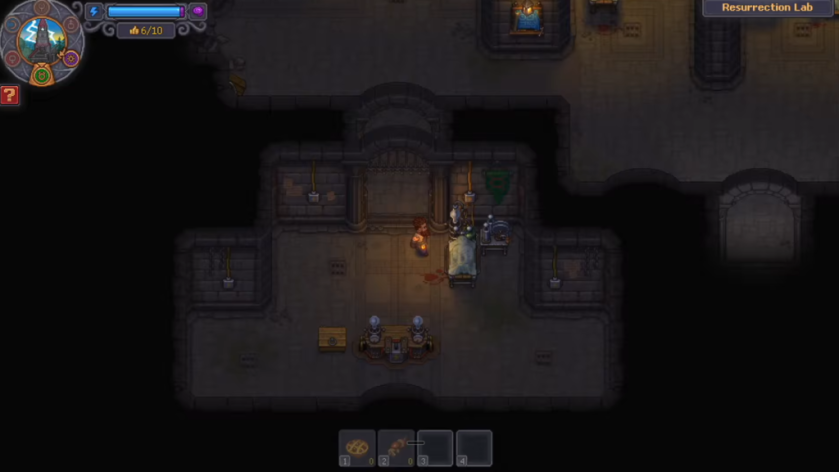
Place the body on the Resurrection Table. Wait for thunder to strike the Abandoned Tower — it’s the world’s cue to begin revival. After the lightning event, add Reanimation Liquid and a Zombie Collar, then spend Faith to finish the process. If you timed your corpse selection well, the resurrected zombie arrives with useful Perks and minimal tinkering.
What organs and resources do zombies need?
The checklist is short and unforgiving: Brain, Guts, Heart, Bones, Skin, Skull. No exceptions. If you’re resource-rich, strip parts for materials first and then transplant; if you’re resource-lean, use whole fresh bodies. Community guides on Steam and threads on Reddit’s Graveyard Keeper community frequently share spawn locations for “high-Red-Skull” corpses — consult them when planning mass revivals.
My workshop felt empty after the storm: How to assign work to zombies in Graveyard Keeper 2
Workstations idle are lost time and lost currency; every minute they sit empty is progress you didn’t make. Your zombies are the best fix for that gap if you set them up correctly.
How do I assign work to zombies in Graveyard Keeper 2?
First, equip the zombie with the correct tool for the job. The game reads equipment strictly — give them the right kit and they’ll act without guidance.
- Crafting & Woodcutting: Axe
- Metallurgy: Hammer
- Farming: Shovel
- Mining: Pickaxe
- Fishing: Fishing Rod
Next, carry the zombie and place them at the workstation you want staffed. Zombie placement is physical: pick them up, walk to the bench, and drop them in. The game treats them like equipment once they’re installed.
- Formulation Bench
- Gardener Stand
- Porter Station
- Vine Press
- Brewing Stand
- Potter’s Wheel
- Sluice Box
- Spinning Wheel
- Weaving Loom
- Sewing Table
- Writing Desk
- Printing Press
- Jewelry Table
- Kitchen Table
- Kitchen Millstone
- Zombie Supplier Station
- Stonemason’s Workbench
- Woodworking Workbench
- Sawhorse
- Chopping Spot
- Circular Saw
- Anvil
Short run: stock the zombie by hand. Drop a stack of raw materials at the bench, watch them consume and convert. Long run: use a Zombie Supplier Station and place a zombie there to feed other workstations automatically — it’s the only reliable way to scale without babysitting every bench.
When you coordinate multiple zombies, they behave like a tireless clockwork army; patterns emerge and production stabilizes. If you want fewer interruptions, put one zombie at a Supplier Station and route resources through it — programming that station feels like teaching a ghost to shop.
I trust sources such as Steam community guides and Moyens I/O walkthroughs for situational tips; the Reddit community often posts corpse spawn coordinates and collar recipes. If you use Steam Workshop mods, check compatibility before committing a Supplier Station to automated supply chains.
Final checklist: clear the Morgue, secure corpses with useful Red Skulls, protect required organs, wait for thunder, apply Reanimation Liquid and a collar, spend Faith, equip the zombie, and place them where you need output. It’s mechanical, but the margin of error comes from poor planning — don’t let time or Faith slip away. Would you risk your last vial to create a perfect worker?